Panel Cookies
Hockey Table DIY
Help me by sharing this post

PREVIOUS POST       NEXT POST

Author Andrei
26/08/2019
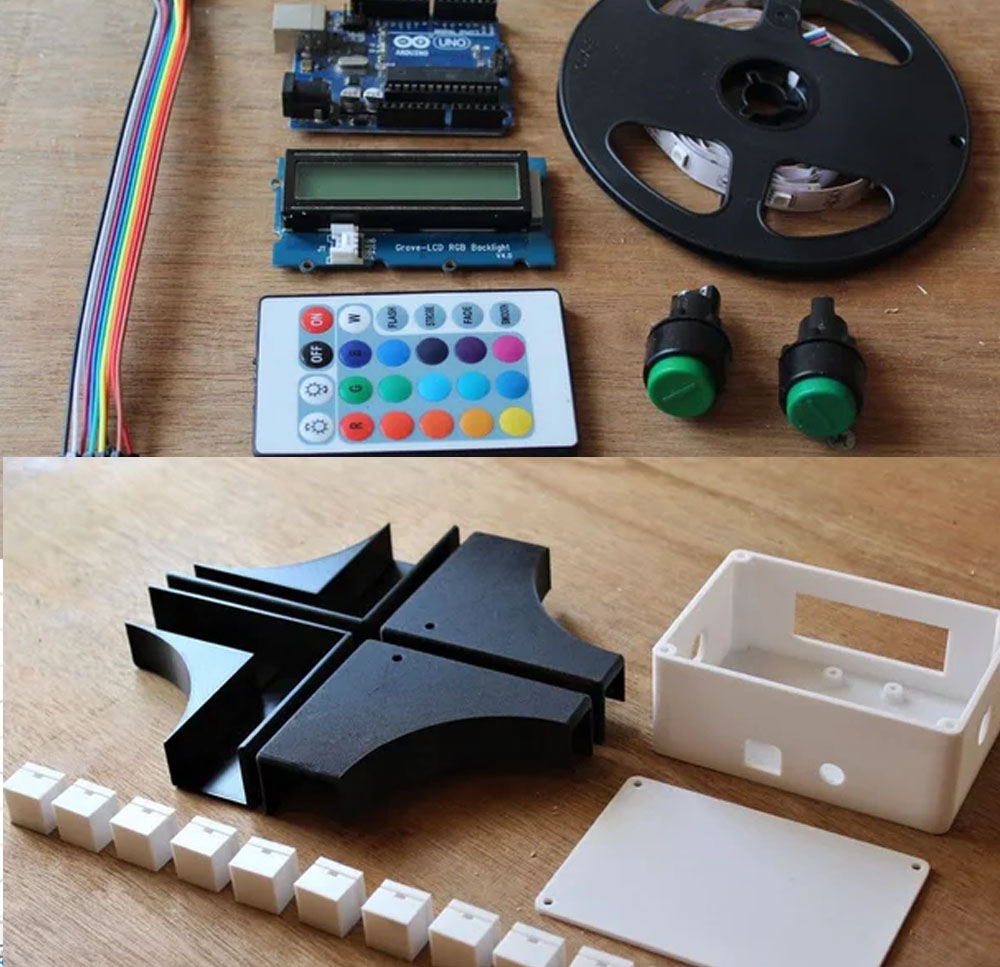
A DIY air hockey table. See full post, if you want to make the same project, here on this link. It’s big enough to be fun, but small and light enough to easily stow away in the off-season. At ~$50, it’s a cheap build, provided you have a vacuum cleaner that can switch to blower mode. The strikers, goals, corner guards, and scoreboard enclosure are all 3D-printed, while the pucks and playfield are laser-cut acrylic. [Technovation] glued acrylic feet to the strikers to help them last longer.The scoreboard is an Arduino Uno plus an LCD that changes color to match the current winner. Scoring must be entered manually with button presses, but we think it would be fairly easy to detect a puck in the goal with a force or weight sensor or something. For now, the RGB LEDs around the edge are controlled separately with a remote. The ultimate goal is to make the Arduino do it. Shoot past the break and cross-check it out.


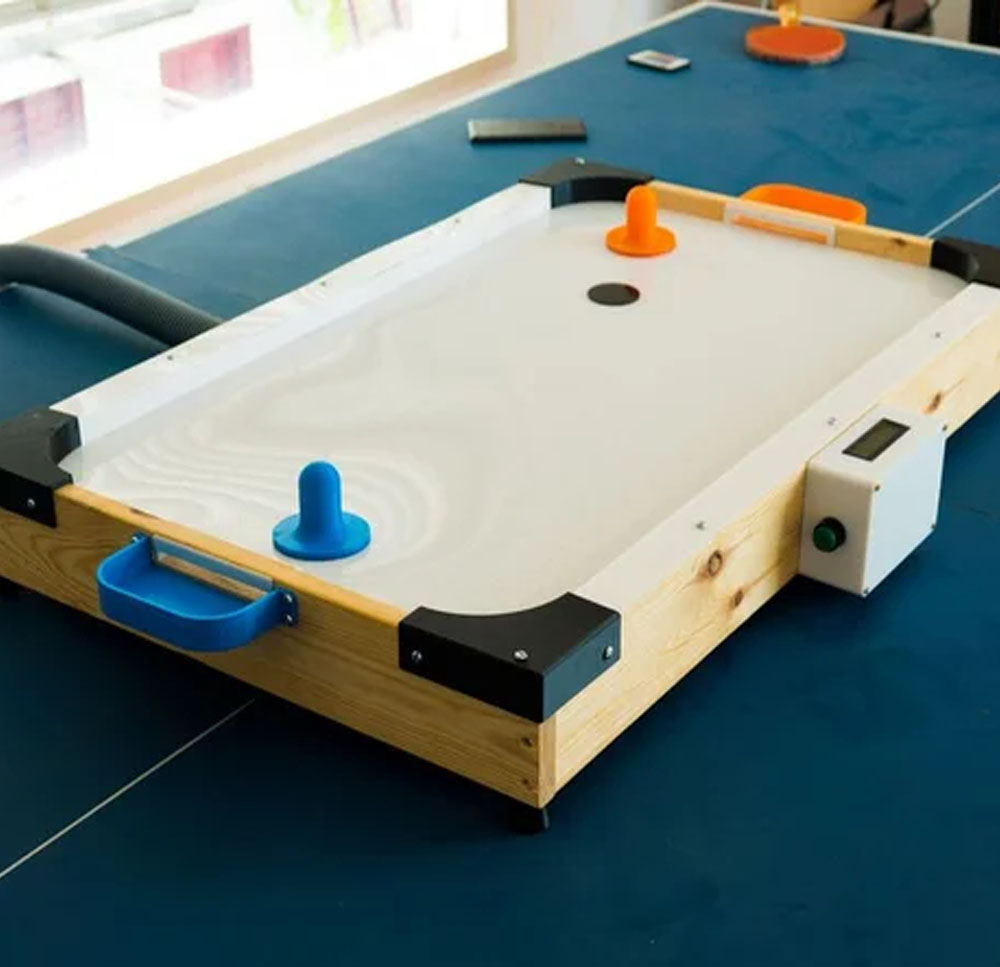
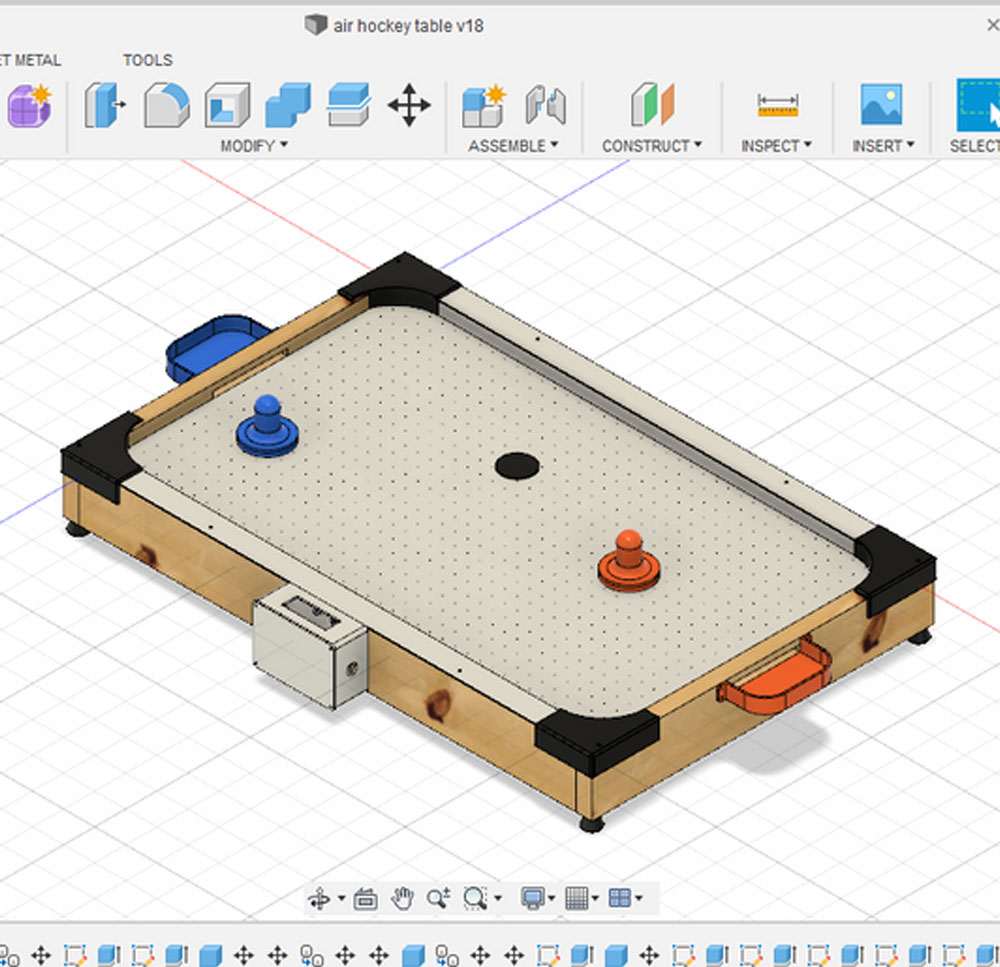
The lift generated to levitate the puck is achieved by creating tiny holes all over the playfield in a grid that blows air at high pressure from underneath. The air is then forced through these holes and exits with a high velocity countering the weight of the puck making it float on a layer of thin air. They've used a 3d printer to make several of the custom parts. As most parts didn't need much strength, they've printed them in PLA which is recommended as it is also easy to print.

The play-field needed to have a grid of 1mm holes. This would be a tedious job if done manually thus they decided to use the power of laser-cutting. The 3d printed parts have few supports and thus require a bit of post processing. Use pliers to gently remove the support material and sand any remaining bit of plastic. After we lasercut the playfield we realised that few of the air holes were still blocked.


As the creators say "After having played with this setup" for several weeks they are happy to say that the parts hold up and that the design has past the test. They hope we feel inspired to make our very own low cost air hockey table. They can ensure there will be no regrets! Once again, see full tutorial on this link here.

Apart this post, if you have your own project and you need good quality PCBs, consider using the services of JLCPCB.com which will offer you quite good services, I use their services a lot of my PCBs.

Consider supporting ELECTRONOOBS on PATREEON.


Help me by sharing this post

PREVIOUS POST       NEXT POST


yt_link
insta_link
fb_link
twitter_link
Blog#92 - Hockey Table

Last tutorials

All about Arduino PWM frequencies
Measure AC RMS with Arduino
10 Stage Coilgun - Version 2
Tesla Coil on PCB
RLC Transistor Tester PCB with Arduino

ADVERTISERS


Affiliate Disclosure

ADVERTISERS


PCBWAY PCB service


Curso Arduino Online nivel bajo