
Today I’m turning a flexible PCB into a speaker. That’s right, we can make speakers out of PCBs, actually this is not new and such speakers are called planar speakers. I bought a commercial planar tweeter and it cost almost 40 dollars. Can we make it cheaper? In the past I’ve made some planar speaker headphones but today I want to try something different. Can we make enough power for a normal speaker instead of headphones? I’ve played around with the PCB settings and today I will try some techniques I’ve seen online to make a good speaker enclosure and amplify the base. If you think this is interesting, stay till the end, and that being said, let’s get started.
What’s up my friends, welcome back. Once again, the main component for such a project is the design of my flexible PCB. It might look the same as the previous one but the tracks are a bit thicker lowering a bit the impedance. Actually I’ve been working on different winding configurations and overall shape and finally stick with this one. So if you want to try it out or make your own tests, you can download the GERBER files or the project from below for free or maybe get them from my shop in order to support me. Then go to PCBWAY.com and use their services for flexible PCBs. Click the flex option and add the settings. The size is of 76 by 76 mm and only copper on 1 layer. Save to cart and make the order. The PCB arrived in a week and it looks awesome. I’ve made the design to have these holes so we could tight it in between some 3D printed parts.
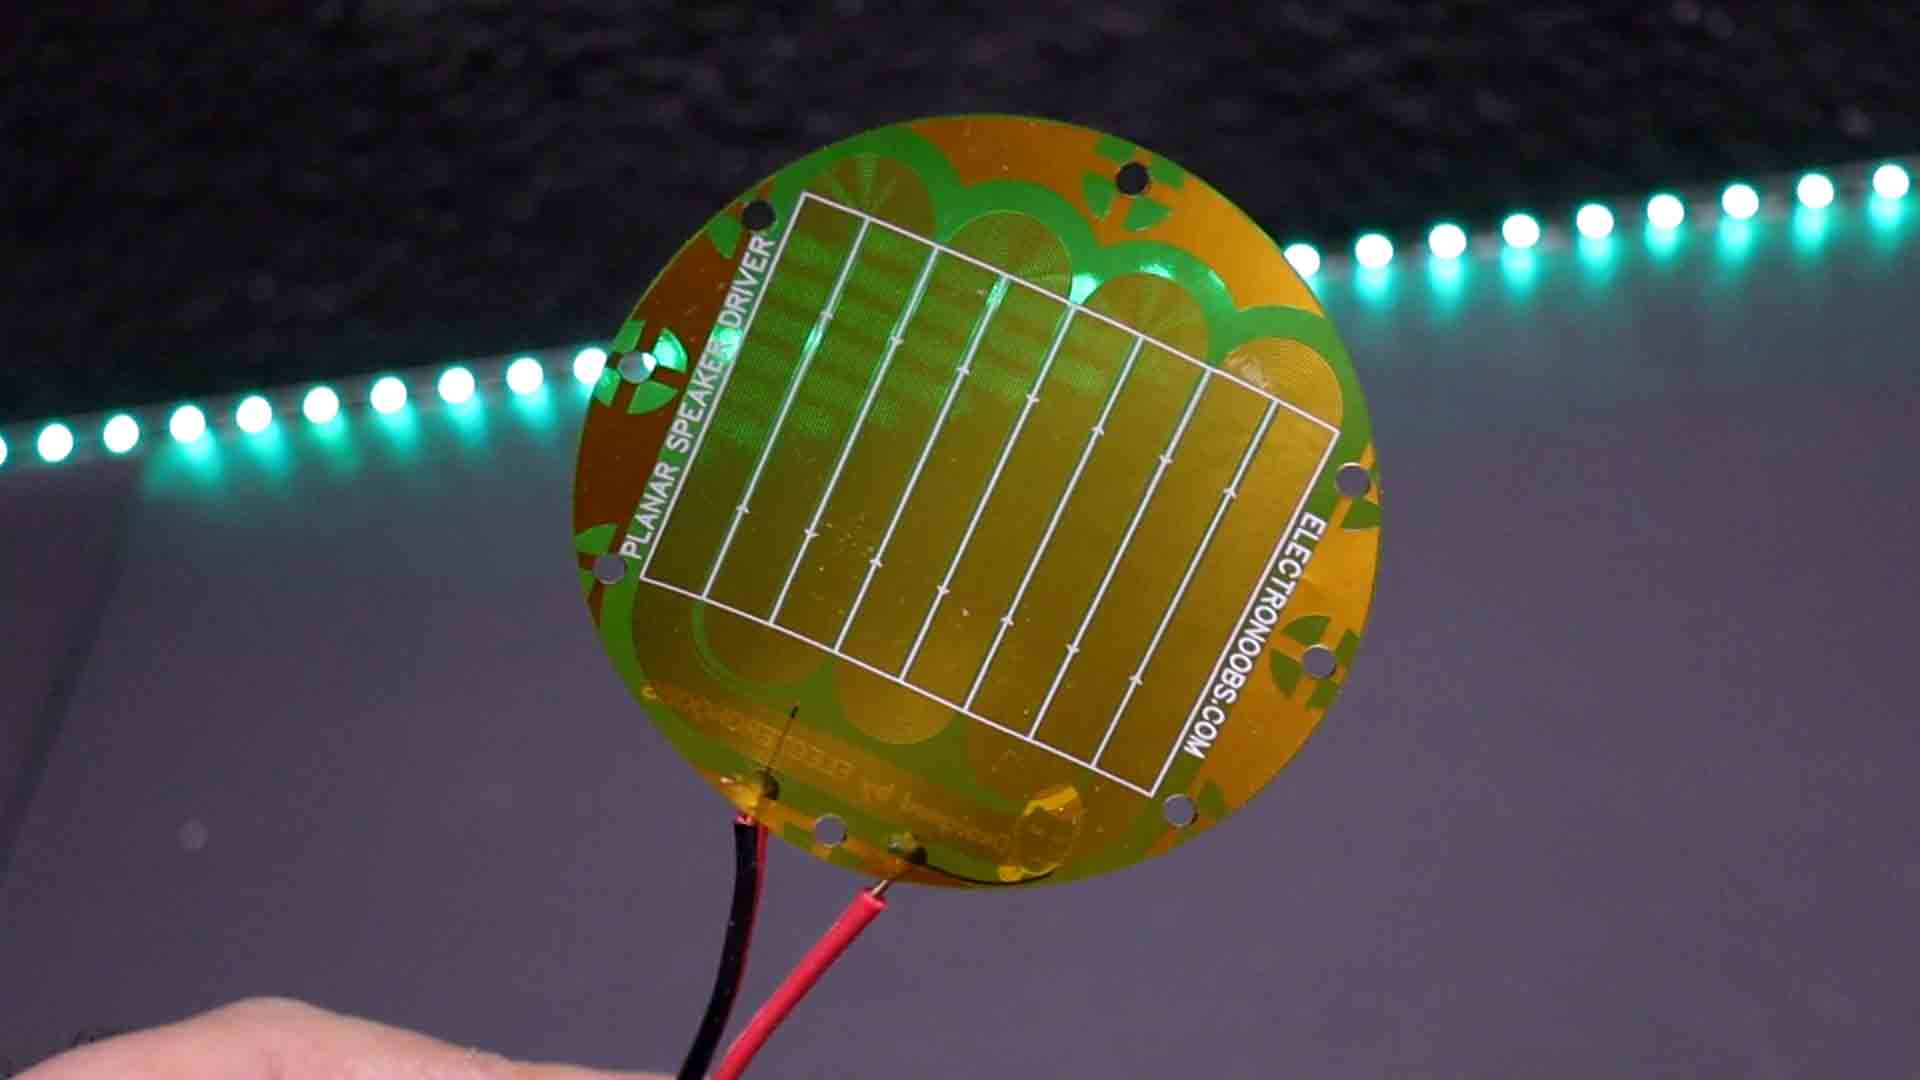
Ok, now I have the PCBs. The 3D printed support was also updated thanks to some comments from you guys. You see, the new parts are 3D printed with resin for more details and around the PCB perimeter I’ve added this groove. Actually one side has a groove and the other side has a bulge. In that way, it will apply pressure all around the flexible PCB making it tighter. The problem I had before was that the PCB was not tight enough inside the 3D part so it would vibrate a bit making unwanted noise. Having that groove is essential.
So download the 3D files from below and use your resin or FDM printer to make the parts. If you don’t have a resin printer, this could also be printed using FDM without any problems.
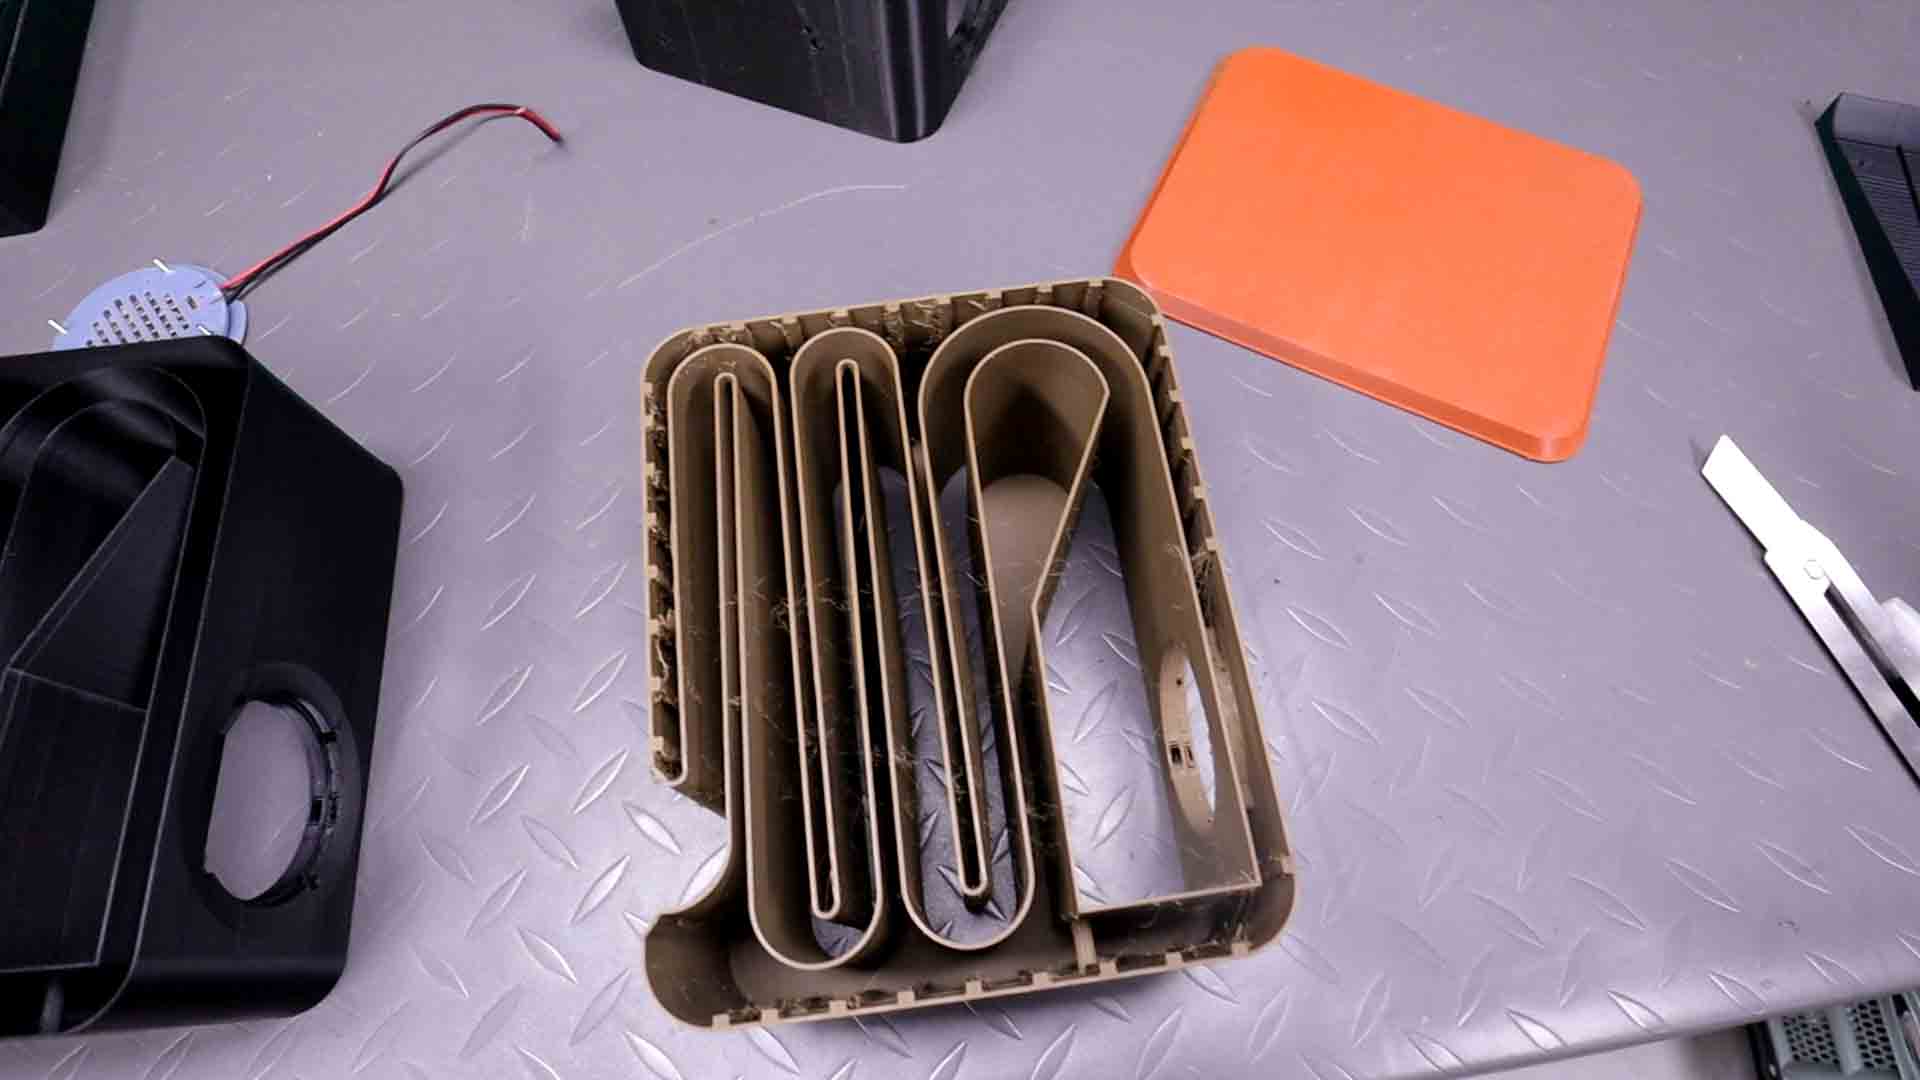
For the magnets I’m using the same magnet size as before. 48 by 4 mm neodymium magnets. Place them alternating the poles, one south one north. I’ve used super glue to fix them in place.
Add audio wires to the PCB. Solder it fast because this type of PCB is a bit more fragile than a normal PCB so soldering with less temperature and faster avoids damaging it.
Now, sandwich the PCB in between the 3D printed supports. Add some M3 screws and tight the nuts. Now we have the speaker driver. It is time to make the enclosure.
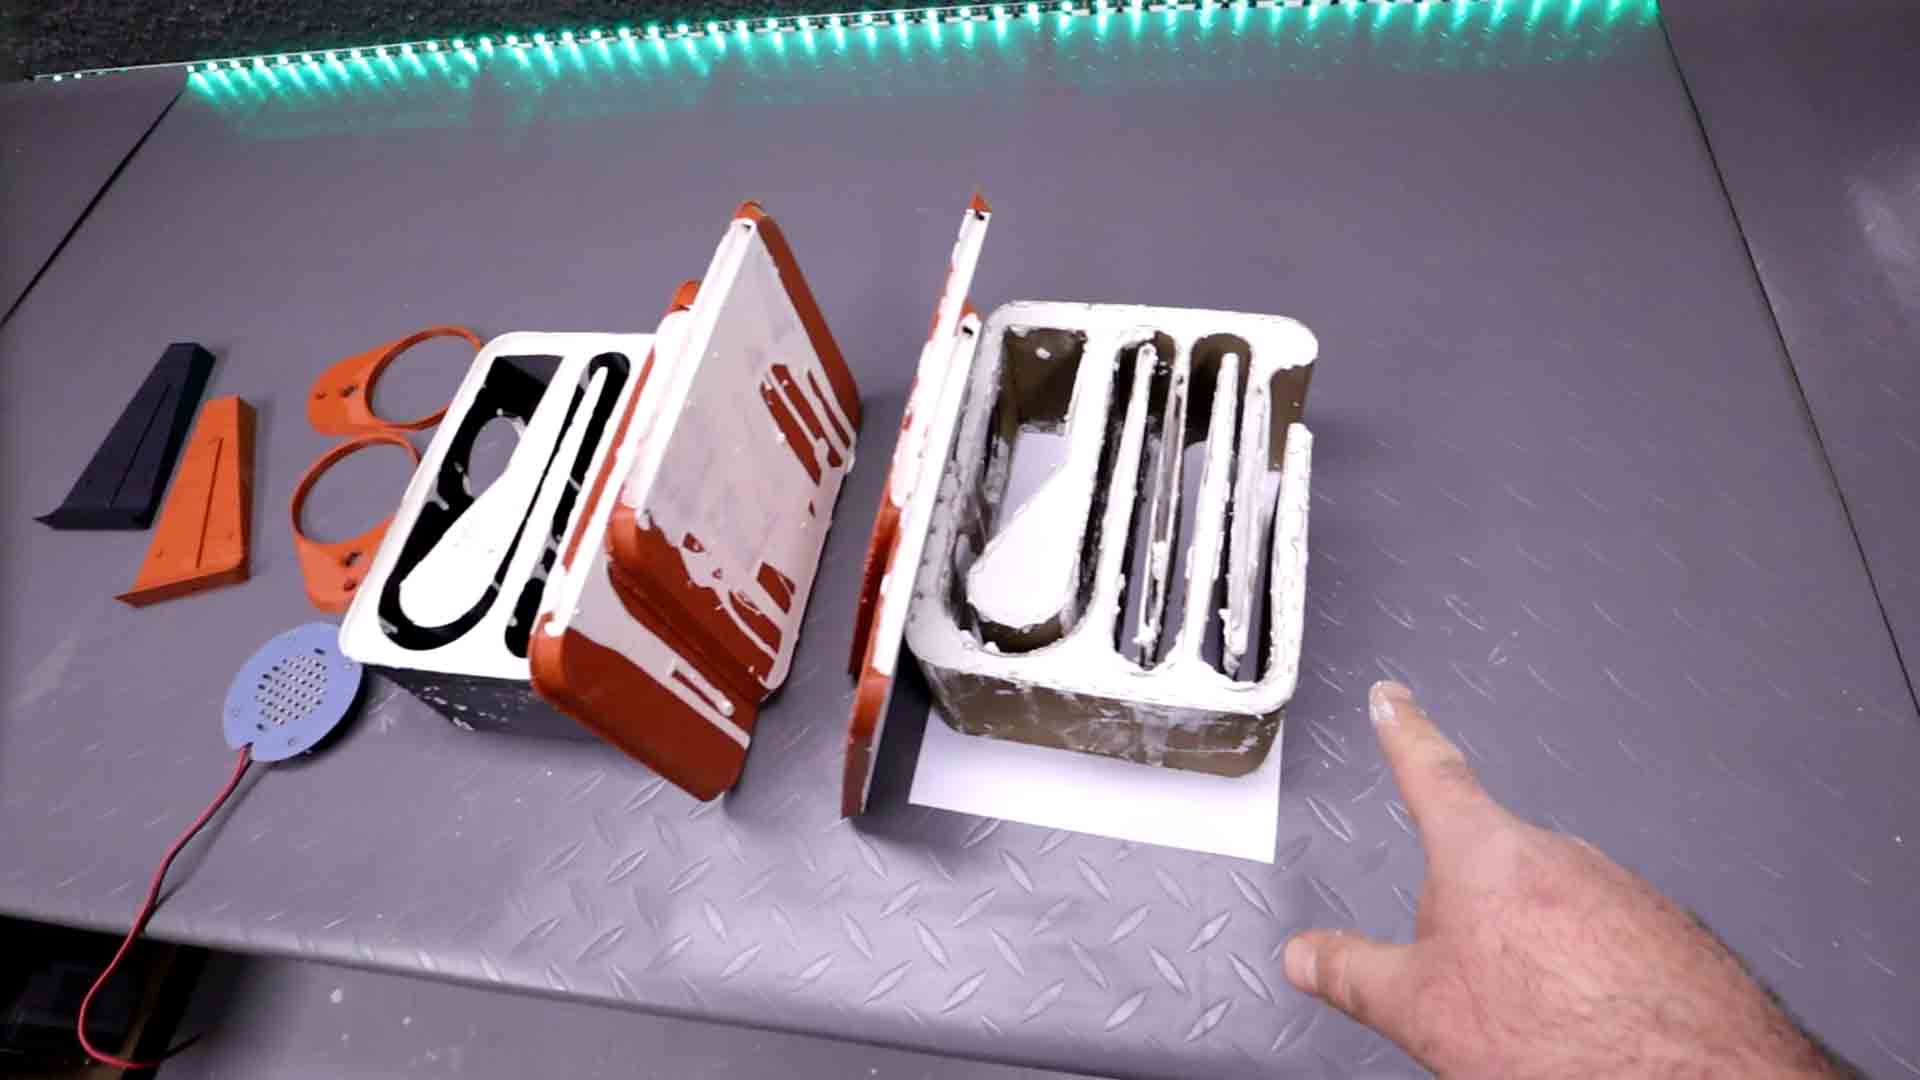
Also, why do we add glue to the plaster of Paris? Well, because if you ever had dry plaster, you would see that it rings like a bell. For example, any ceramic plate resonates a lot. To make it more elastic, I’ve seen that a good technique is to mix the water with white glue and then make the plastic. Adding around 15% glue to the water. The difference is huge.
If you do want to support my work, check my PATREON page and also my PayPal for donations. The PCB design, the schematic, the part list and the 3D files for the case are free.
If my videos help you, consider supporting my work on my PATREON or a donation on my PayPal. Thanks again and see you later guys.


