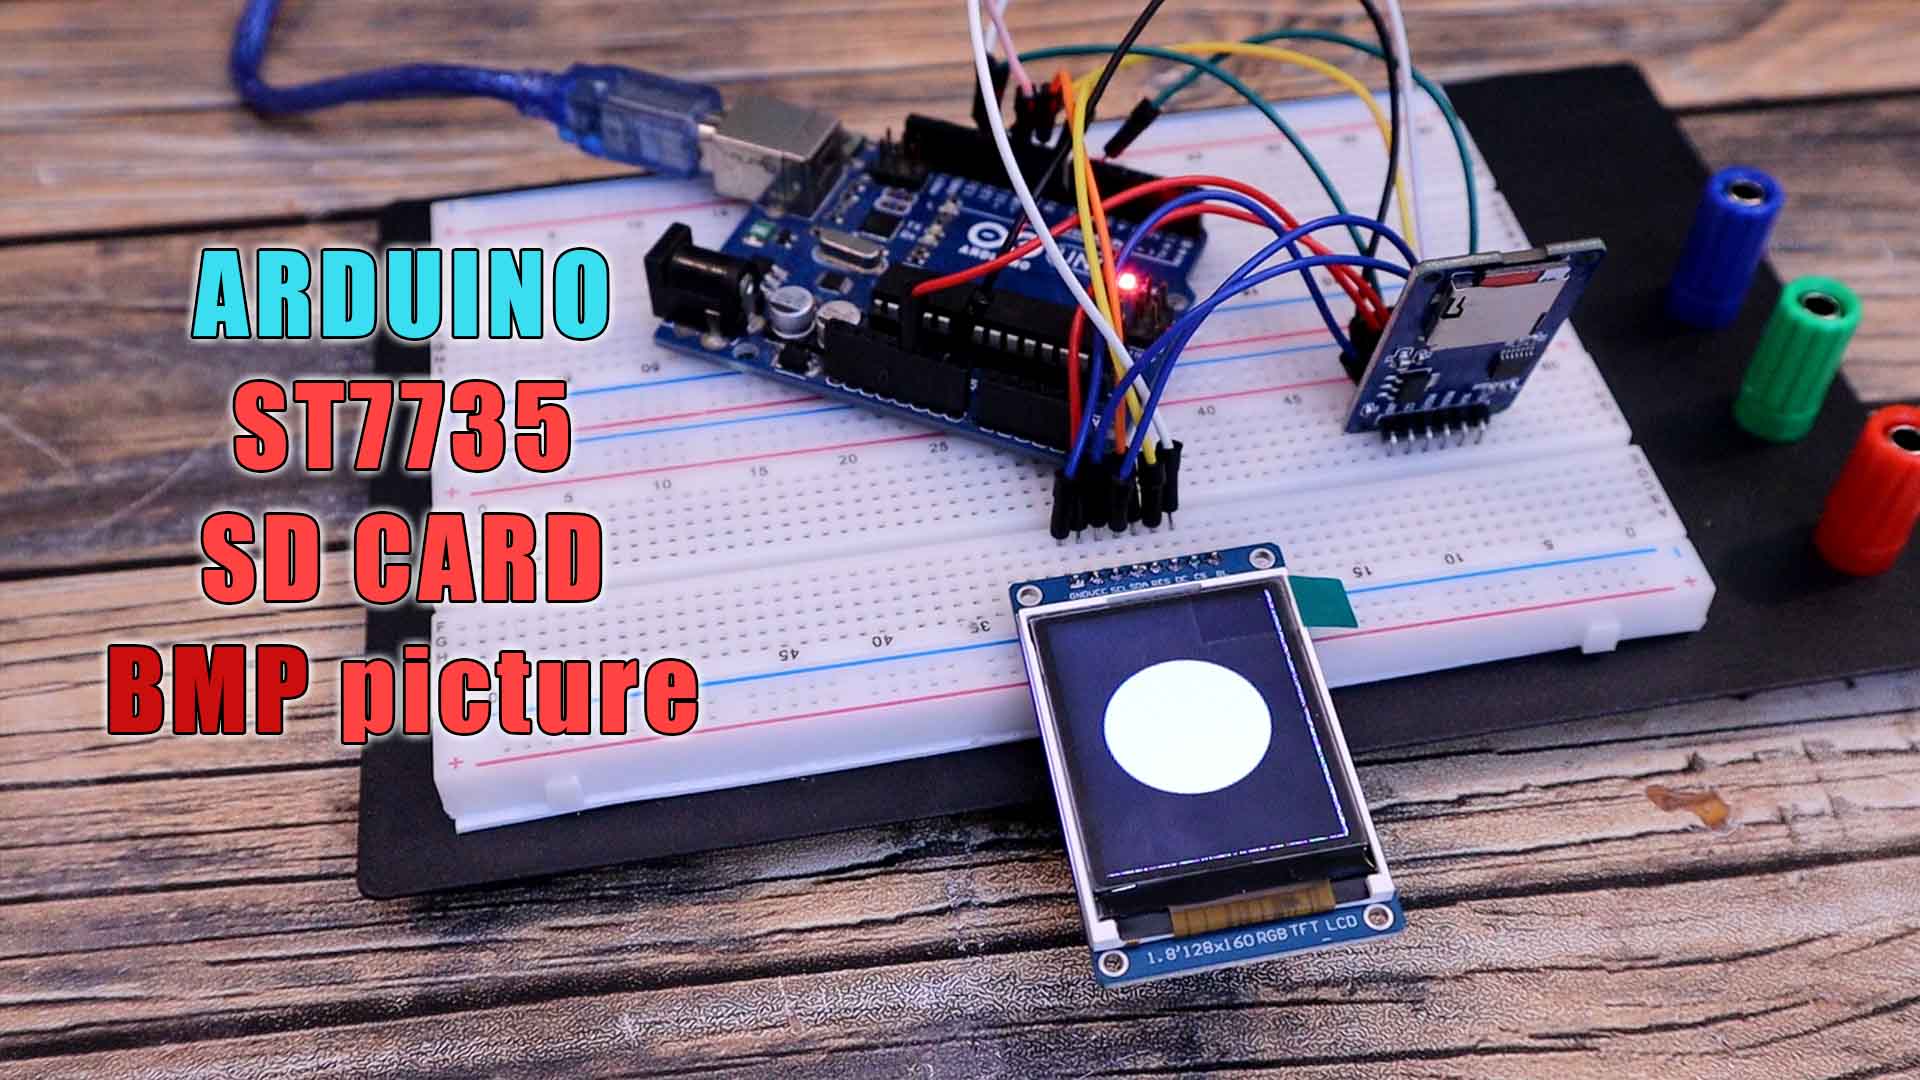
Drawing bitmap images (.BMP format) on ST7735 TFT display is quite easy because they are uncompressed images unlike JPEG images (.JPG format). This post shows how to draw bitmap images on the ST7735 TFT using Arduino UNO board where the Arduino loads the BMP images from SD card and print them on the display. The ST7735 TFT is a color display that uses SPI protocol, it has a resolution of 128×160 pixel. This display works with 3.3V only.
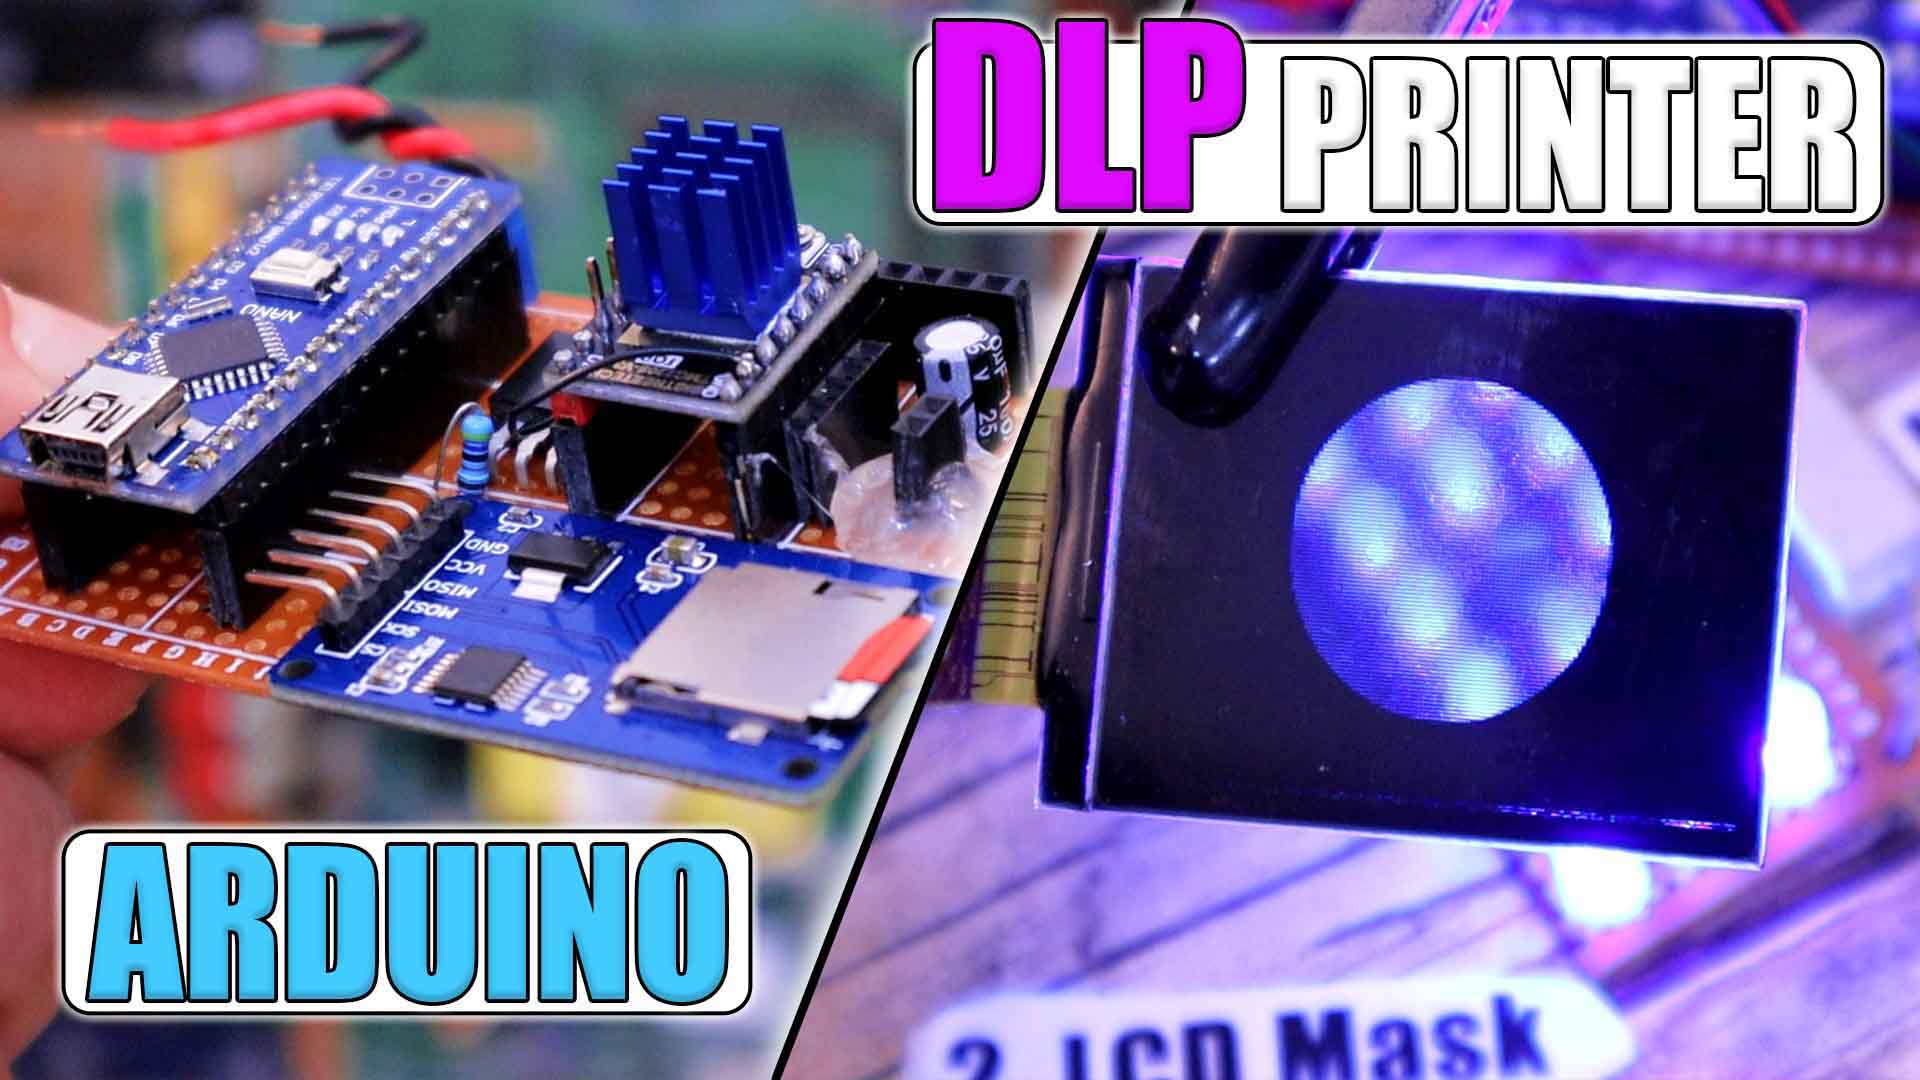
First part of this project for a homemade DLP resin printer based on Arduino, transparent LCD mask, UV light and stepper motor control. This part we make only the electronics and code. Next part is mechanical.
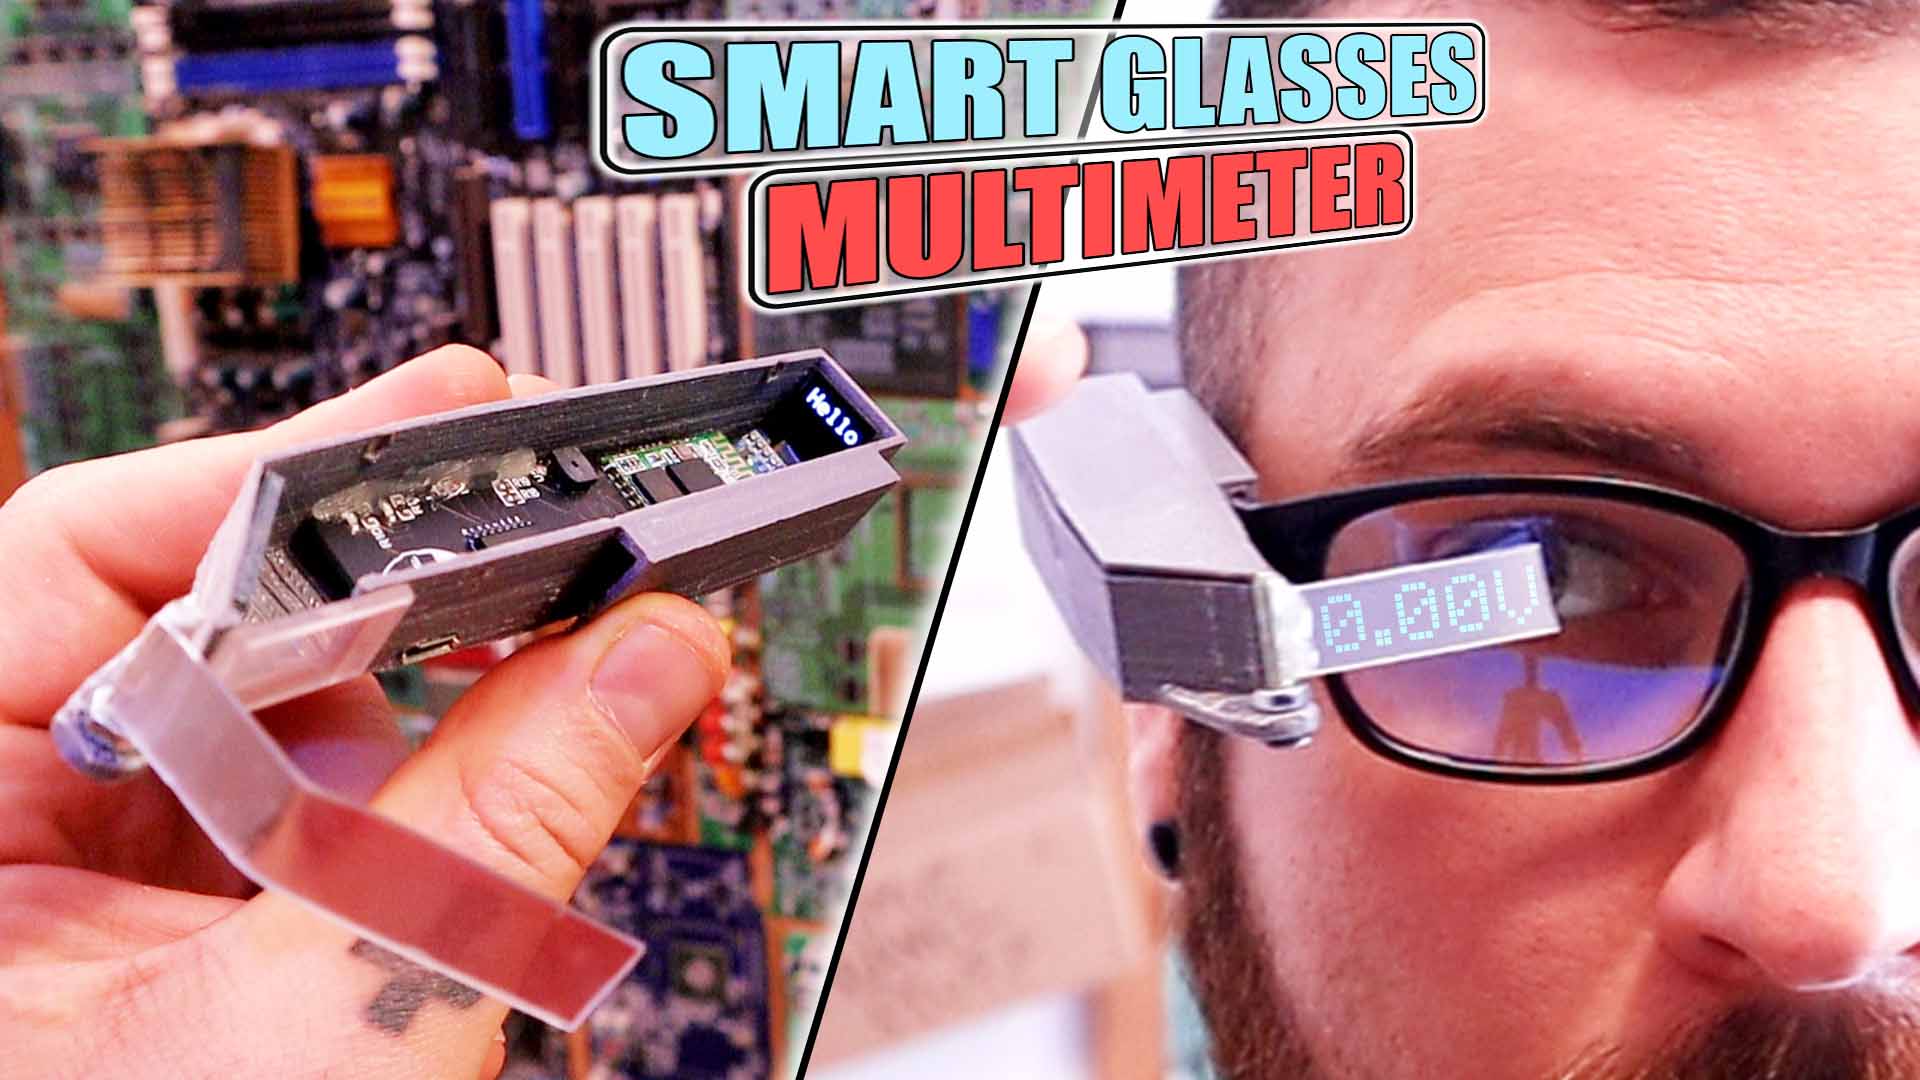
Homemade smart glasses multimeter with Arduino, Bluetooth connection and OLED display. 3D printed case and DIY prism. Rechargable with small Lipo Battery adn USB connector.
Measure temperature with a thermocouple and control PID the power with a solid state relay for 220V AC voltage and heater. Good for homemade filament extruder.
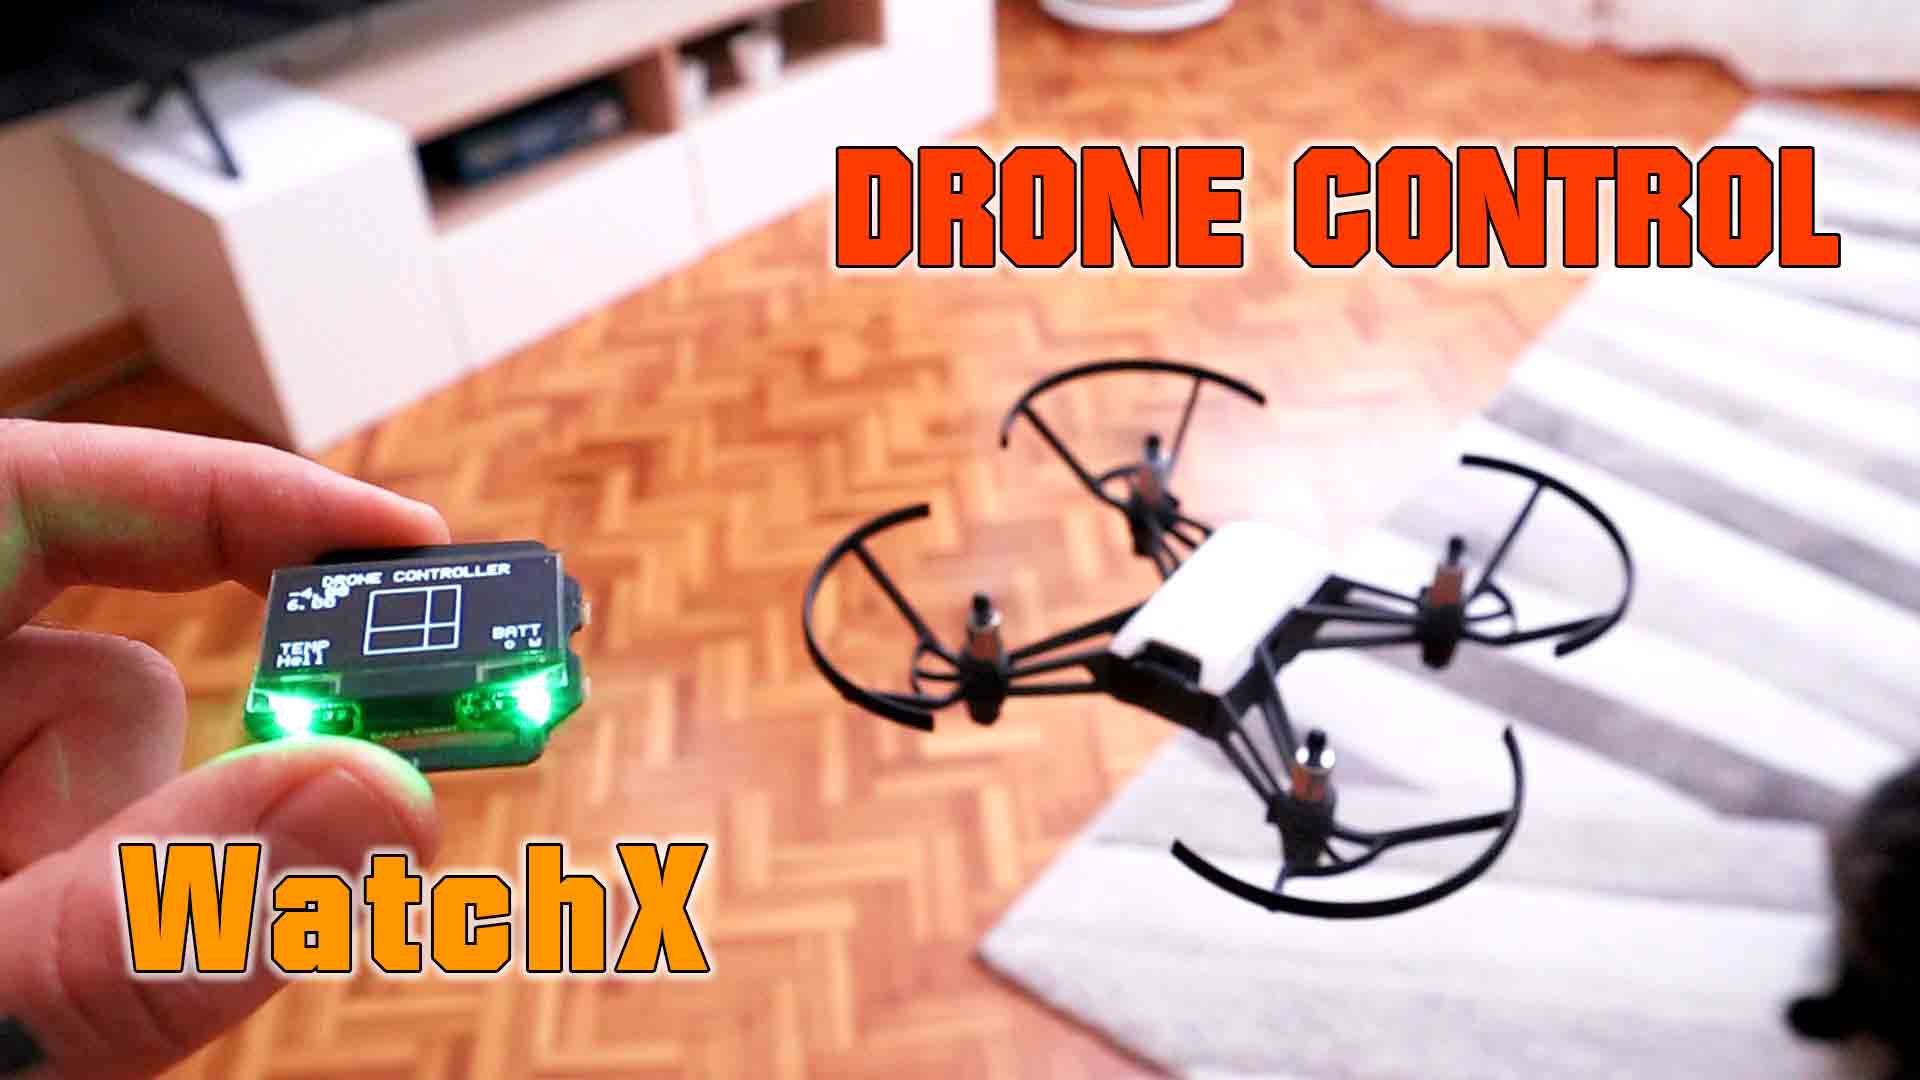
Another cool project with the WatchX development board. Check their new design and mount this project for controlling a Tello drone using the on board IMU and Bluetooth + WiFi connection. See links below.
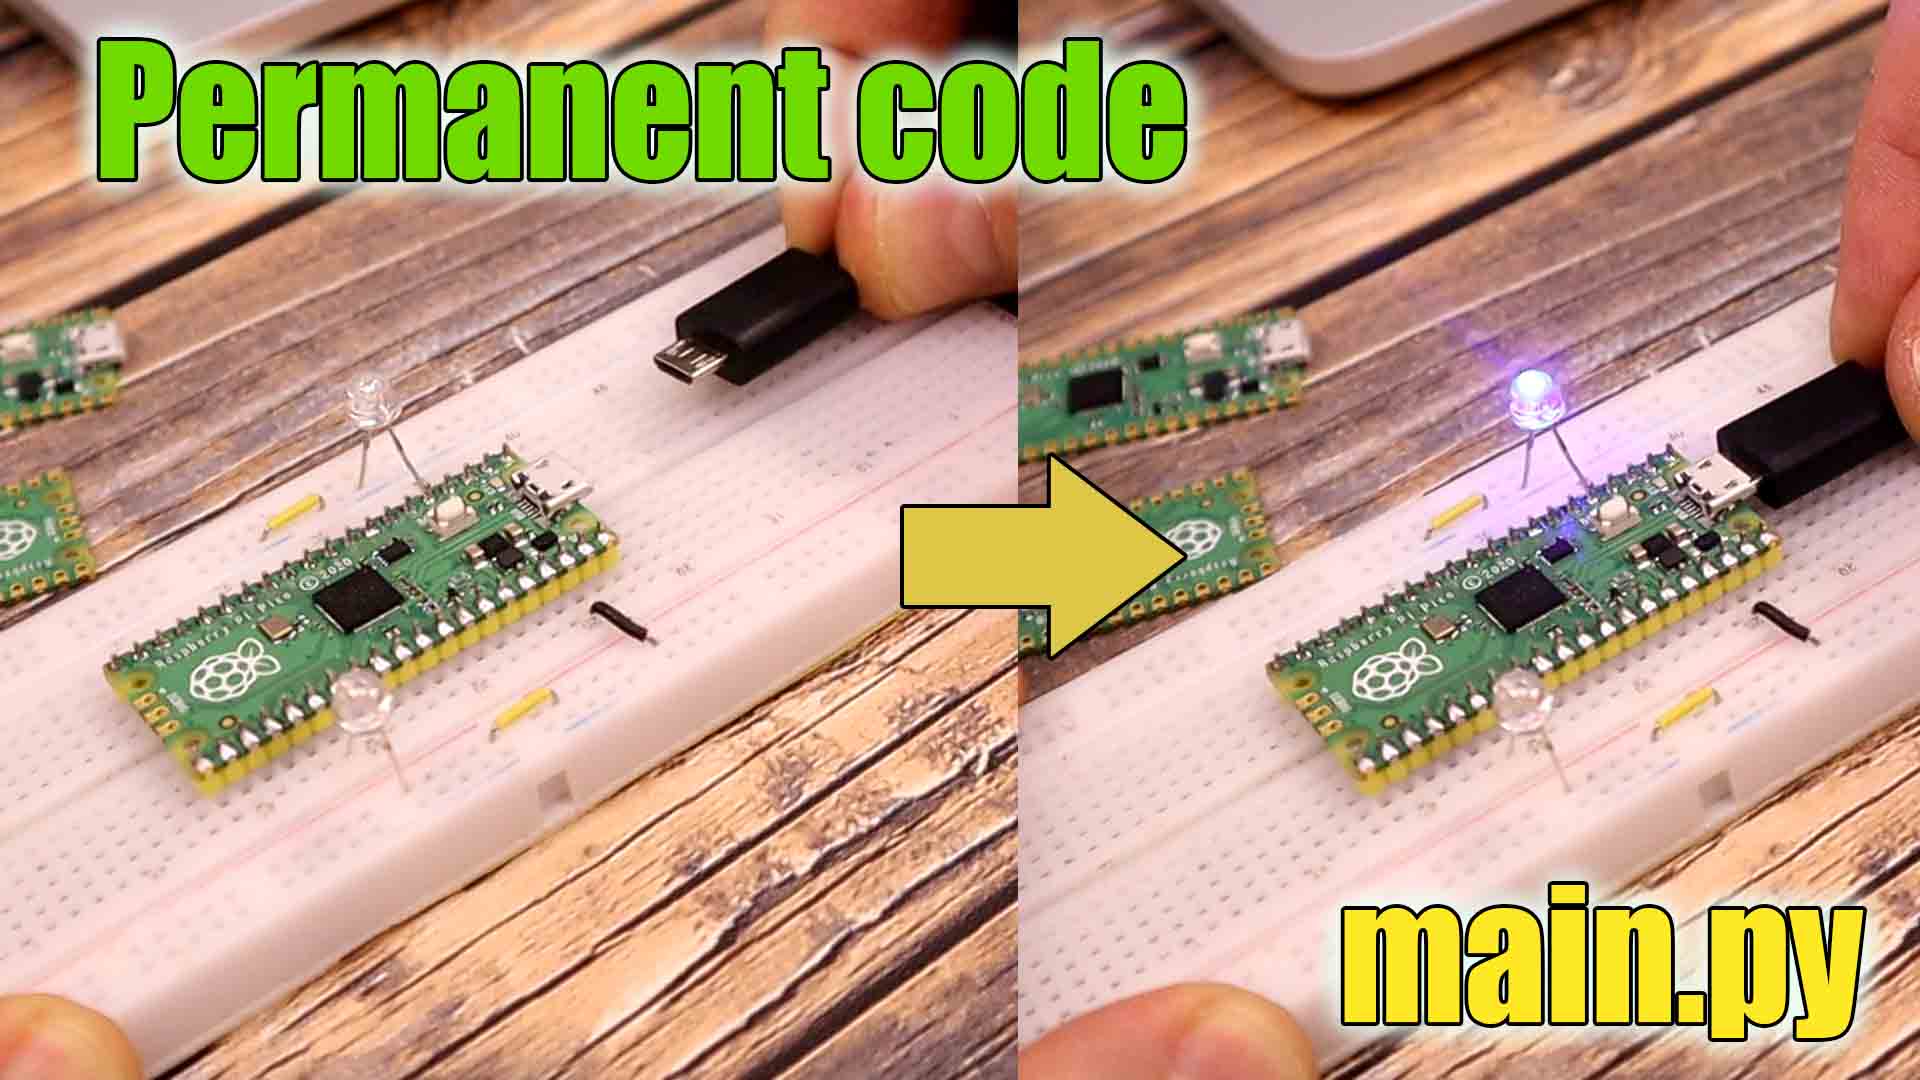
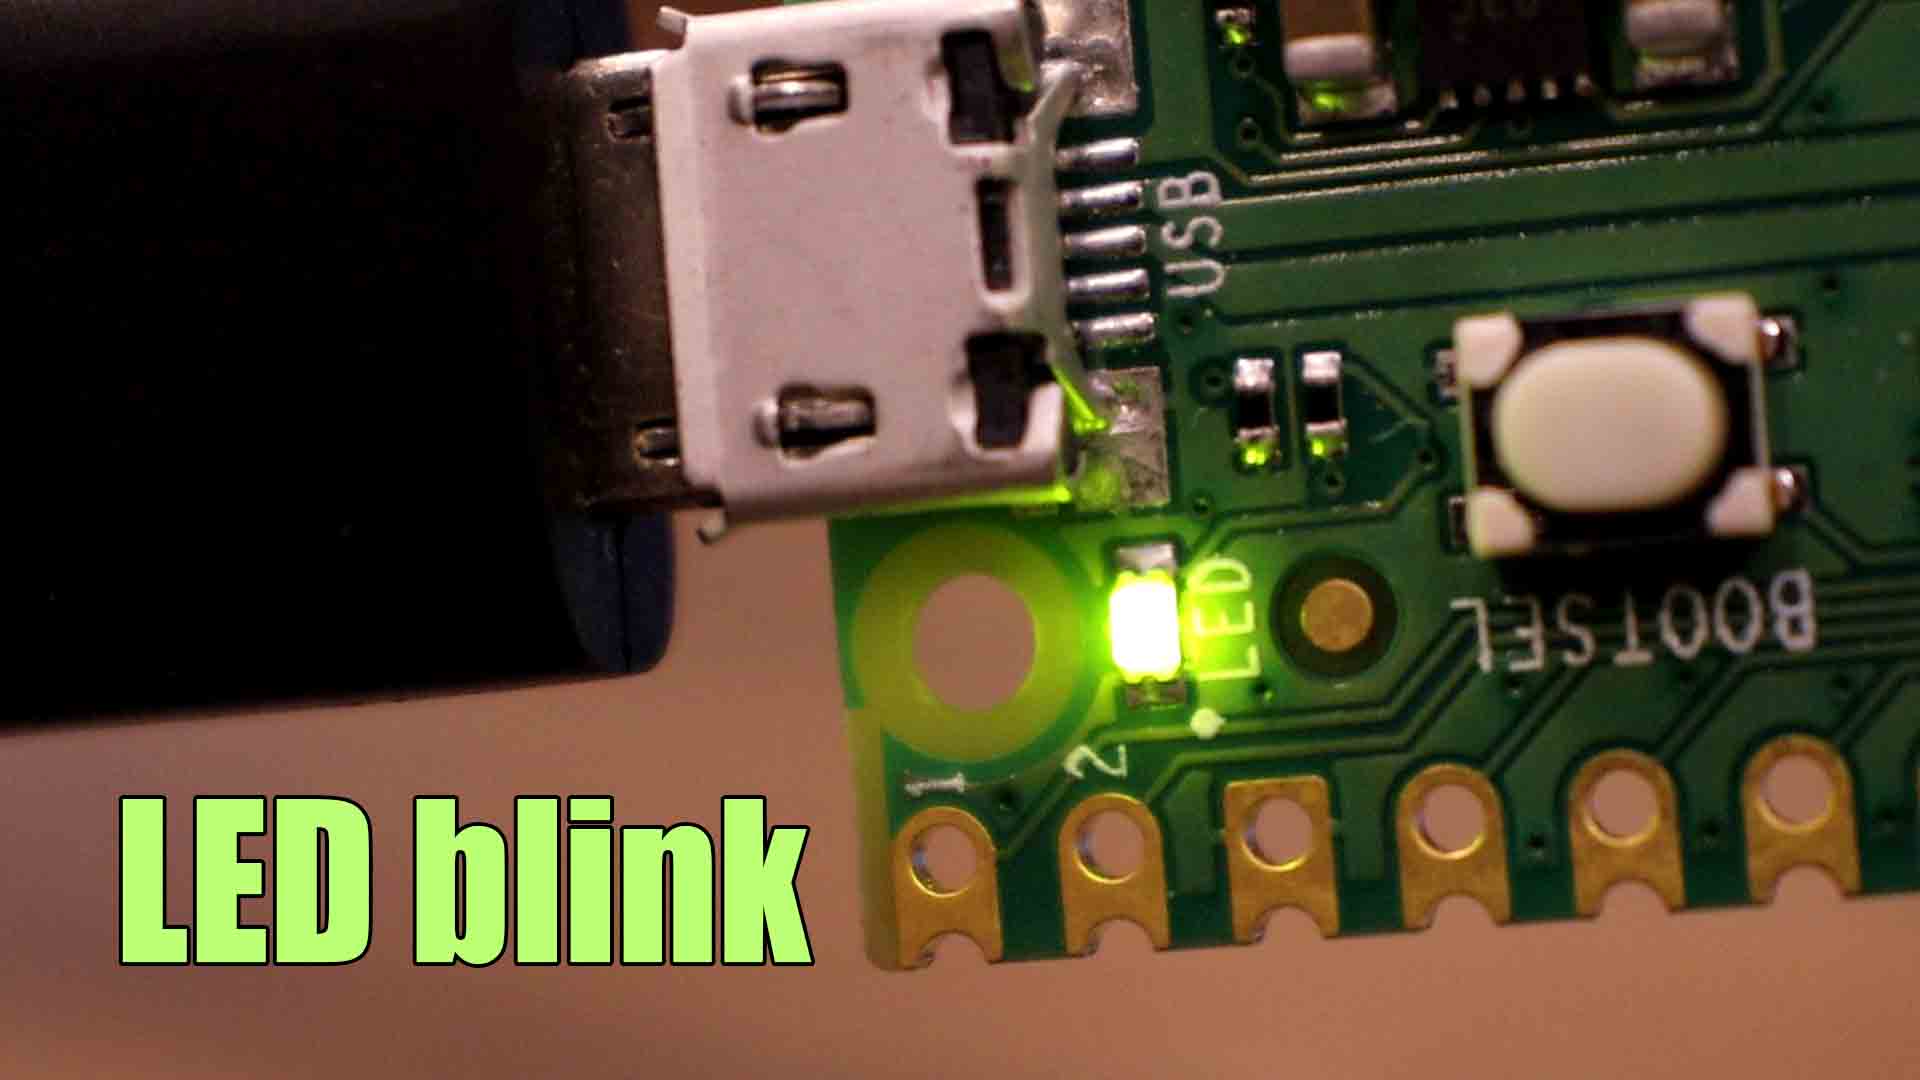
See how to control outputs on the PICO. Examples for blinking an LED or two LEDs in an alternate mode. Use the amchine module and control the state of any GPIO in micropython.
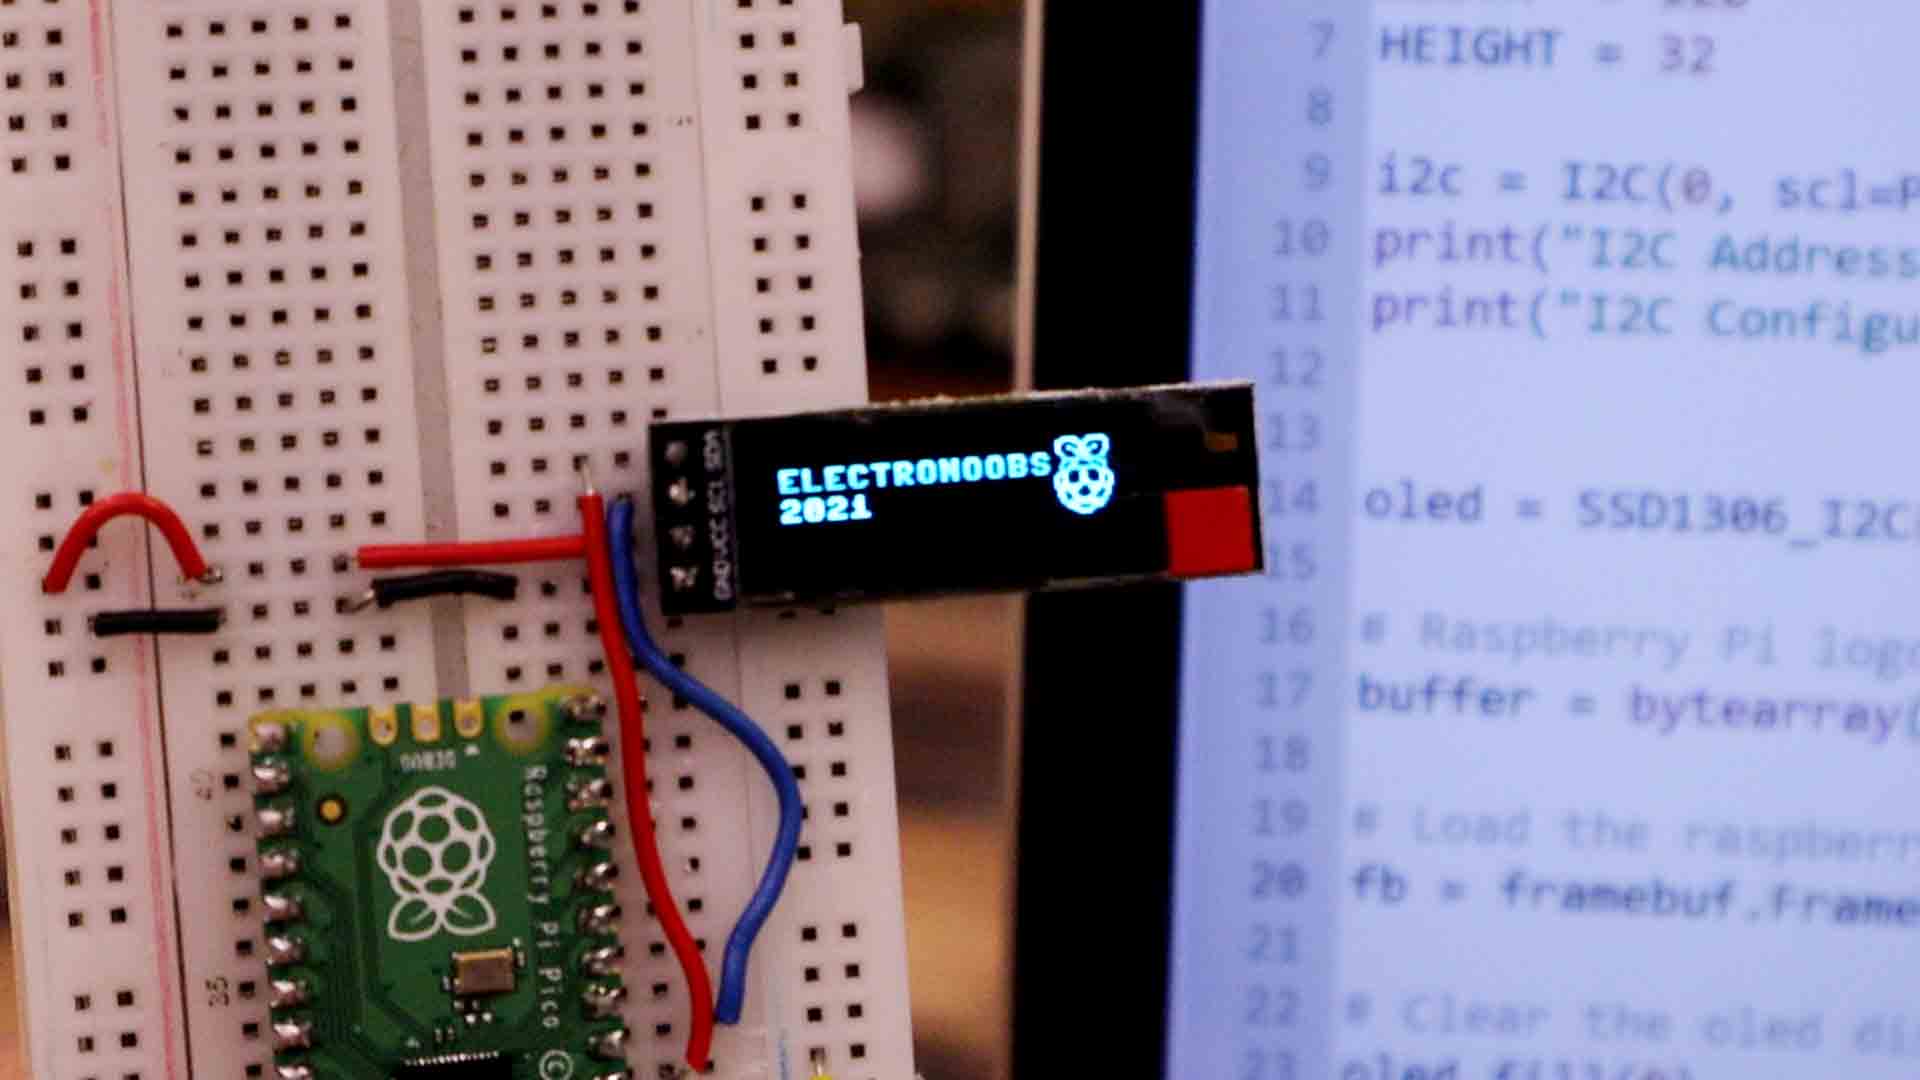
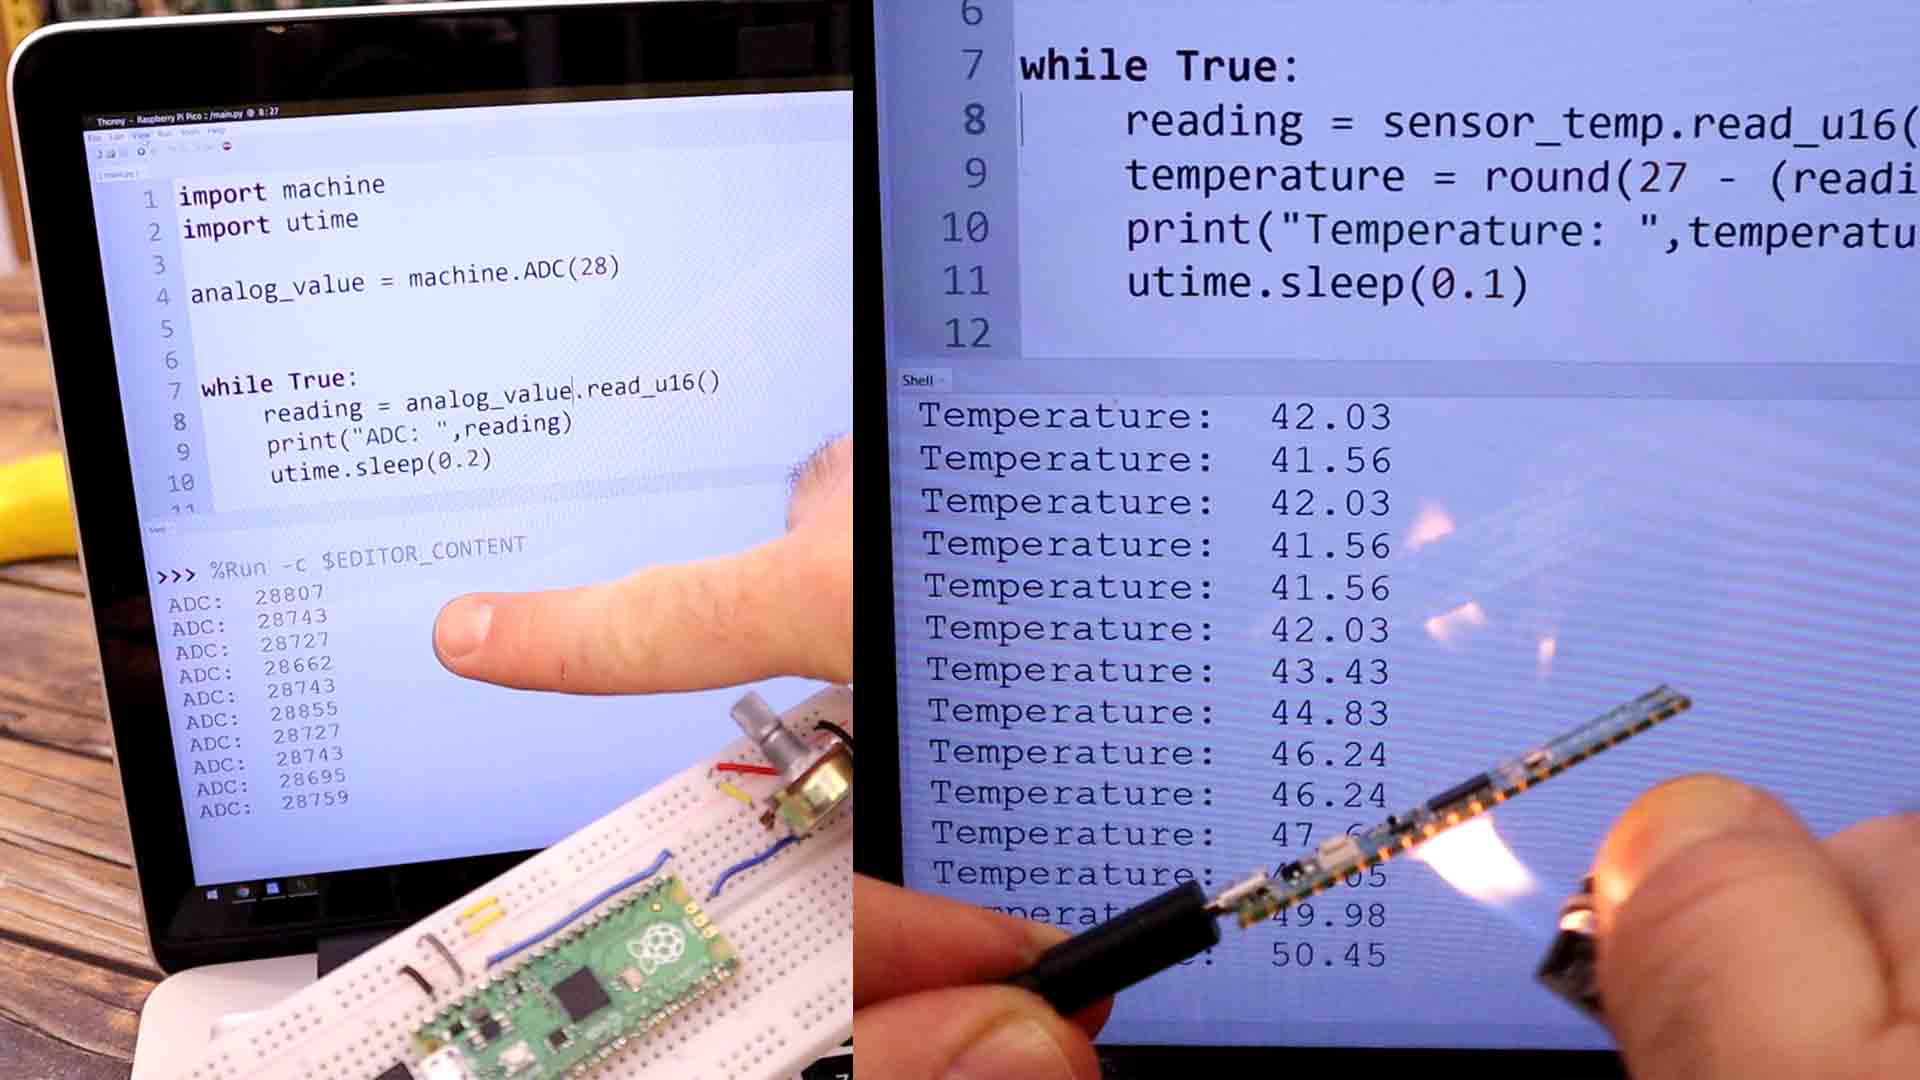
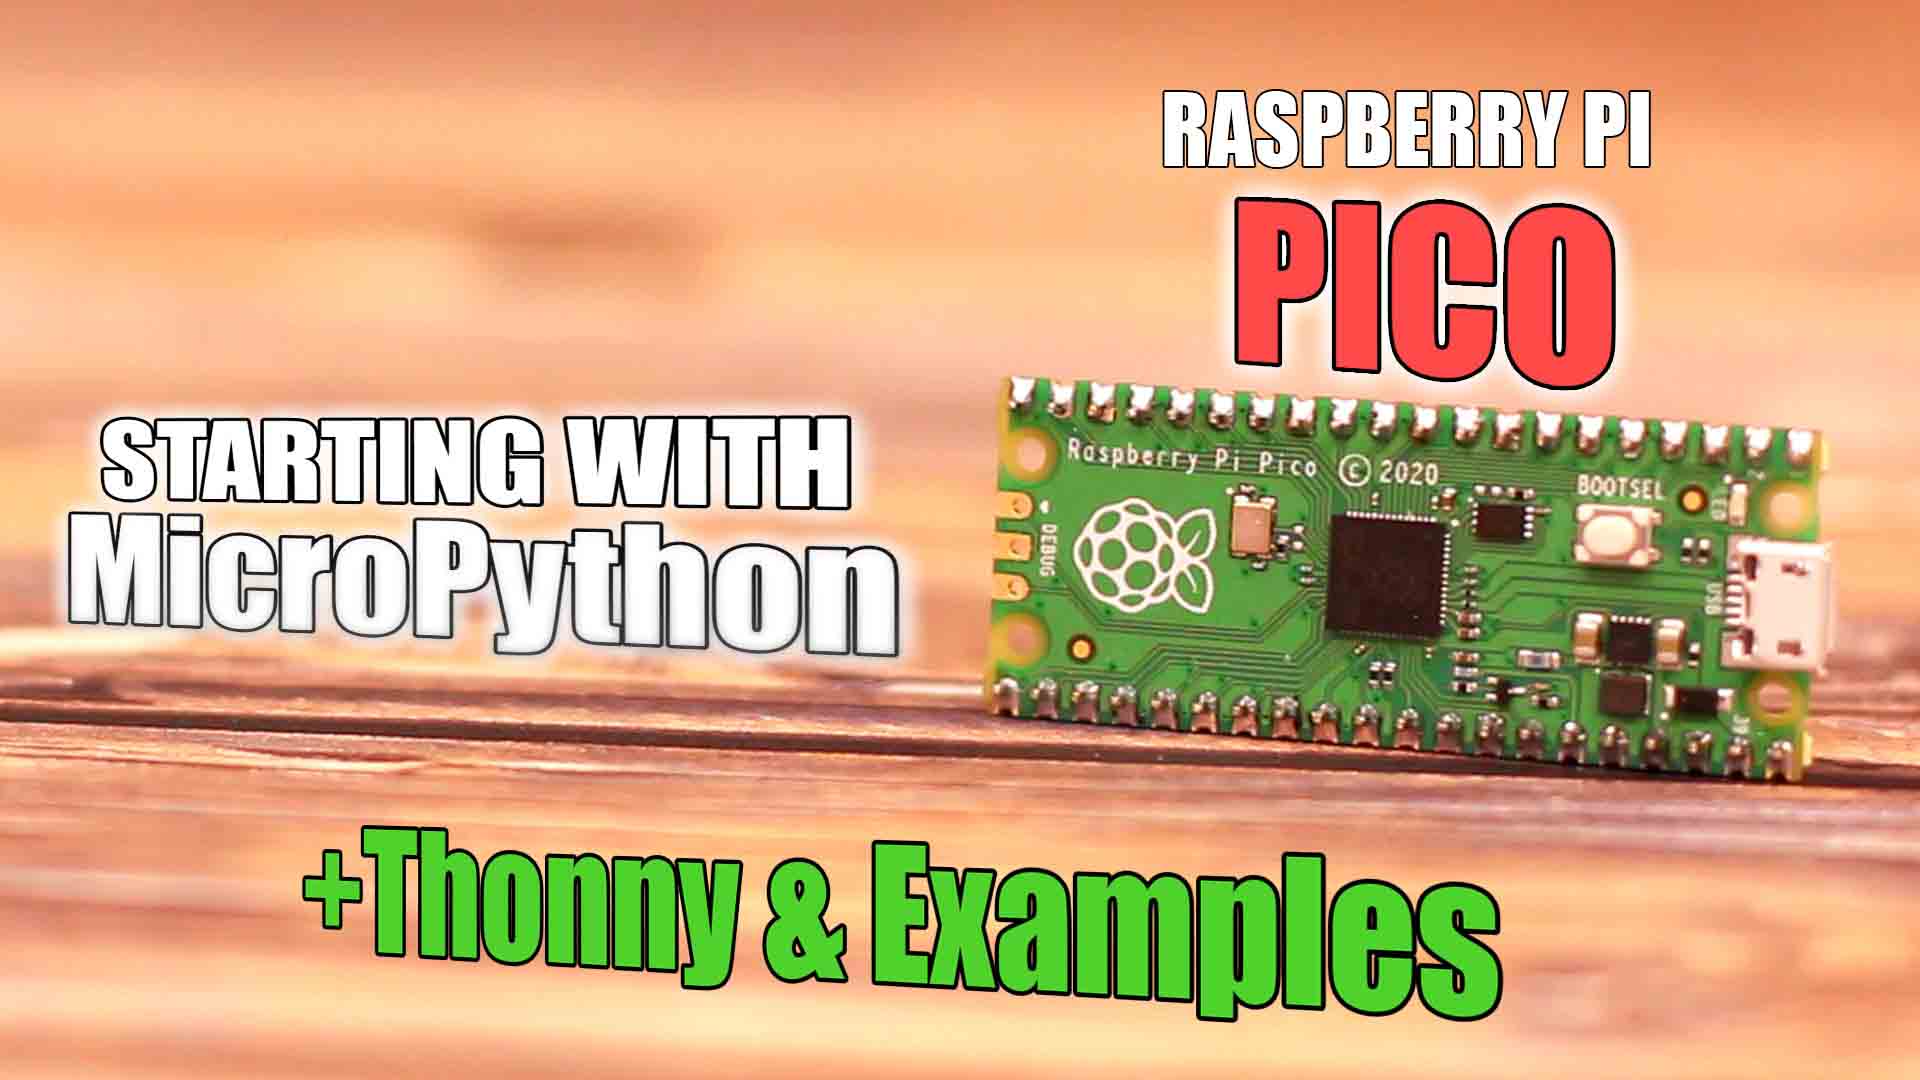
New Microcontroller on the market, the Raspberry Pi PICO. Let's start programming this in Micropython with examples for ADC read, PWM signal, I2C with an OLED display and more..
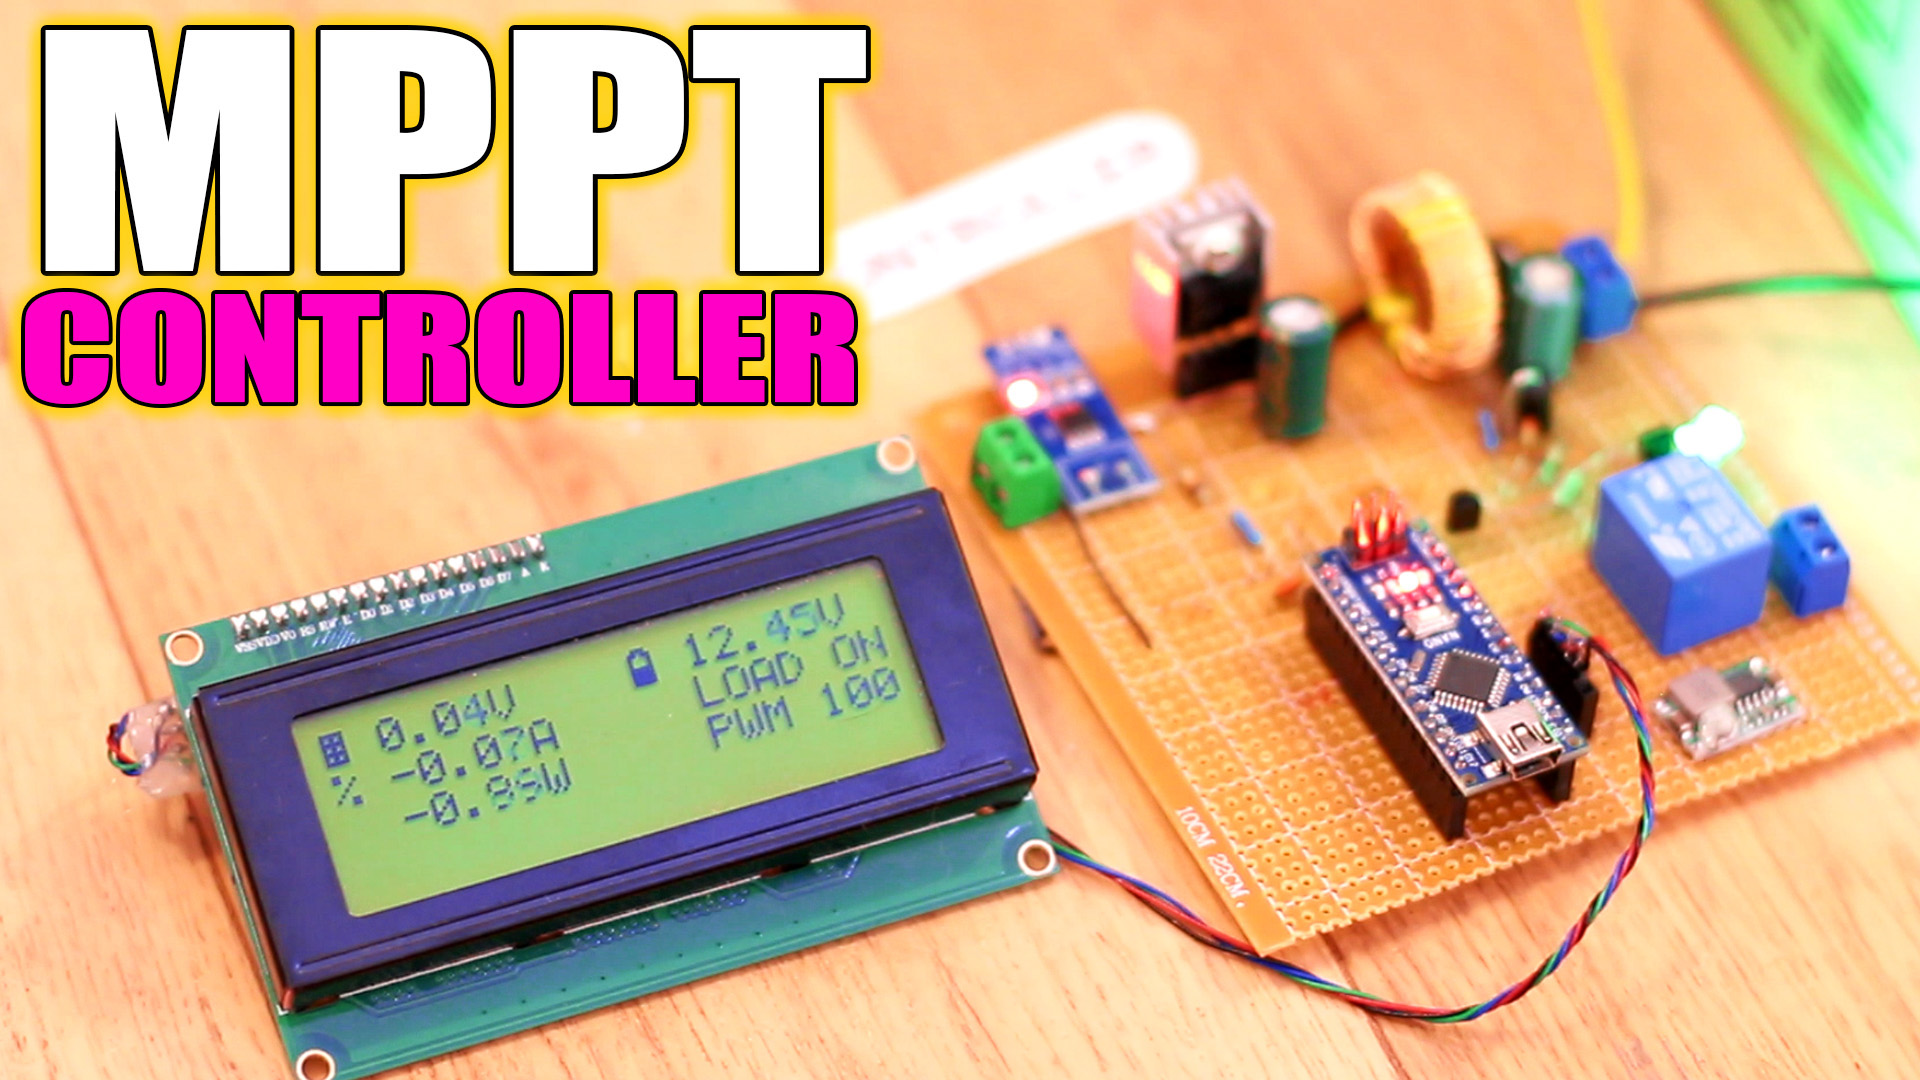
Tutorial on a prototype for a MPPT charger for solar panels or wind turbine and a 12V lead-acid battery. It is made with Arduino and you can see the circuit, prototype PCB and example code.