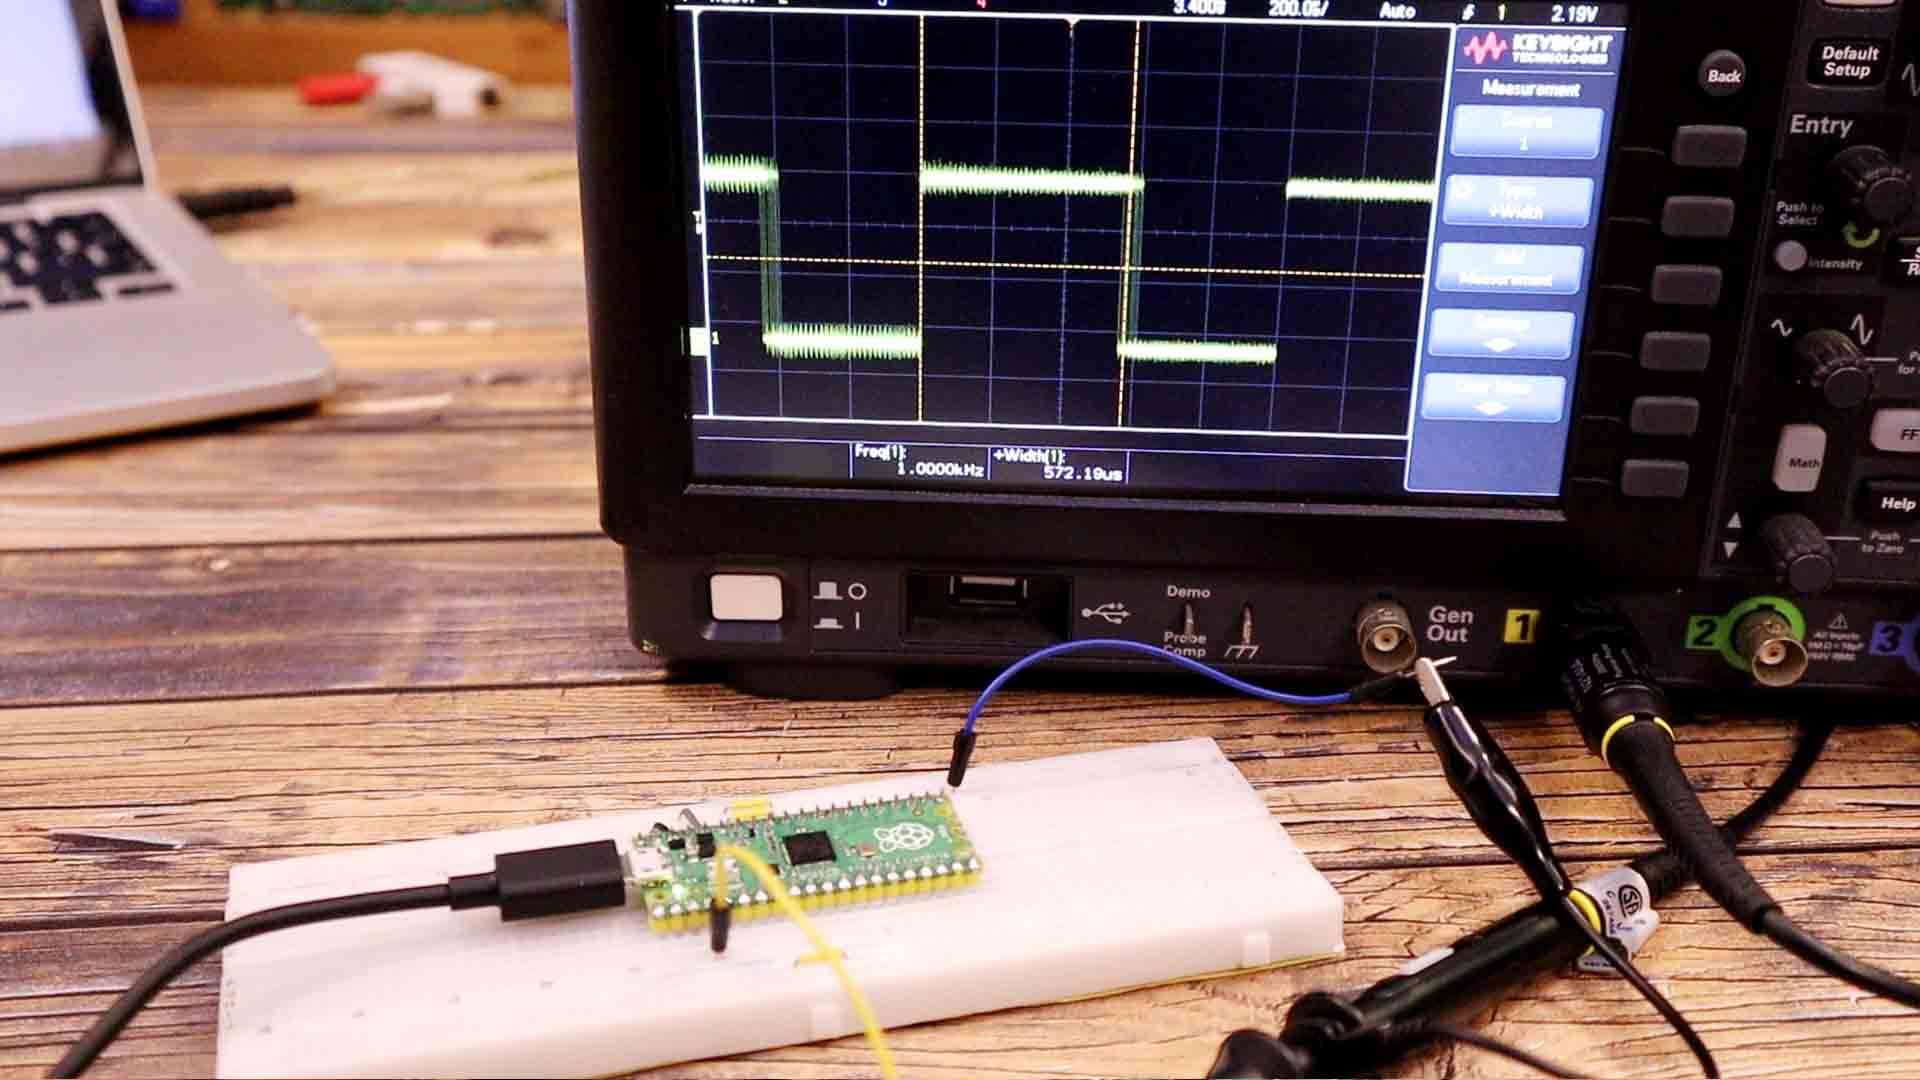

Finally, I have one more example. The PWM control. Remember that we have 16 pins that could create PWM signal. In the code we import pin and PWM from machine module. I also import utime for crating delays. I attach the PWM to pin 25 which is the pin of the on-board LED. Set the frequency to 1000 Hz. With while true I create my infinite loop and inside here I create two more whiles that will increase and decrease the PWM value. With pwm.duty I write that value to the pin. And that’s it. I run this code and as you can see we can fade on and off the LED. Quite easy right? On the ocilloscope we can see the PWM signal increasing and decreasing at a constant frequency of 1Khz.
# Example using PWM to fade an LED.
import utime
from machine import Pin, PWM

PWM_width = 0

# Construct PWM object, with LED on Pin(25).
pwm = PWM(Pin(25))

# Set the PWM frequency to 1Khz.
pwm.freq(1000)

while True:
  while PWM_width < 65536:
      PWM_width += 10
      utime.sleep(0.001)
      pwm.duty_u16(PWM_width)

  while PWM_width > 0:
      PWM_width -= 10
      utime.sleep(0.001)
      pwm.duty_u16(PWM_width)
