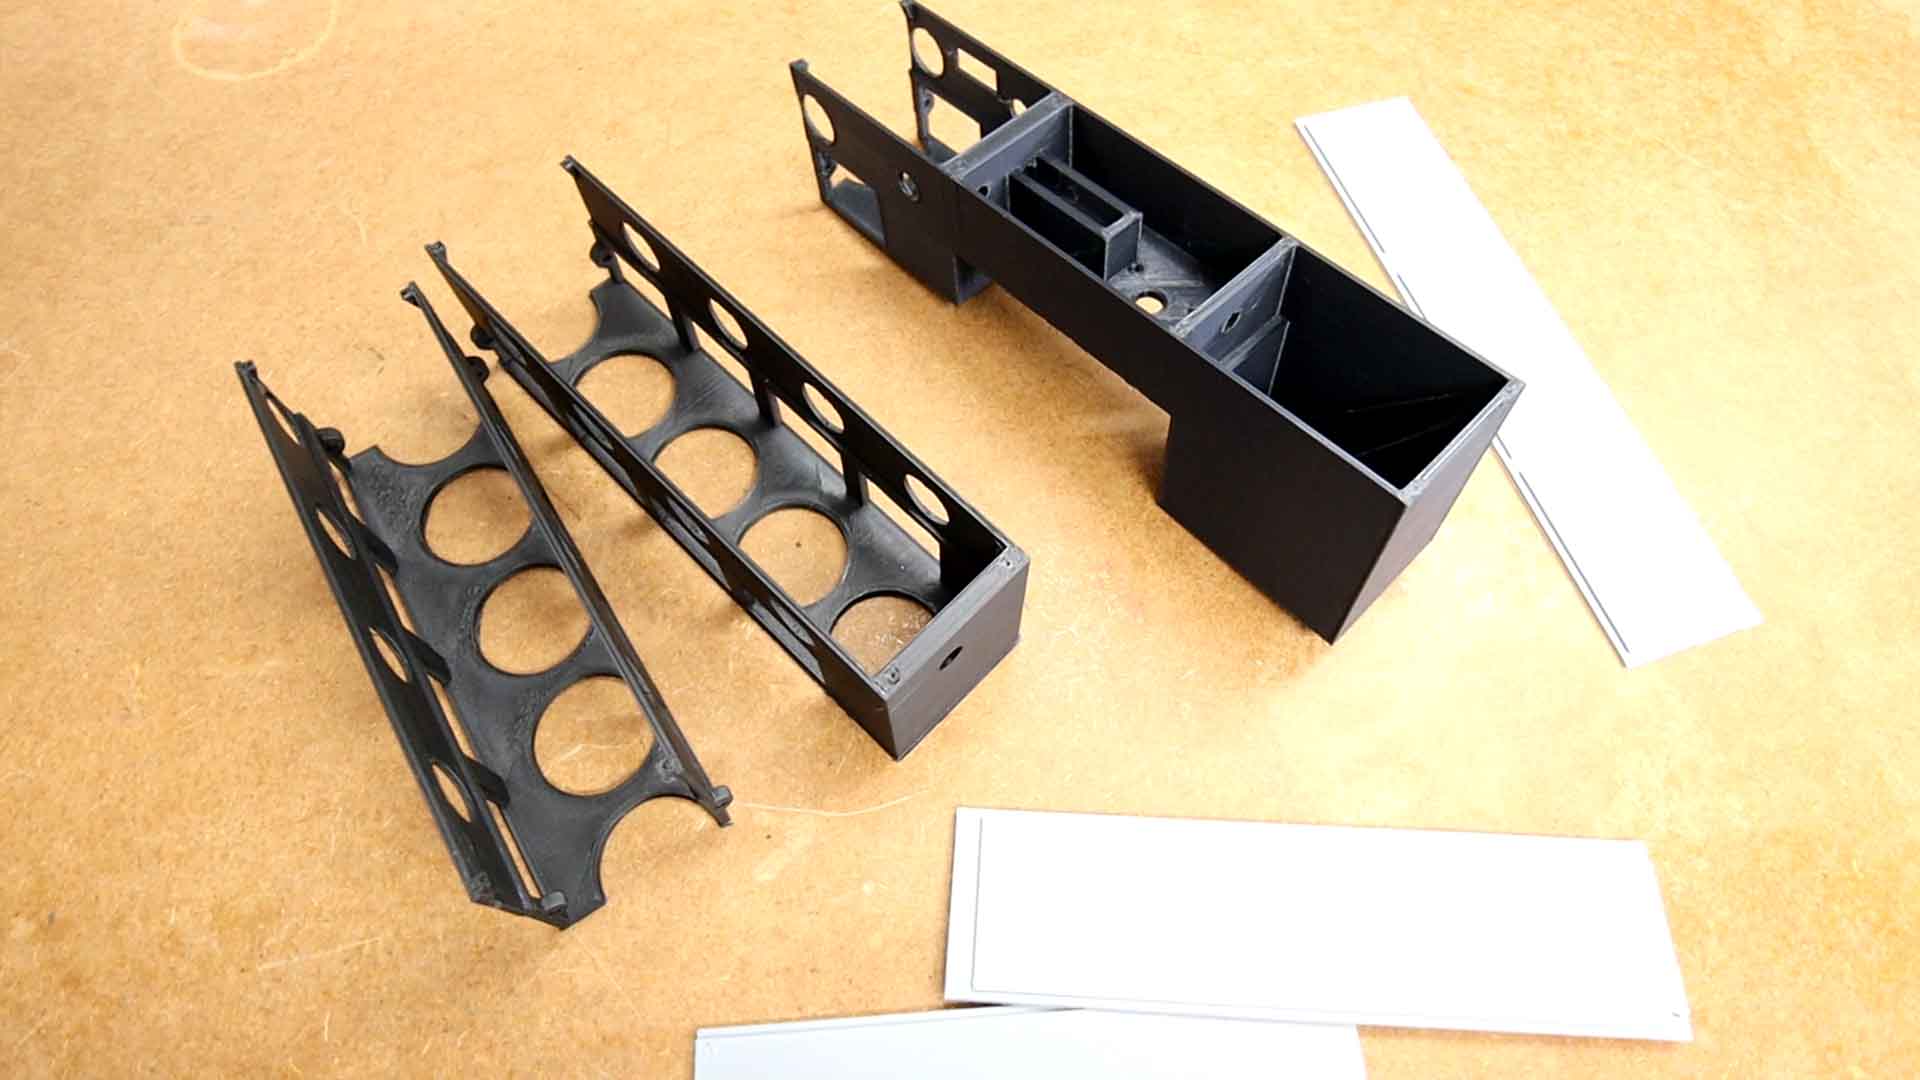
As a final step, to make this look cooler I’ve designed a 3D printed enclosure. Actually this will also add some safety since the high voltage is kept inside. I’ve made the case with 3 main parts that will join together by screws, 3 top parts and the trigger. Inside the trigger we can add the push button. I merge together the 3 main parts with screws and super glue. All parts were printed with PLA filament. The case has screw holes for the PCB so, I carefully add the coilgun inside the case and use small screws to fix it in place. I pass the wires to the back compartment where the generator and battery will go. The voltage indicator is on the side so we can see the charging process. I also add two toggle switches for 12 and 450V. Unfortunately, the generator and the battery pack can’t both fit inside the case. So maybe I will add the generator inside and the battery here on the exterior. I will use Velcro to do that. So, finish the final details and like that the coilgun is ready. It looks better than the previous version but the 3D design could still be improved.