
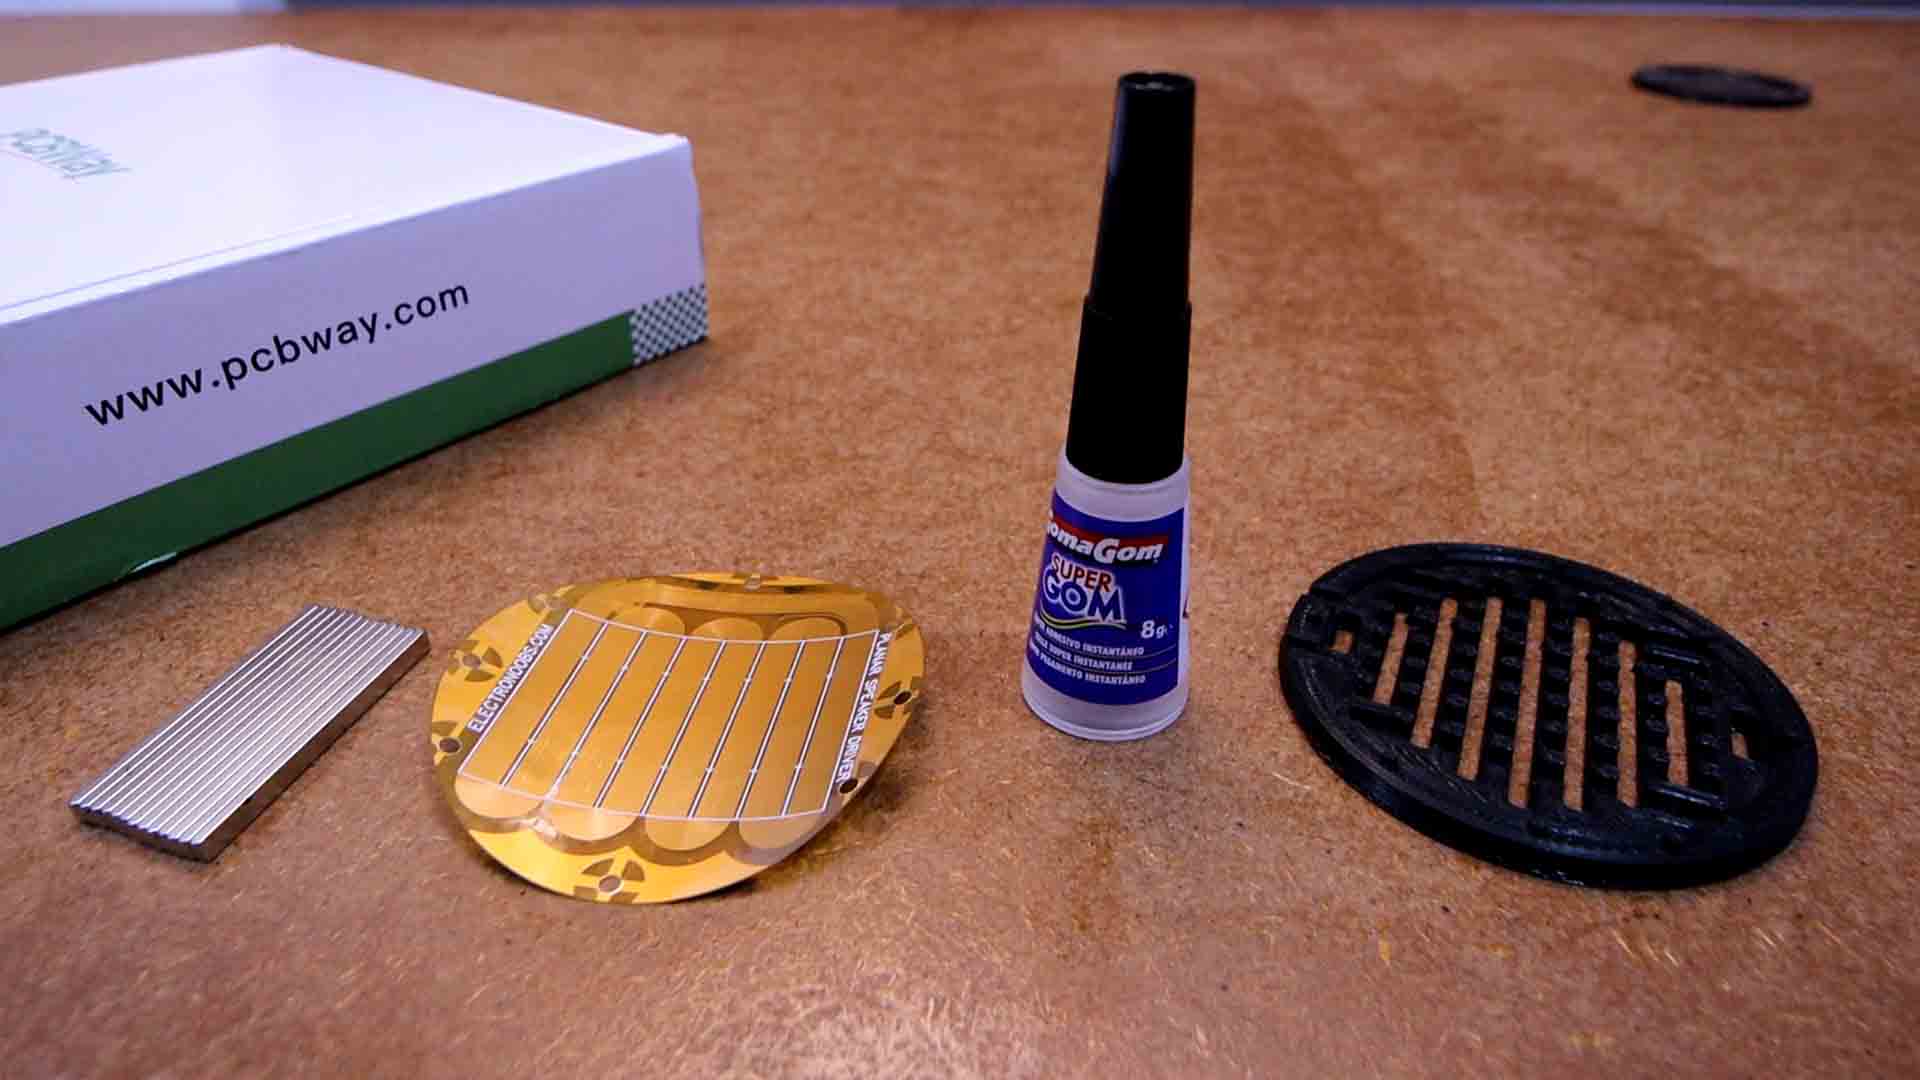
This below is the PCB for this project and as you’ve noticed, this time I’m using a flexible PCB. It looks a bit strange but this is exactly what I need for today's project. We are making a planar speaker. Planar speaker headphones are quite expensive so making a homemade one would be great. In this project I’ll tell you what planar speakers are and the difference between these speakers and normal cone speakers, then I’ll show you what we need for the project, we design the PCB as we need it to be and finally assemble the speaker and test its characteristics. I’m sharing all my designs for free so if you want to support my work, you will find links below for my PATREON page. Like this you will be able to get your own planar speaker headphones but a lot cheaper. Obviously, once I get the speaker to work, I will design the headphones enclosure and also build my own homemade planar speaker headphones. So guys, let’s get started.
Since today we are only making the speaker driver, the part list is short. Get from below the PCB GERBERs and then use PCBWAY services for example, and get your own flexible PCBs. I've used the default settings for thickness, color, etc. Also, download from below the 3D STL files for the case. Then use the provided links adn but the magnets with the same size I've used. And that's if for the part list. Abviouslly you will need super glue, wires, solderign iron and solder, and that's it. As an extra, to test the driver, get a bluetooth music receiver and connect the finished speaker to it to test it out. All links below.
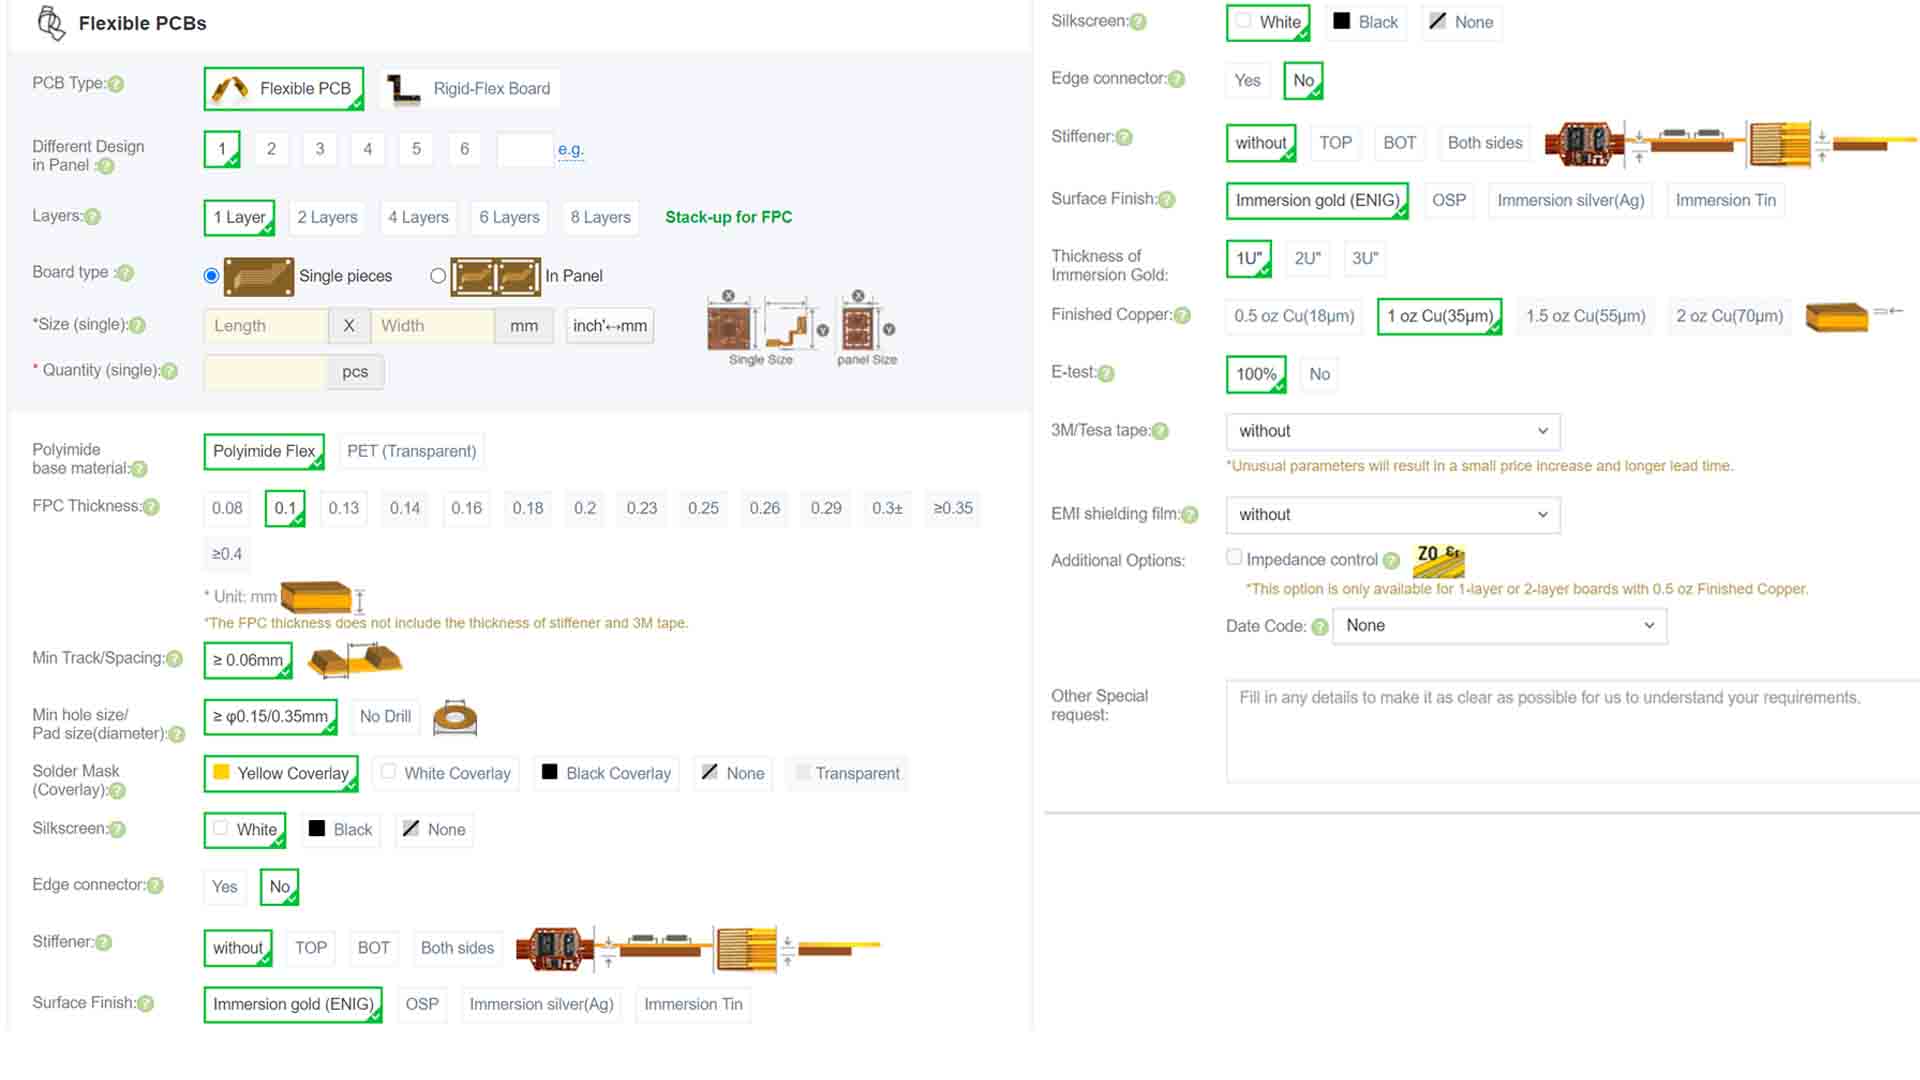
So once you get the GERBER files from my website, you will see that you download a ZIP file with all the GERBERs needed fro PCB manufacture. You can use any manufacturer but I've used PCBWAY. For the PCB settings I've used the default ones which you can see below. The PCB size is of 76mm diameter and since it is round, it has a size of 76x76mm. Insert those settings and save to cart. Then uplaod the GERBER files and make tha payment. Receive the PCBs in a few days. Then, get the material and make the same project.
Now you should have everything. Download from above the 3D fiels and print them with PLA material, 0.4mm nozzle, 0.2mm layer height and 2 perimeters + 30% infill. Thake 14 magnets, stack them on top of each other and mark one polarity. In my case I make a red line on each magnet. Now we use glue and place them inside of the 3D part. I start with the magnets with the red line facing upwards. Once the glue is dry, I add the other magnets but with the red line facing downwards. I do the same for both 3D printed parts.

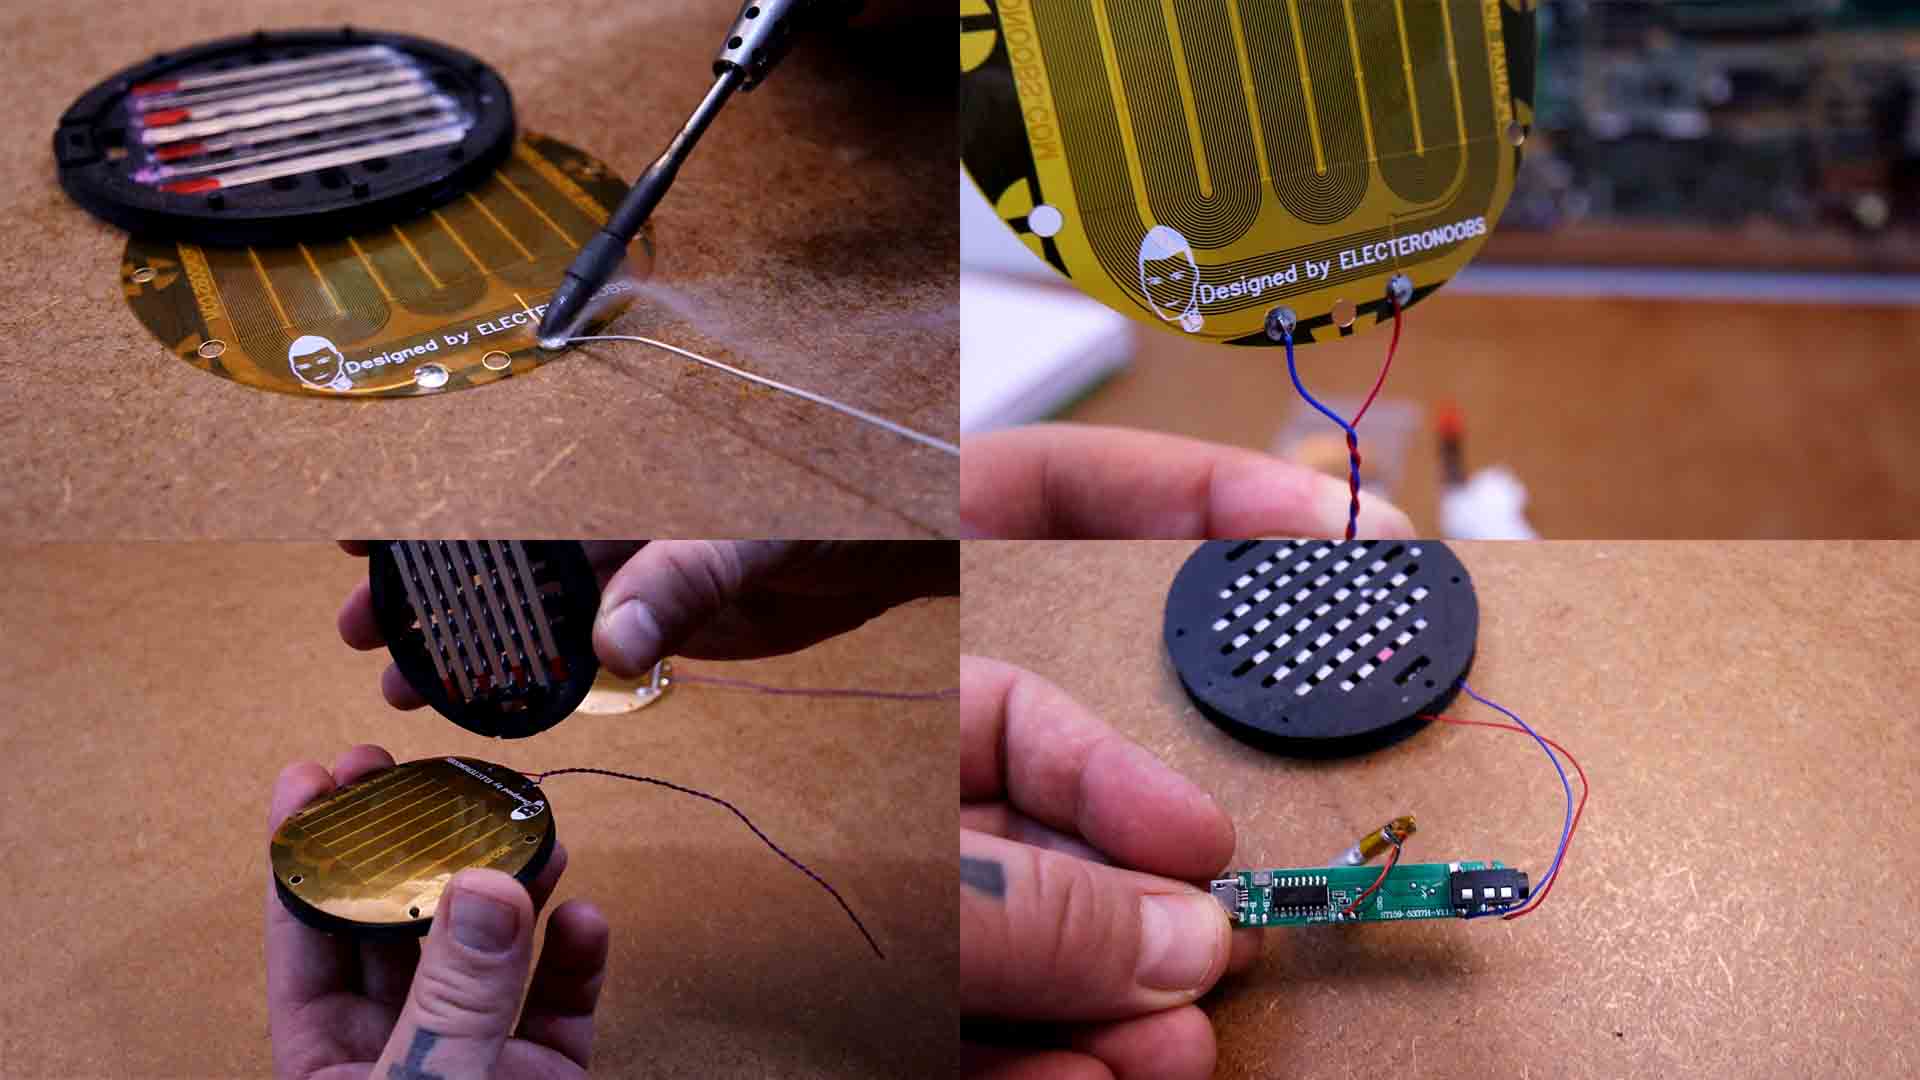
Now I solder some thin wires to the PCB. Be quick, these PCBs can’t handle high temperatures as long as a normal PCB. Place the membrane on top using the plastic pins. Then carefully add the other side and press them together. The PCB is now tight and in between the magnets. We can test it out. I first connect it to a signal generator and apply all sorts of signals and frequencies. But you can use the Bluetooth receiver and test it out with some music from a smartphone.
So guys, that’s how I’ve designed my own planar speaker. Using this, in the next video I will make my own planar speaker headphones which might have Bluetooth, rechargeable battery and other cool parts. So stay tuned for that. If my videos help you, consider supporting my work on my PATREON or a donation on my PayPal. Thanks again and see you later guys.


