This here is a voice recognition module. I’ve used such a module before a few years ago but this is a new version and is seems to be better. In this video I will tell you the difference of this new module, its specifications, how to use it and show you a few examples of what you could do with it. So let’s get started.
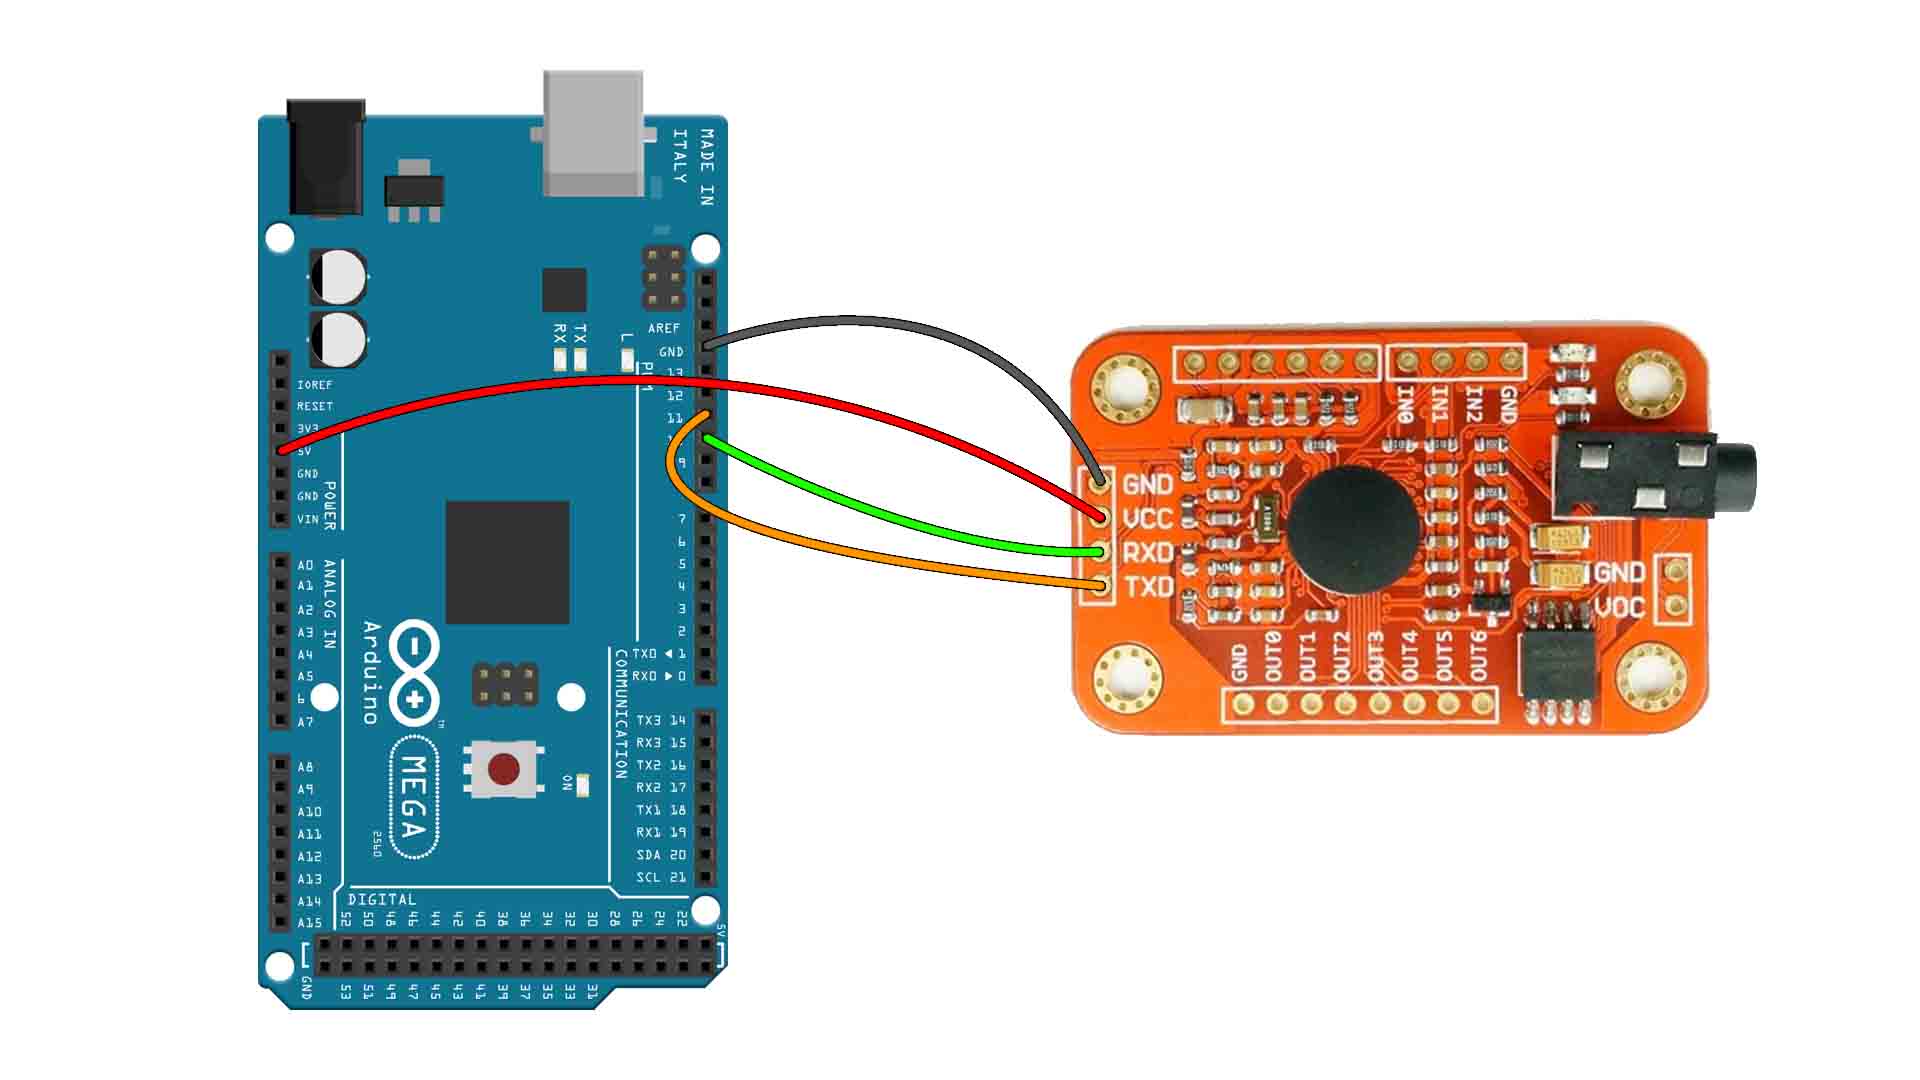
For this example all we need is the Arduino and the voice module that you can buy from HERE from AliExpress. Connect the UART pins RX and TX to digital pins of the Arduino D4 and D5 for example. Or if you use the Arduino MEGA, connect them to D10 and D11 since not all pins can have software interruptions for the UART signal.

All the codes and libraries mentioned here are open-source and the credits for developing them goes to their respective authors. You should download and install the "voicerecognitionv3.h" Arduino library before you could use the module with an Arduino. Download the library from here. All the codes we need are there in the library zip file as example programs.
As I've mentioned above, we must train the module before we can use it for voice recognition. Follow these steps to train the module.
Connect the Circuit to the computer.
Launch the Arduino IDE.
Check whether you've selected the right Arduino board. (Tools -> Board)
Check if the right COM port is selected. (Tools -> Port)
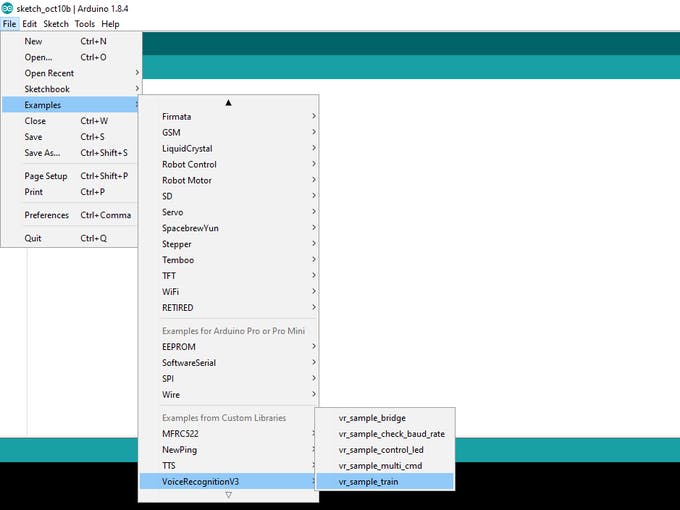
Now open the sample program for training the module.
Go to File -> Examples -> VoiceRecognitionV3 -> vr_sample_train
Upload the code to Arduino and wait until the code gets uploaded. (Ctrl + U)
Open the Serial Monitor. (Ctrl + Shift +M)
Make sure that the baud rate is set to 115200 and the "Newline" option is selected.
If everything is fine, a menu will be shown on the serial monitor as shown in the picture above.
There are several commands that you can type in to the serial monitor to program the module, here we'll be using the "train" command to train the module.
The V3 has a capacity to store 80 voice commands, each with a duration of 1500 ms. Each command is stored in an address starting from 0 to 254.
By using the "train" command, we're storing a voice command in to a specific address, so you should specify the address in the command.
The syntax of the command goes like this: train address For example: train 0, train 20, train 254.
We will require two voice commands for controlling the LED. One command to turn it ON and the other one to turn it OFF.
Enter the command in the serial monitor followed by the address you want to store it. eg: train 20.
After you've entered the command, wait for a message to appear on the serial monitor that says "speak now". Now speak your command for turning ON the LED in to the microphone clear and loud enough.
If the command is clear enough, another message will show up asking you to speak again. Speak it again to register the command.
The code will ask you to repeat the command if some noise occurs during the recording or if the sound is not clear enough. The quality of your microphone has a considerable role over here. You may fail to register a command if your microphone isn't good enough. Also train the board in a noise free environment.
Once you've successfully entered a voice into the module, repeat the same process to input the voice command for turning OFF the LED. Remember to store the command in a different address. For eg: train 30.
If you've successfully loaded both of the commands, you're now ready to upload the code for controlling the LED.
So guys, that is how you can use this module. If my videos help you, consider supporting my work on my PATREON or a donation on my PayPal. Thanks again and see you later guys.