
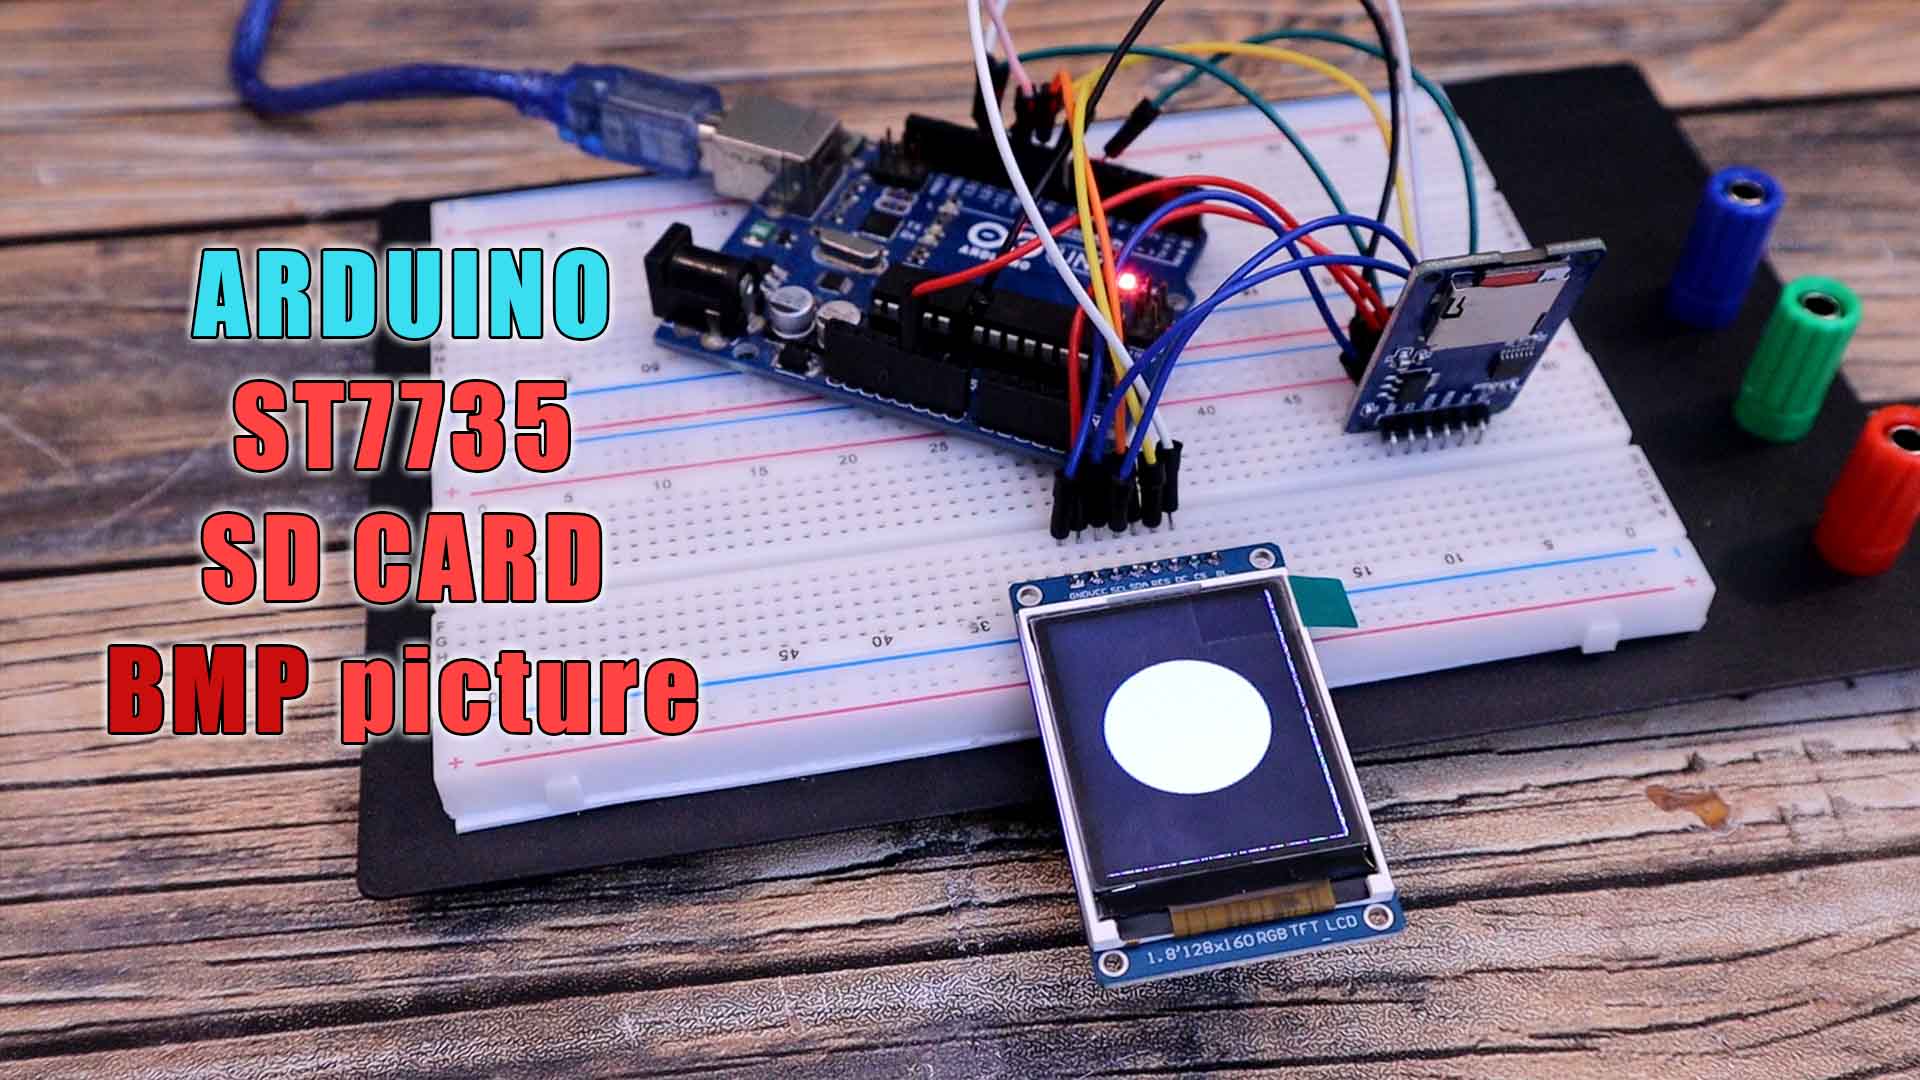
Drawing bitmap images (.BMP format) on ST7735 TFT display is quite easy because they are uncompressed images unlike JPEG images (.JPG format). This post shows how to draw bitmap images on the ST7735 TFT using Arduino UNO board where the Arduino loads the BMP images from SD card and print them on the display. The ST7735 TFT is a color display that uses SPI protocol, it has a resolution of 128×160 pixel. This display works with 3.3V only.
Wee need Aan rduino UNO or NANO board, the ST7735S TFT display module, a microSD card with FAT16 or FAT32 file system, the microSD card module adapter, the Breadboard and Jumper wires. Below you will find the connections and the code example and also a few bmp files to test with.
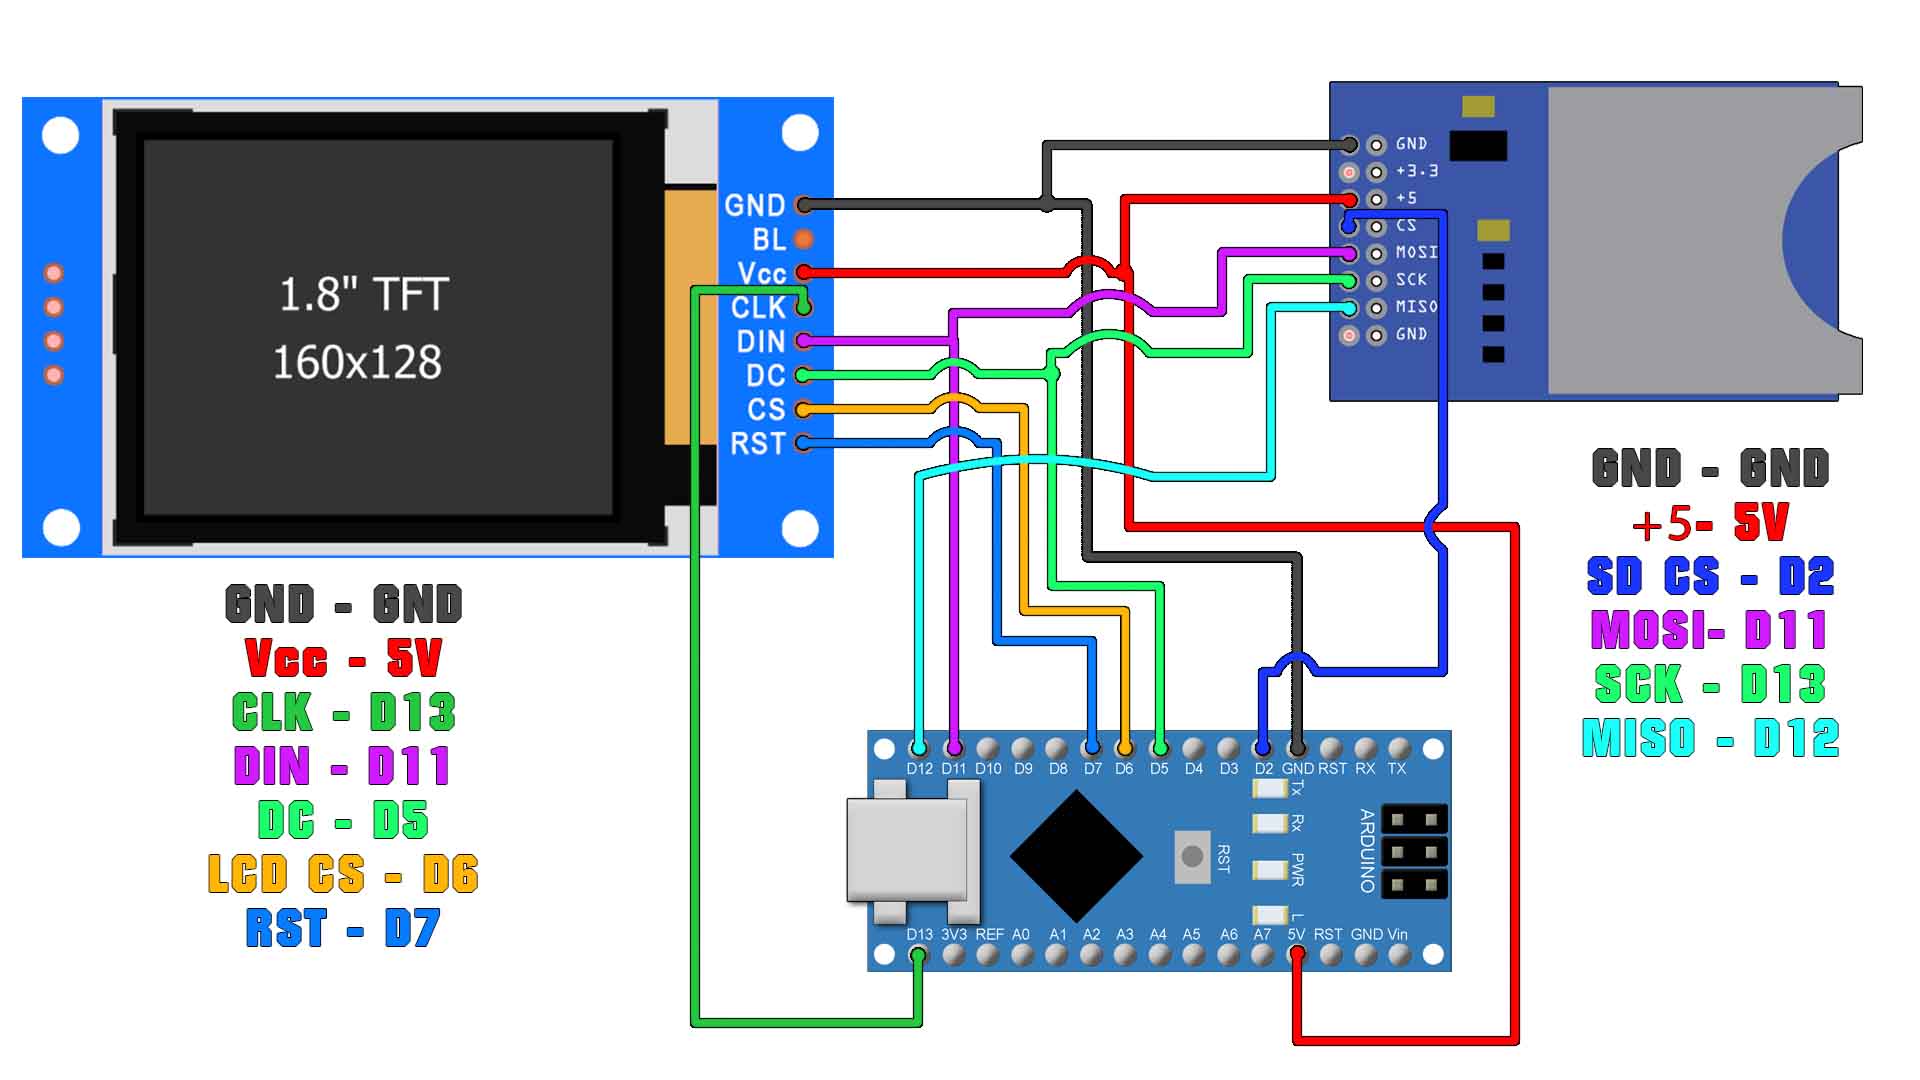
The following image shows project circuit diagram. The ST7735S shown in project circuit diagram has 8 pins: (from right to left): RST (reset), CS (chip select), DC (or D/C: data/command), DIN (data in), CLK (clock), VCC, BL (back light) and Gnd (ground). The ST7735S display module is supplied with 5V. GND pin is connected to Arduino GND pin, VCC and BL pins are connected to Arduino 5V pin. In the display module there is AMS1117-3V3 voltage regulator which supplies the display controller with 3.3V (because it works with 3.3V only). The regulator steps down the 5V that comes from the Arduino board into 3.3V.
Make all the connections as in the previous part of the schematic. Download the code and libraries ferom below. To install the library, download the .zip file below, open Arduino IDE and go to Sketch, include library, add .zip library and open the .zip file that you have just downloaded. Now the ST7735 and Adafruit GFX library sould be installed. Open the print bmp code. Compile and check for errors and uplaod it to the Arduino NANO. Make sure you copy some bmp files to the card with the 160 by 128 pixels resolution. You can download some .bmp files from below. In the code you can change the
#include <Adafruit_GFX.h>    // Core graphics library
#include <Adafruit_ST7735.h> // Hardware-specific library for ST7735
#include <SPI.h>
#include <SD.h>
#define TFT_RST  7          // Reset line for TFT (or see below...)
#define TFT_CS   6          // Chip select line for TFT display
#define TFT_DC   5          // Data/command line for TFT
#define SD_CS    2         // Chip select line for SD card
//D11 -> MOSI SD + SDA TFT
//D12 -> MISO SD
//D13 -> SCK SD + SCL TFTDownlaod the zip file from below. It only has a few example bmp files with the resolution of the screen of 160 by 128 pixels. Extract the zip file and copy the bmp files directly to the SD card without any other folder. Insert the SD card into the module and power up the circuit. See the results.
That's how to control the ST7735 LCD and print files from the micro SD card. I hope you like this tutorial and maybe you have learned something new. If my videos help you, consider supporting my work on my PATREON or a donation on my PayPal. Thanks again and see you later guys.


