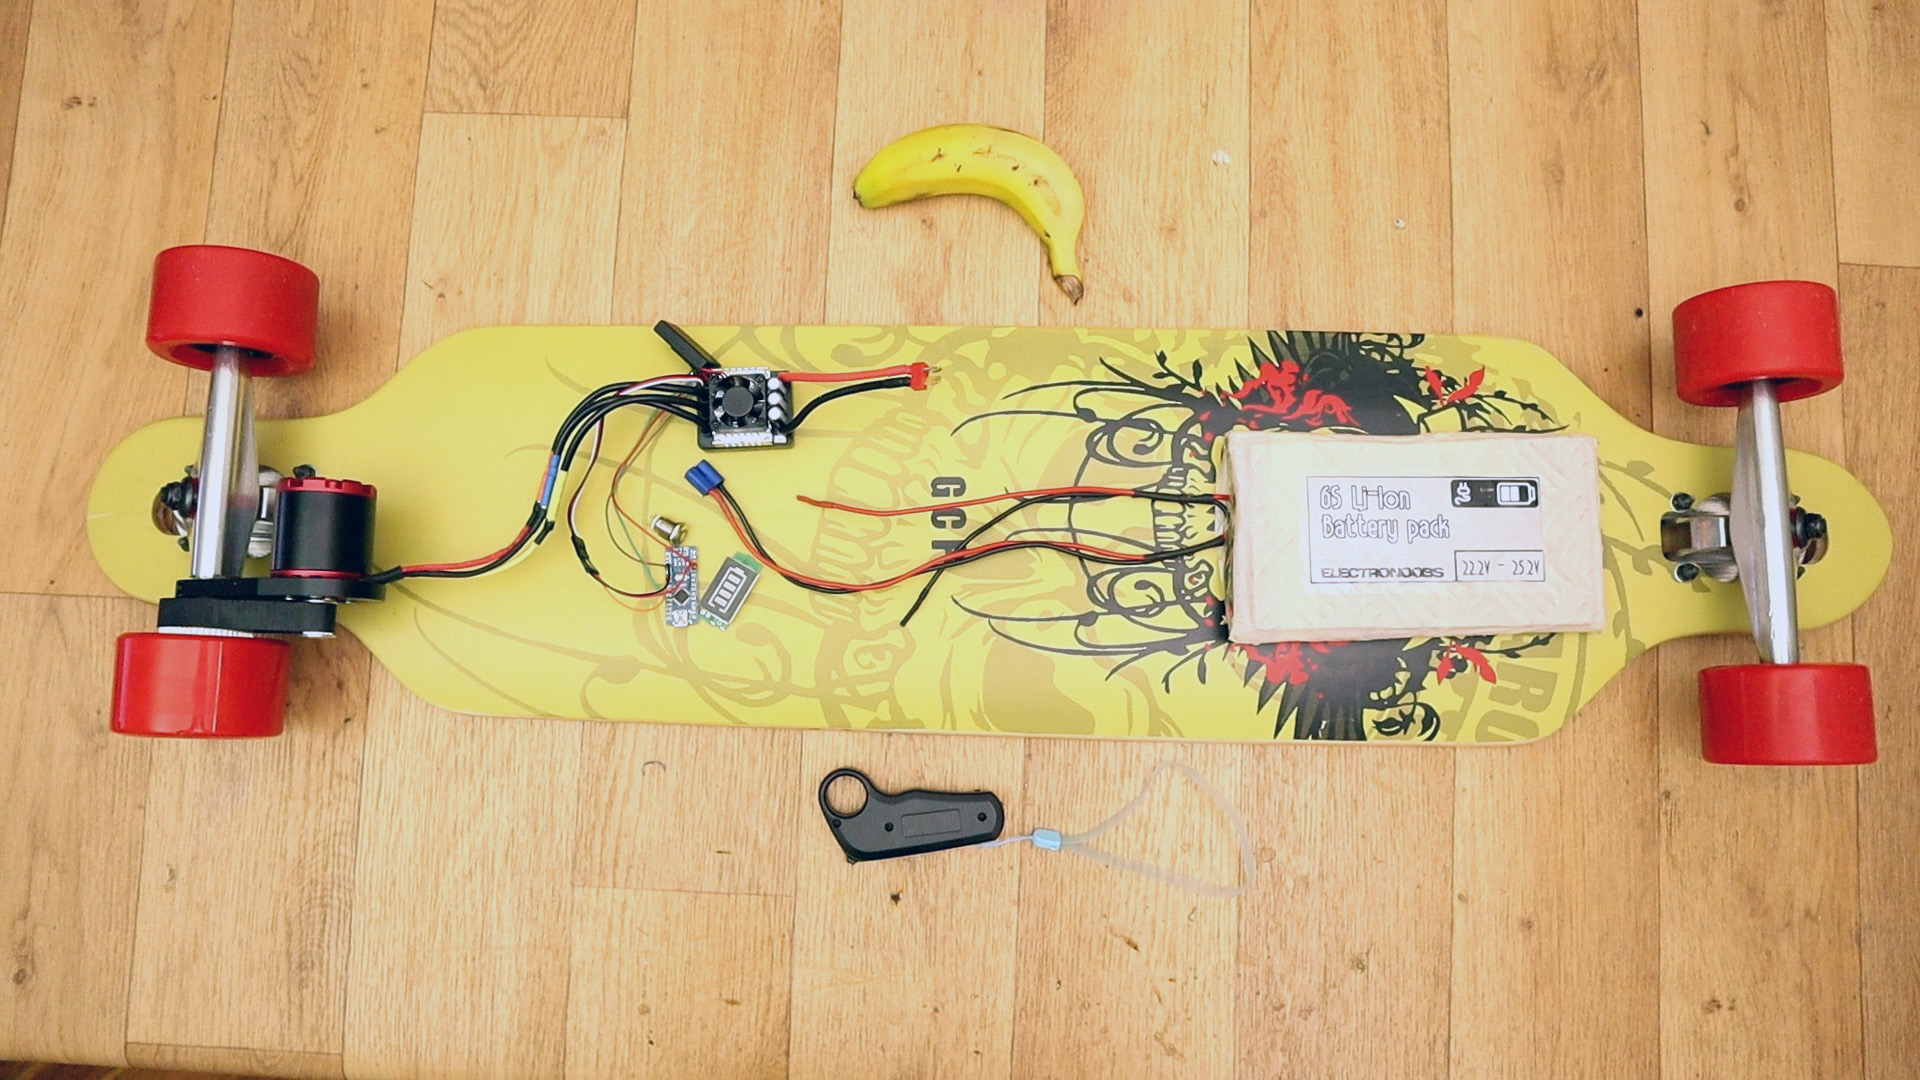

I've started a new project. I want to make my own homemade electric longboard with a powerfull Brushless motor. The first idea was to use two motors, but I had not enough space between the wheels of my longboard. In this tutorial we will see how to mount everything together, make a test and give the final results. Make sure you watch the tutorial on how I've made my homemade 6S battery pack in order to finish this tutorial.
First of all, let's see what we need for this project. I wanted double motors, double ESCs and so on, but since I received the board after I've ordered the components, I couldn't know the size of each wheel, shaft, etc... The motors I have are too big for my board to be one next to each other... Any way, the main aprts are a 6S battery, an ESC, a burushless motor, the radio control and the receiver, the motor mount and the longboard.
Some extra parts are the battery level indicator so we could see when to recahrge the abttery, an on and off switch to power the ESC from the outside of the case and another switch to power on the entire baord. Also some battery connectors, wires and a case for all the components. Later we will 3D print a good case fro this project...
Once we have all the parts, let's look over the schematic. As you can see below, we haev the battery connected to the entire system but with a main switch. The battery also has a second plug so we coulld charge the battery. After the switch the ESC and the battery level are connected. From the ESC we get 5V to power the Arduino and the radio receiver. To the Arduino, we will later uplaod a small code that will map the PWM values as we want.
To power up the ESC I will later solder a push button to the ESC. The brushless motor is connected to the ESC and that's pretty much it. The circuit is very simple. We will also need the radio transmitter.
If we connect the radio receiver directly to the ESC we would have problems. The rotation would be very abrupt. Also the break and we don't want that while we are on the longbaord otherwise it would trow us from the longboard.
In the vide above we can see the difference between using directly the PWM signal from the radio receiver or use the maped signal with the Arduino and also a small delay. In this way, it is much safe to ride the longboard. Downlaod the code and uploade it the Arduino and make the connections as in the schematic above.
For now, the main problem is to find a good case for all the parts. The case must be flat and not to touch the ground below the longbaord. It should not cover the entire area of the longbaord so it could still flex. Also, be big anough for the battery pack and the electronics. It should have space for the push buttons and connectors to charge the battery. Stay tuned for next part of this project when I'll be doing just that with some 3D printed cases.
