What’s up my friends, welcome back. It’s been a very long time since I wanted to make this video project and it is finally here. For months I’ve been working on a 3D project, to be more specific a fully 3D printable RC plane, in this case a yak 55 with a wingspan of 800mm.
So why I’m so excited? Well I’m no professional 3D editor, I’m an electronic engineer, so this was a difficult work for me since I’m not that good at 3D editing. But for the last 2 years, I’ve practice a lot and I was able to create all the tiny parts of this plane and make it 3D printable, very light and radio control compatible.
The first thing that I will do is explain you how I’ve made each part. For editing I’m using Blender. I know there are a lot of better software but this is the one I got used to. So, to start with I needed the blueprints of a yak 55 plane and I’ve got that from google. Once I had the photos, I’ve edited them in Photoshop for the top and side view. Now let’s open Blender and press the N key. Here we go to background image and select top view and open the top photo that we’ve just created for the blueprints. Nest we add a second image, select front view and add the second photo, Now, if we press key 7 we can see the top view and if we press key 1 we can see the side view. Press the Z key to see wireframe so we can see through the design. This won’t be a Blender tutorial, but, leave in the comment section below if you would like to see a full basic Blender tutorial on my channel.
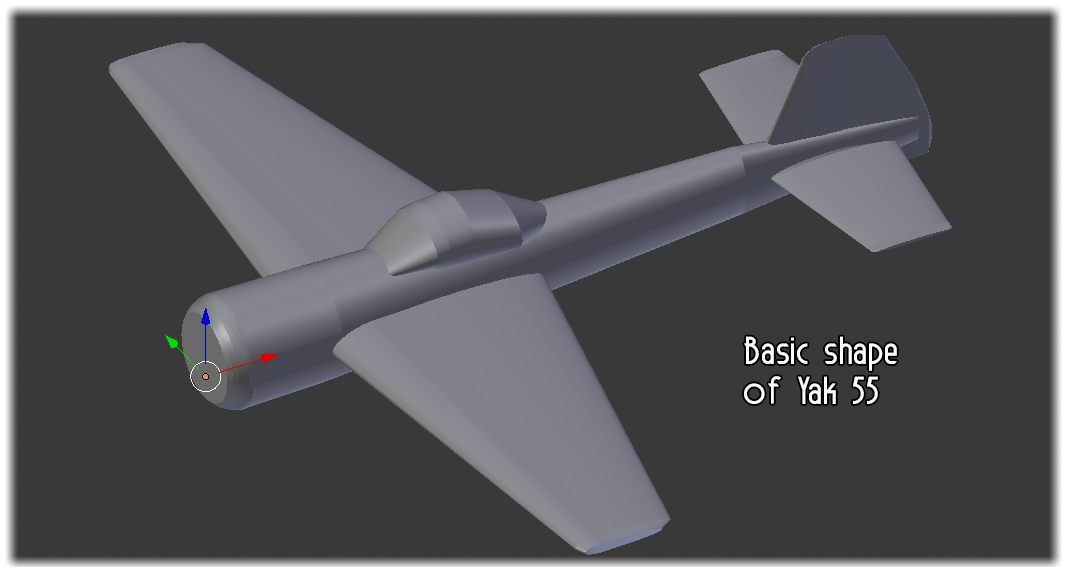
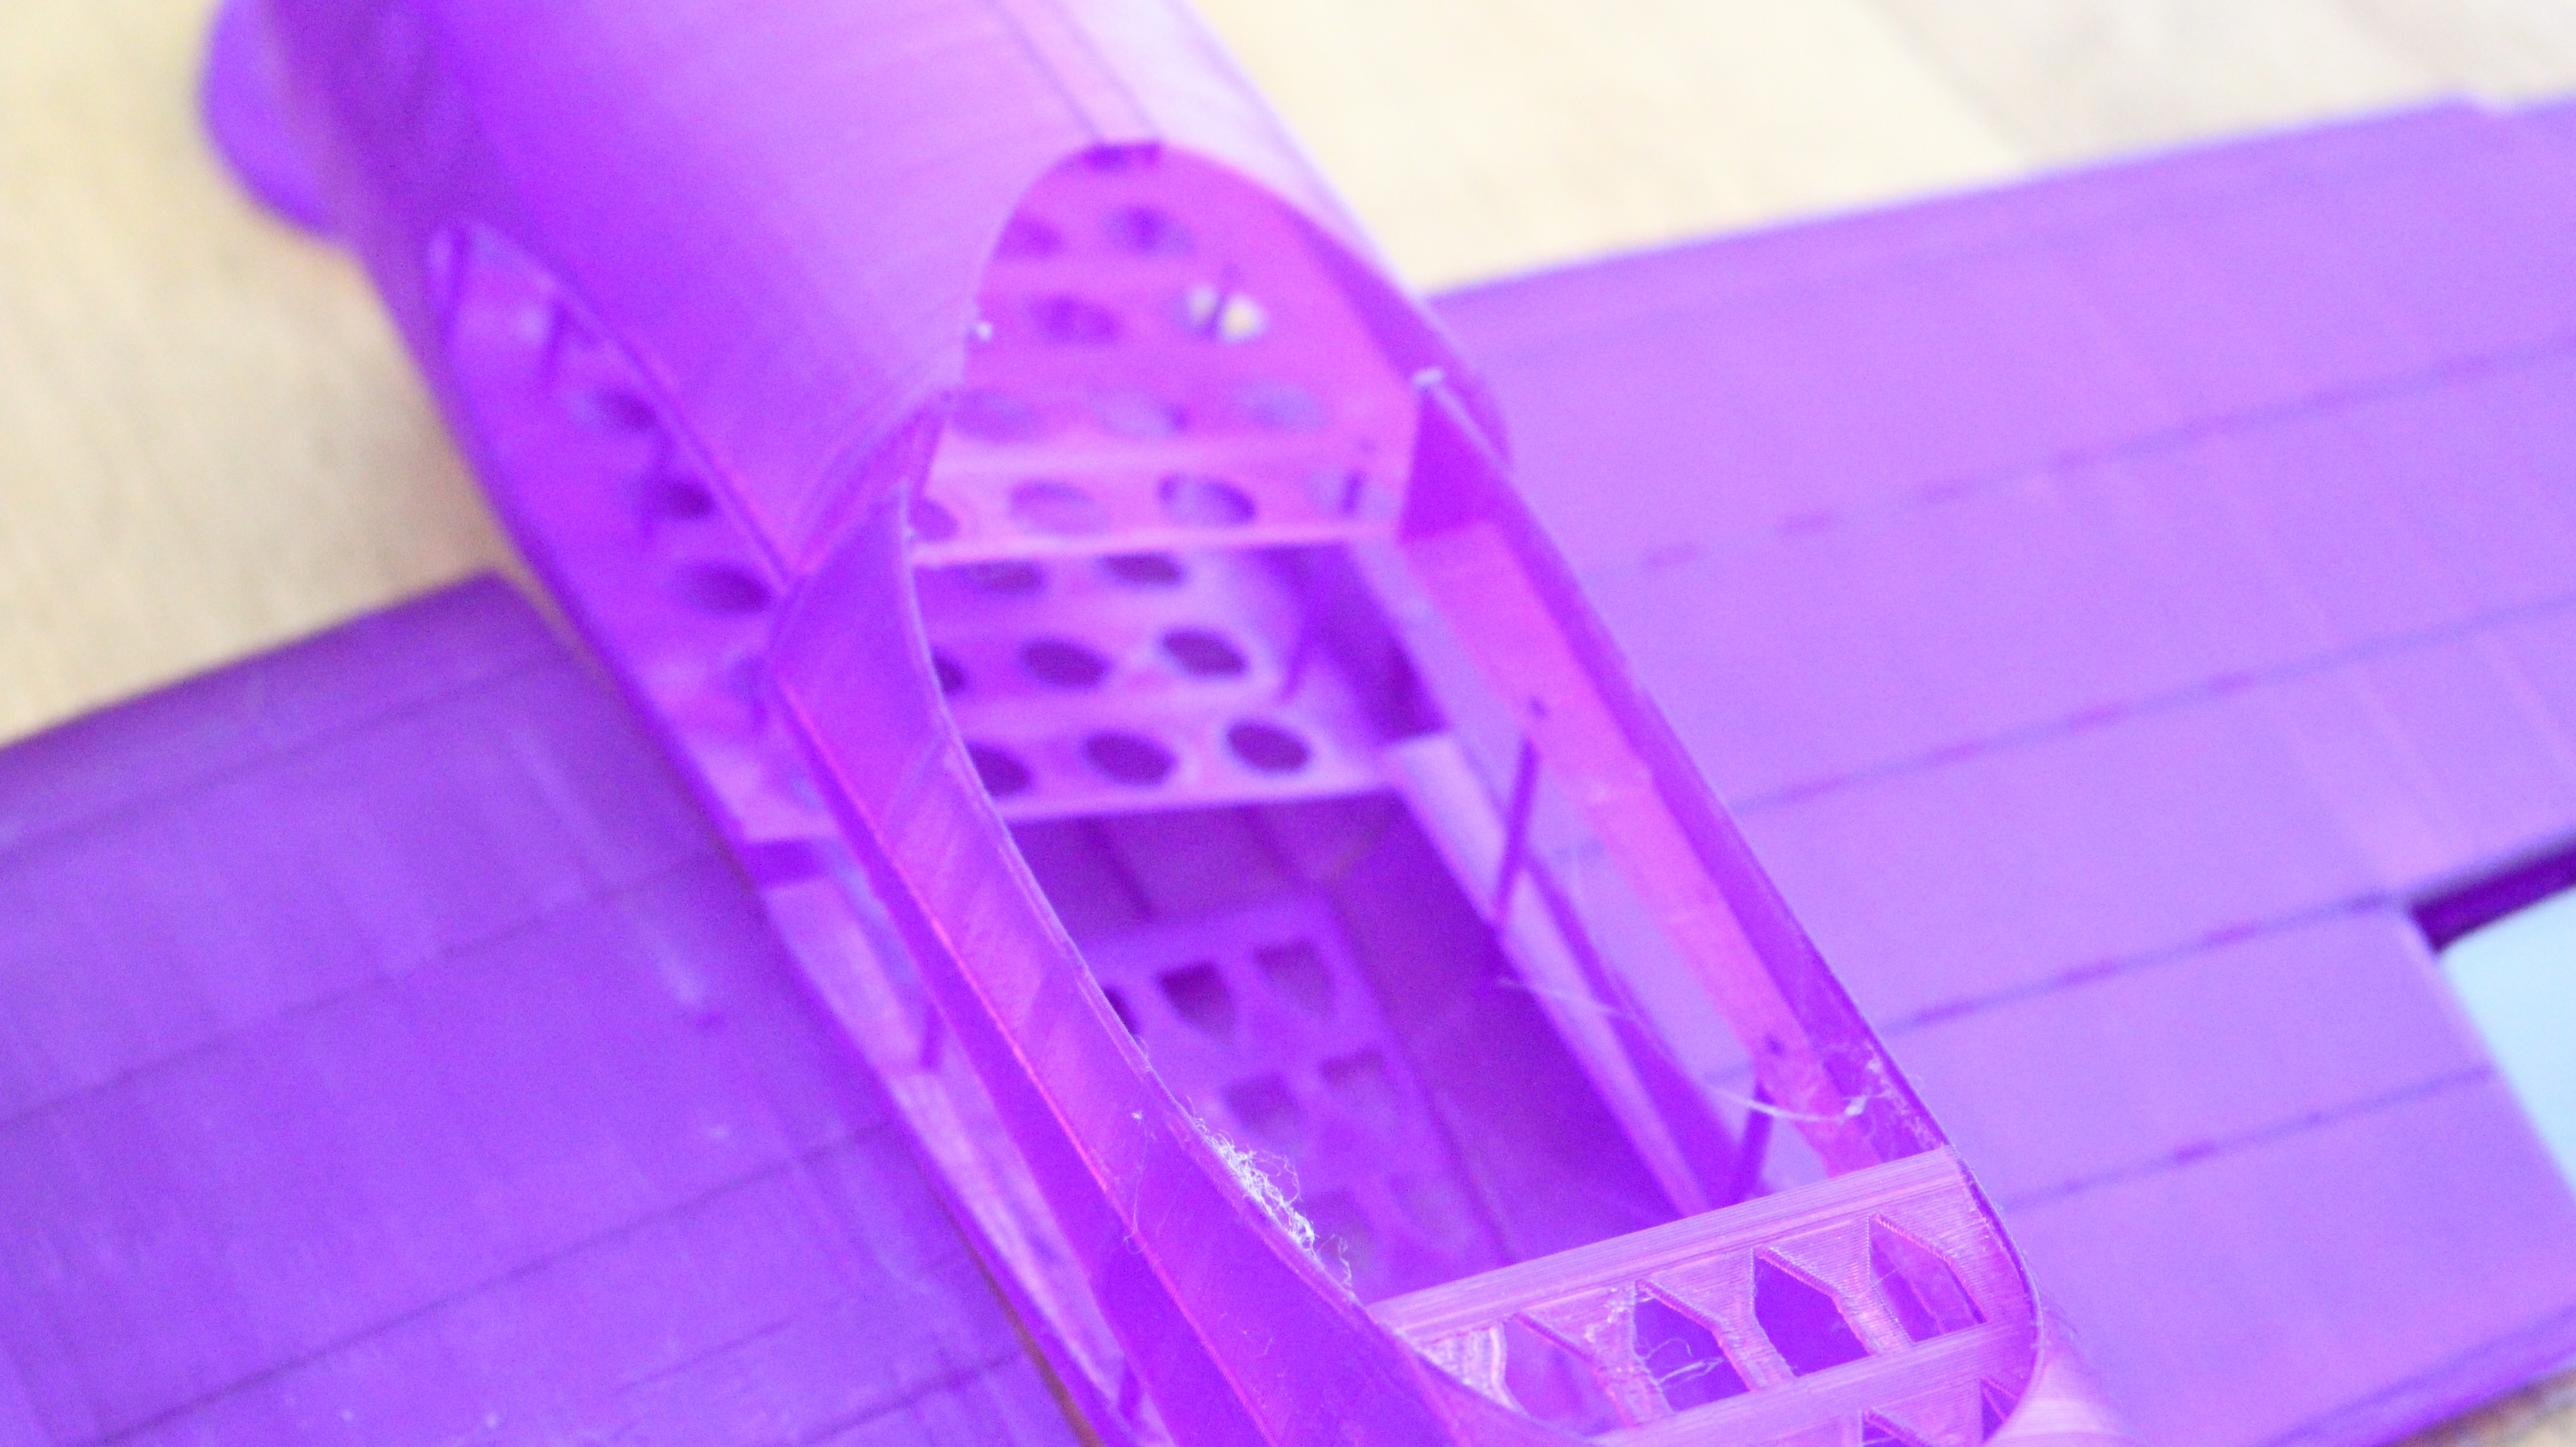
Ok, I’ve started editing a basic body for the plane. Use a lot of vertices so the final design will have good details. I first made the main body as some kind of a tube following the blueprints more or less. Then I’ve made the wings and made sure that it has some aerodynamics. I’ll later change these parts and add all the fine details with more curves.
I’ve created a plane and divided the plane body into basic parts and then worked on each part. Let’s take as an example the nose of the plane.
I create a plane object and divide the plane here, now I have the front part of the plane but it is a full block. I only want the walls. And to be more specific a wall of only 2 perimeters so it will be very light.
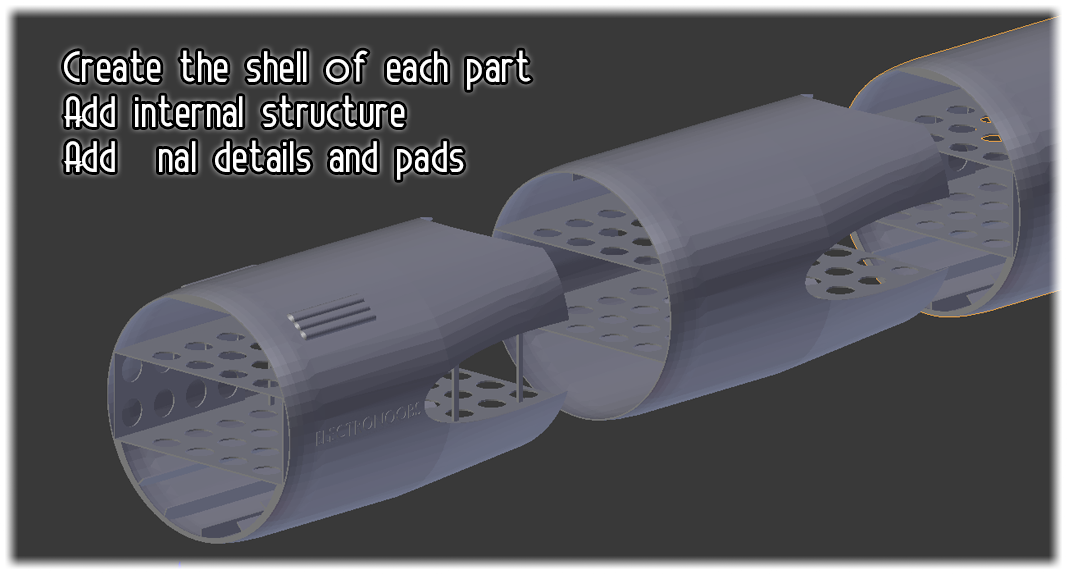
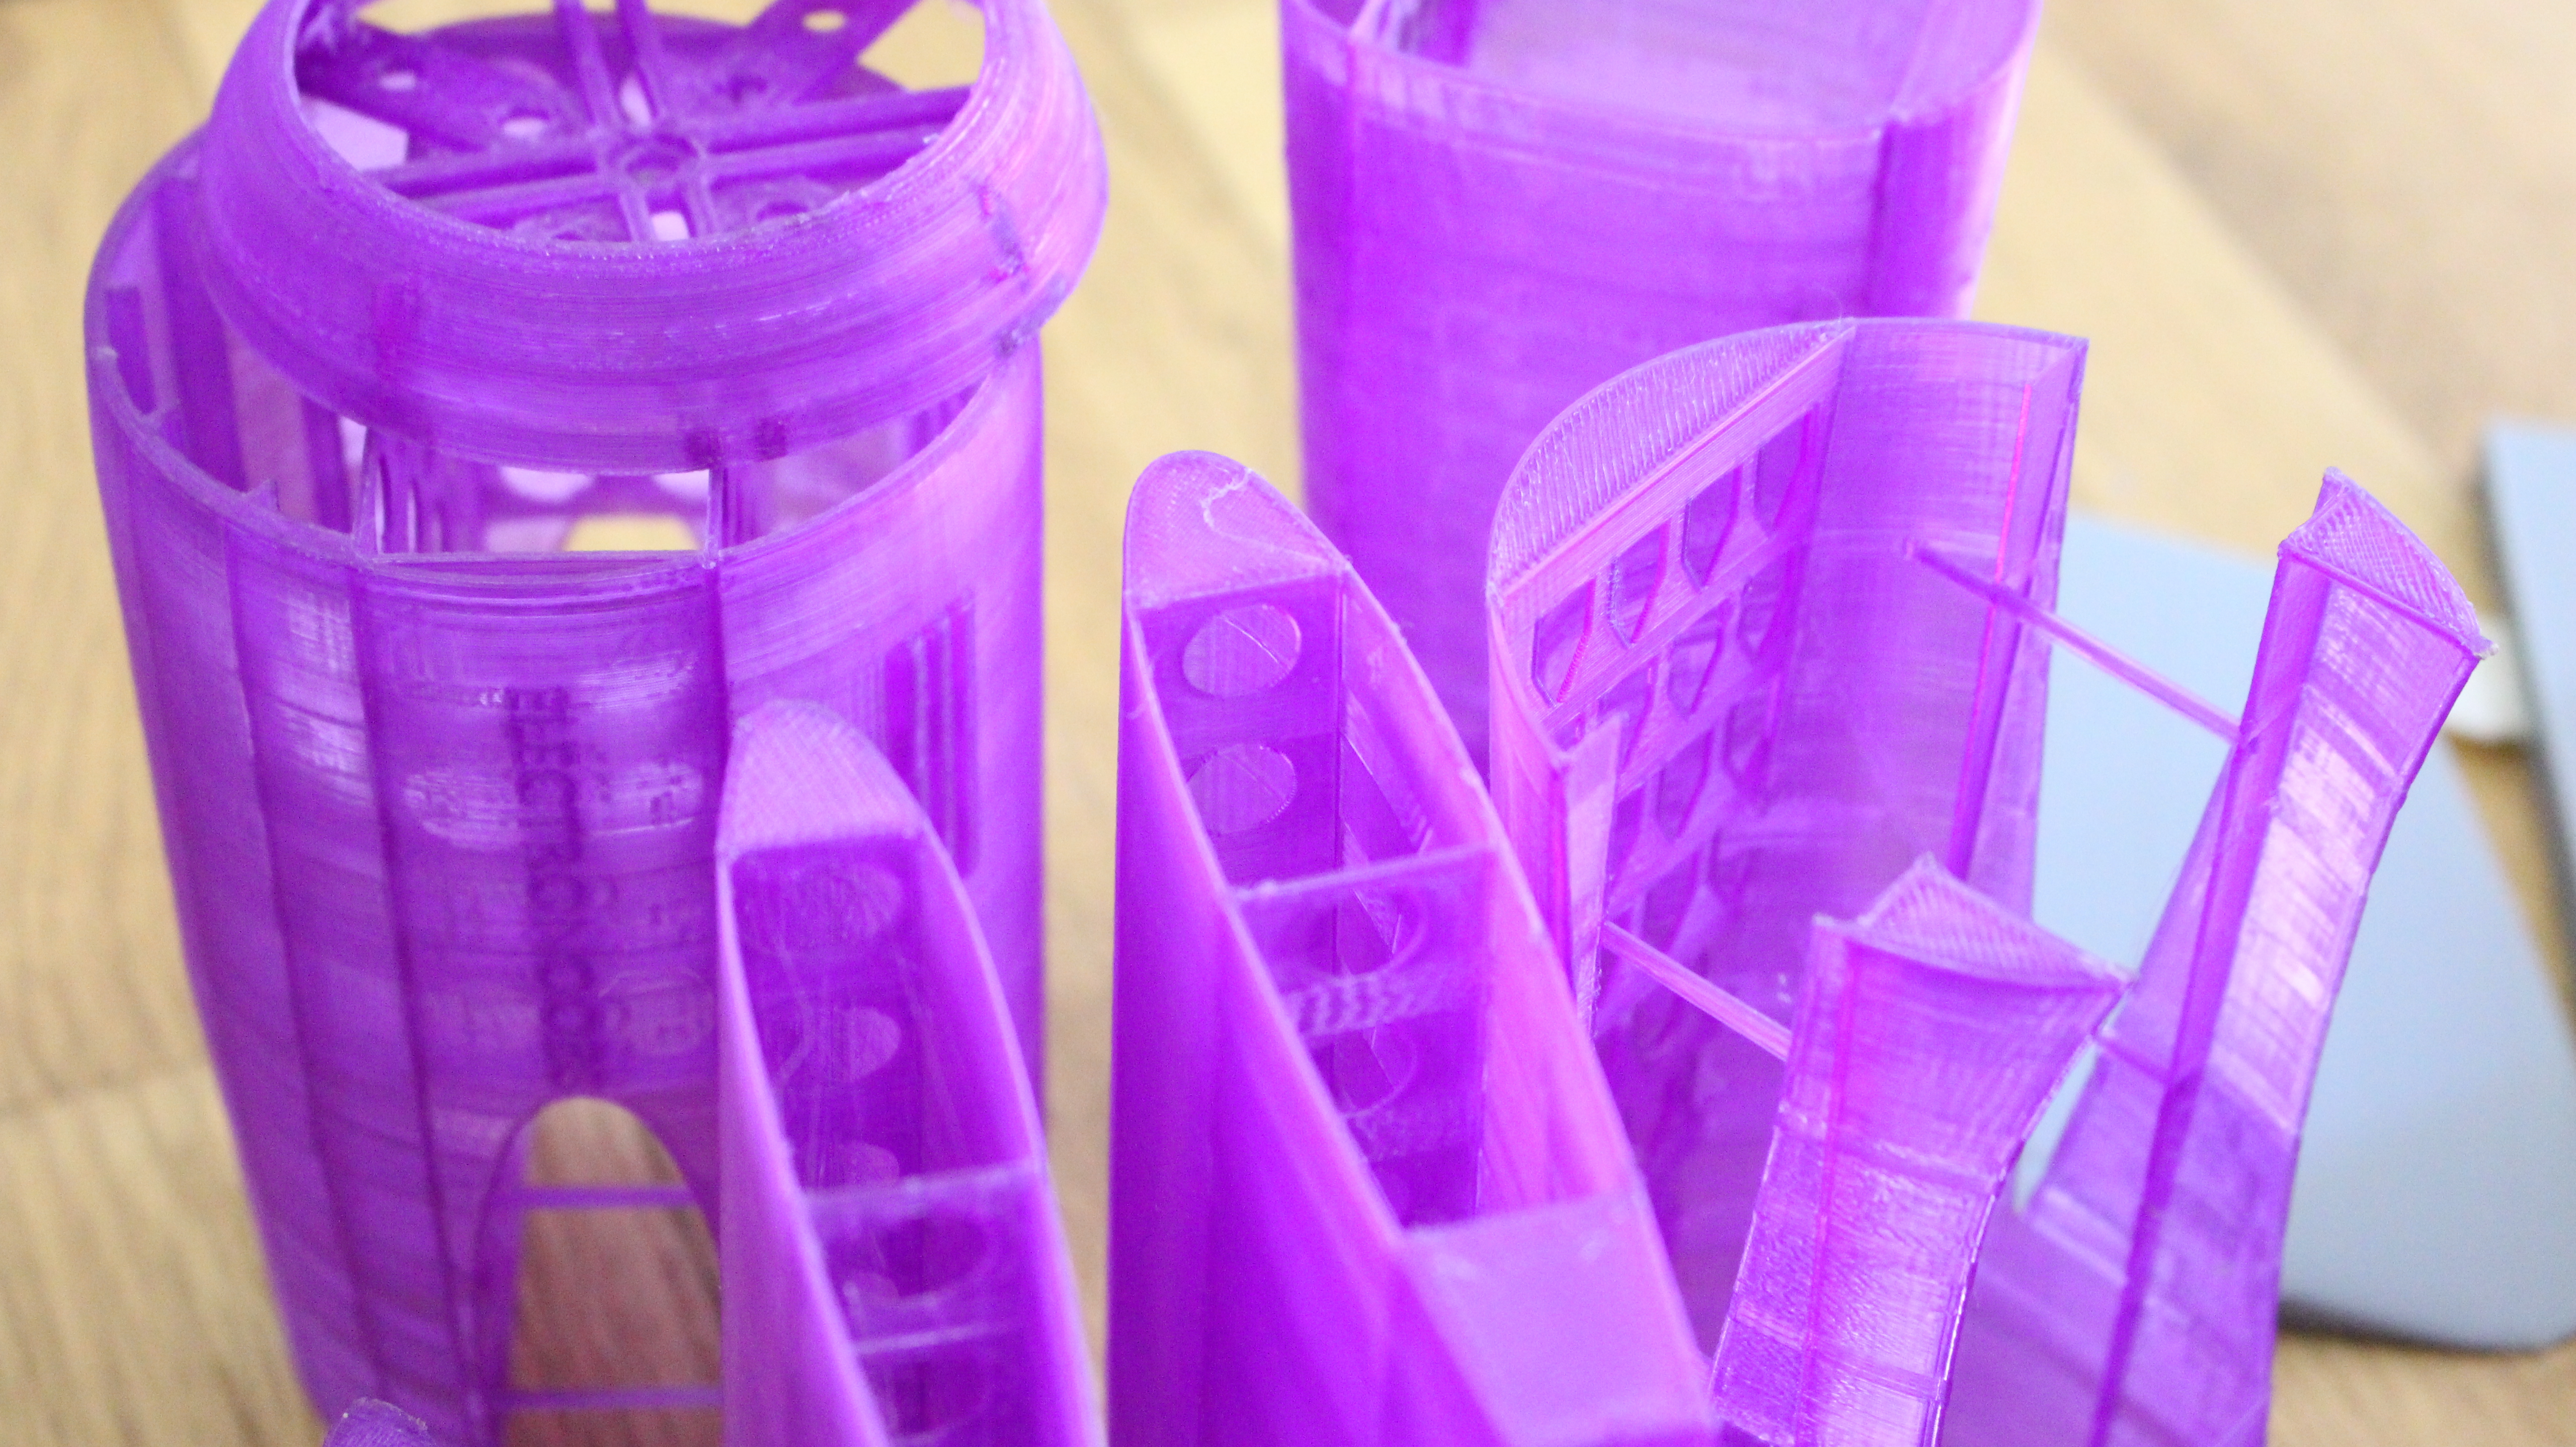
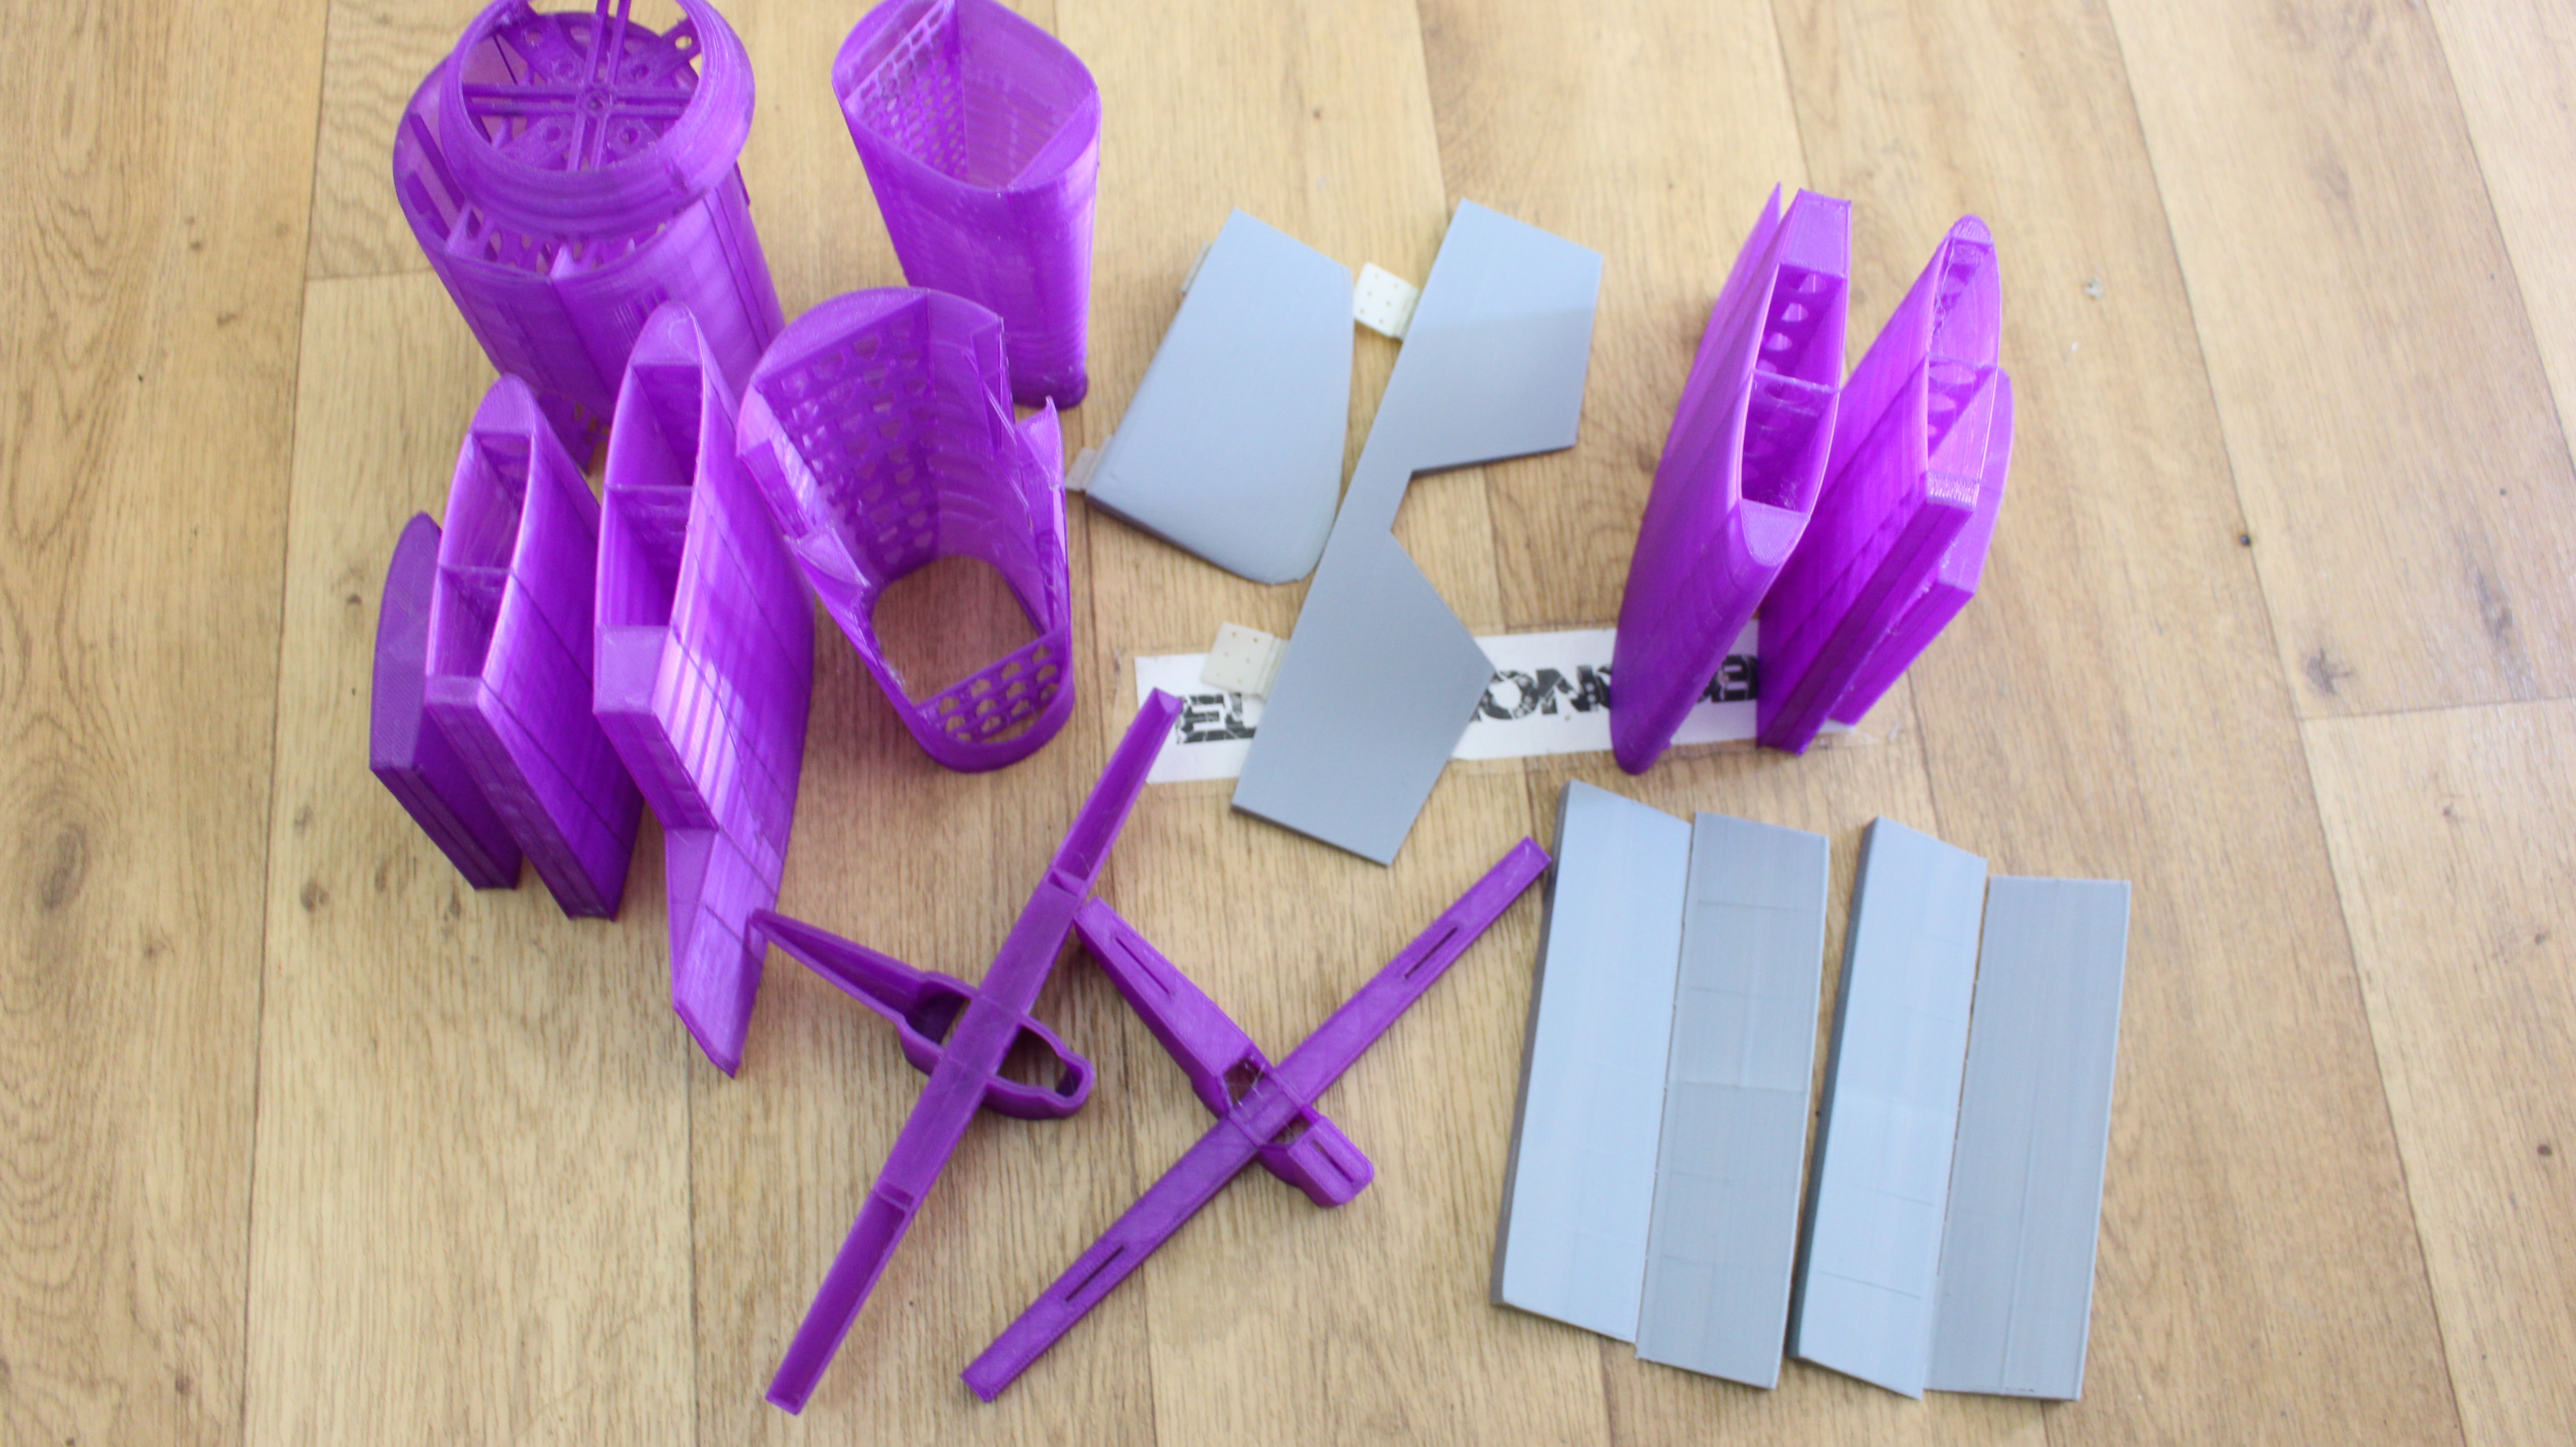
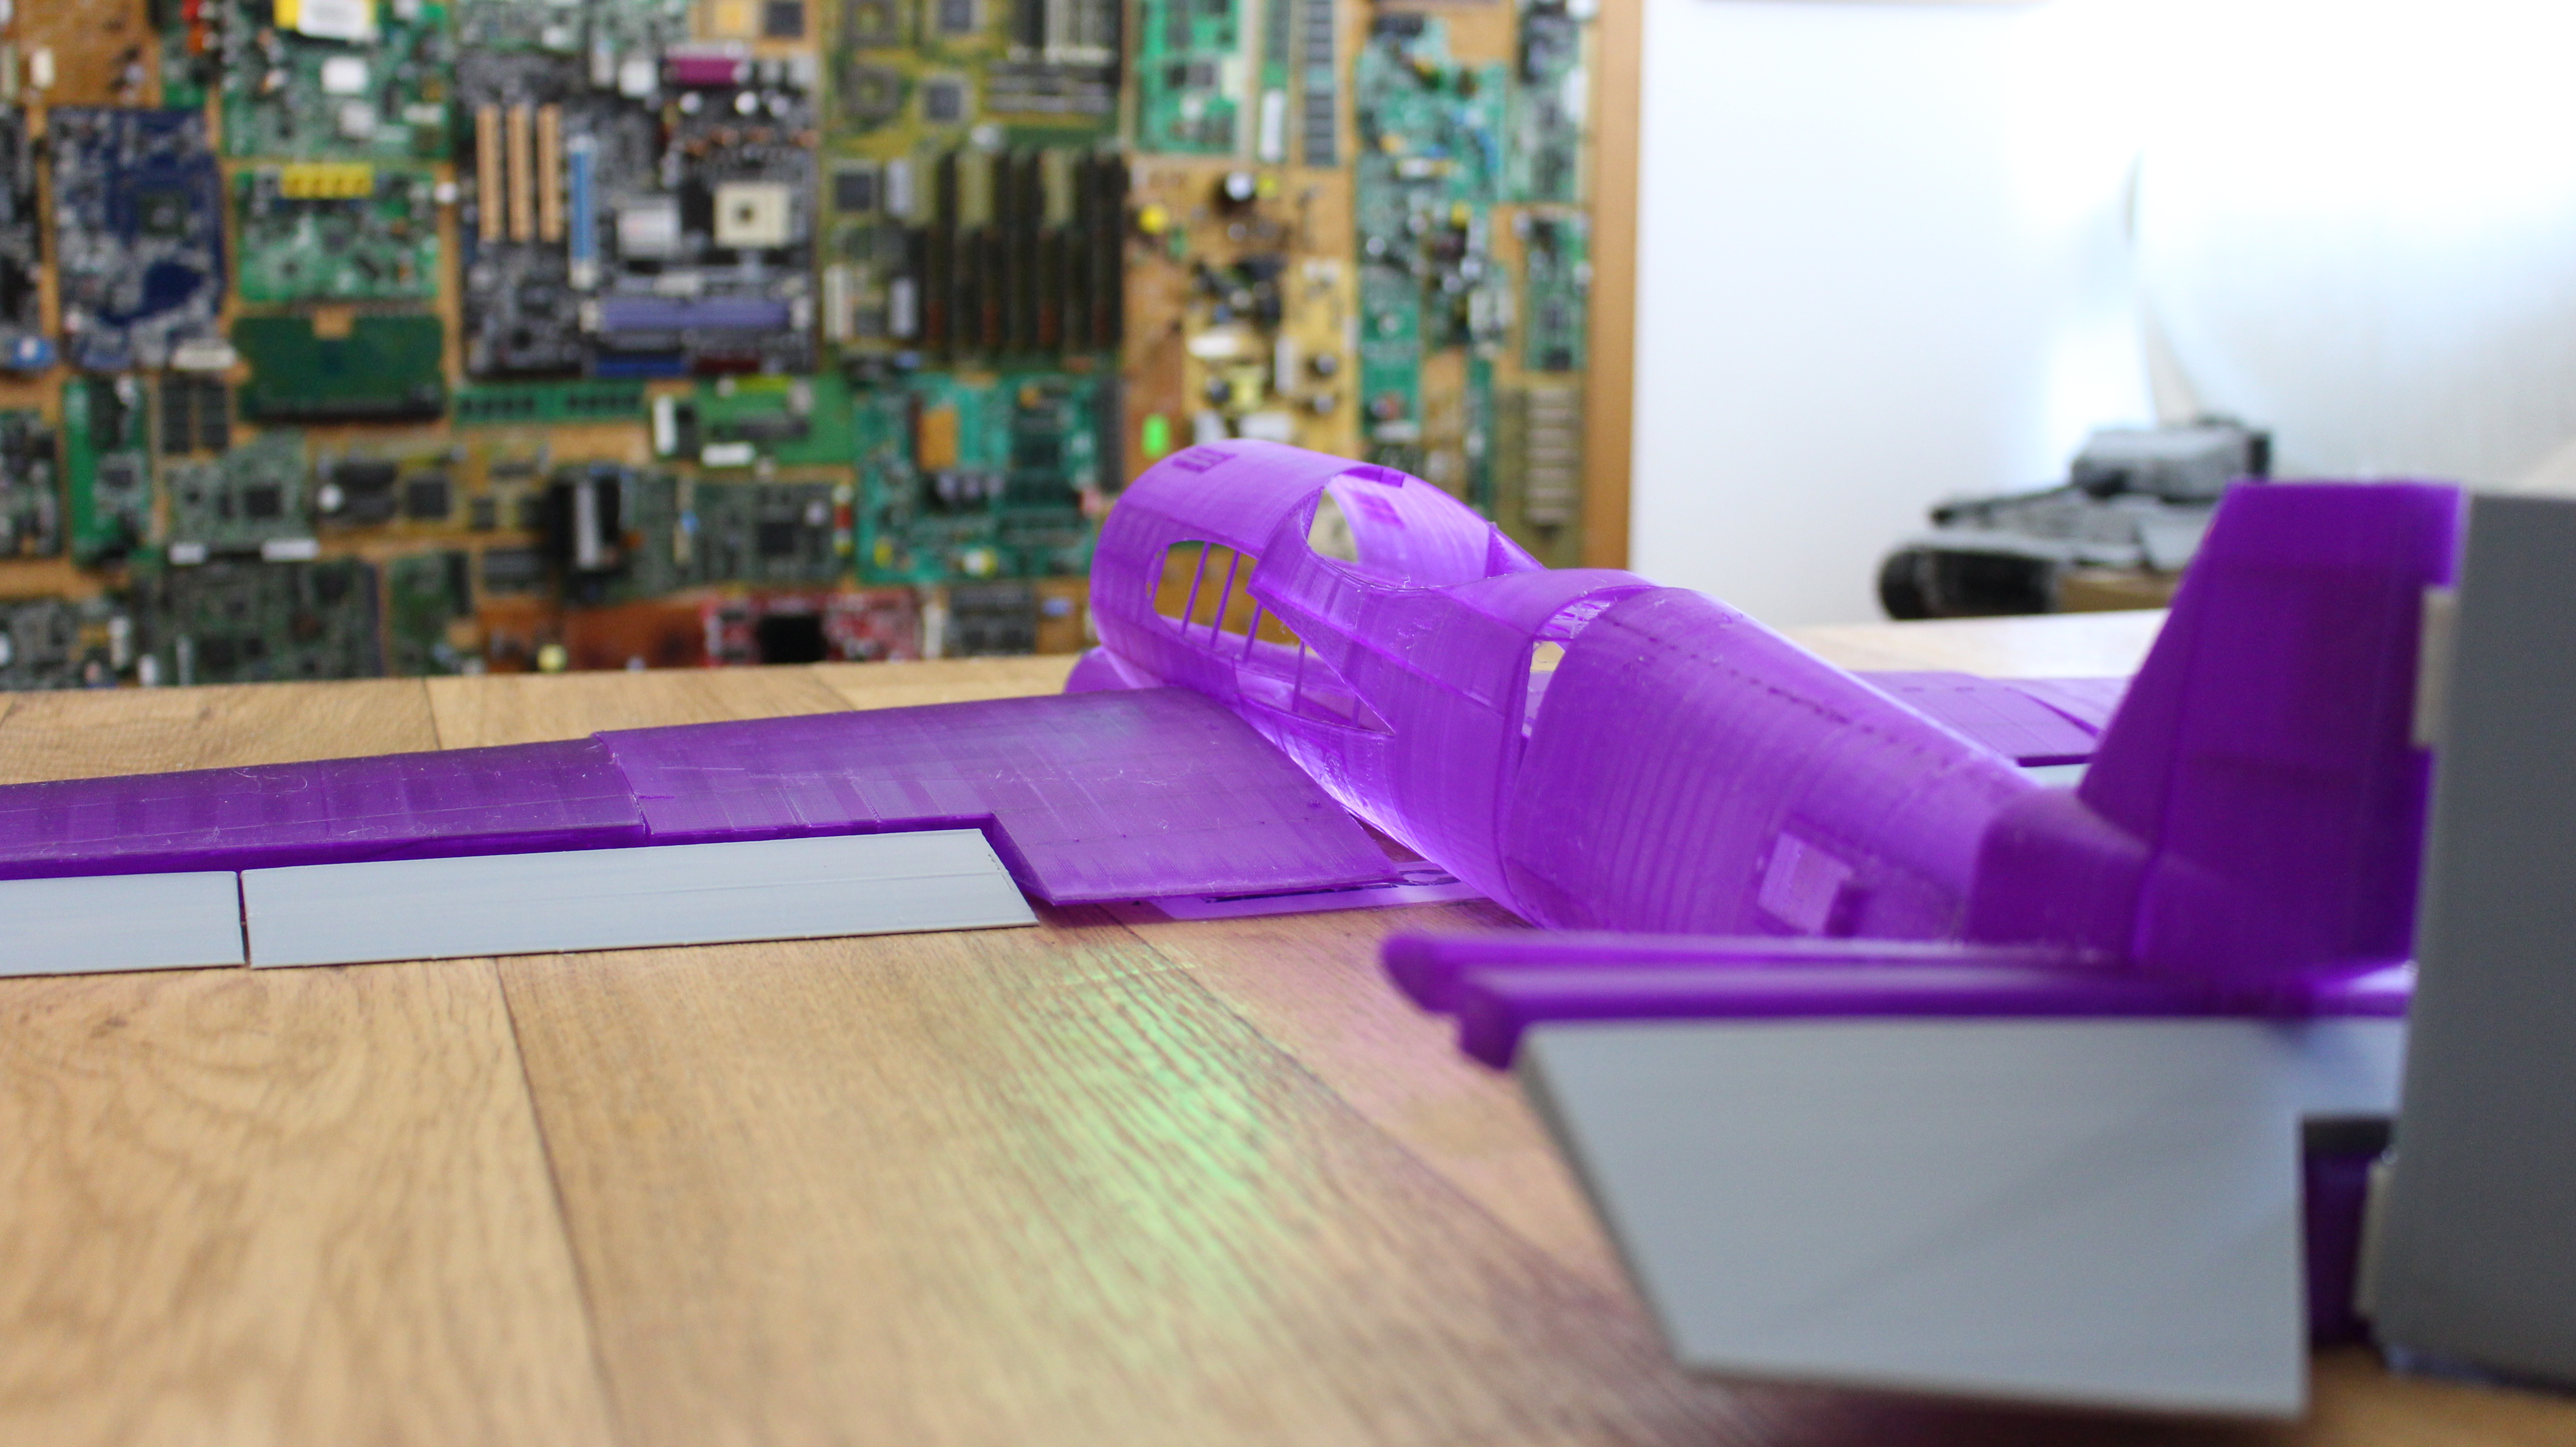
I've done this for all the parts. I give final details and create a lot of STL files and make sure that all are printable. In the next part we will see all the aprts, the weight of each and the Slic3r settings and how to print them.
Ok, you have all the parts below. Download the zip file and extract it. Now let’s see a slicing example. I’ve used REPETIER with Slicer. Open REPETIER and import the part, in this case a wing part. Let's slice it ang save the Gcode.

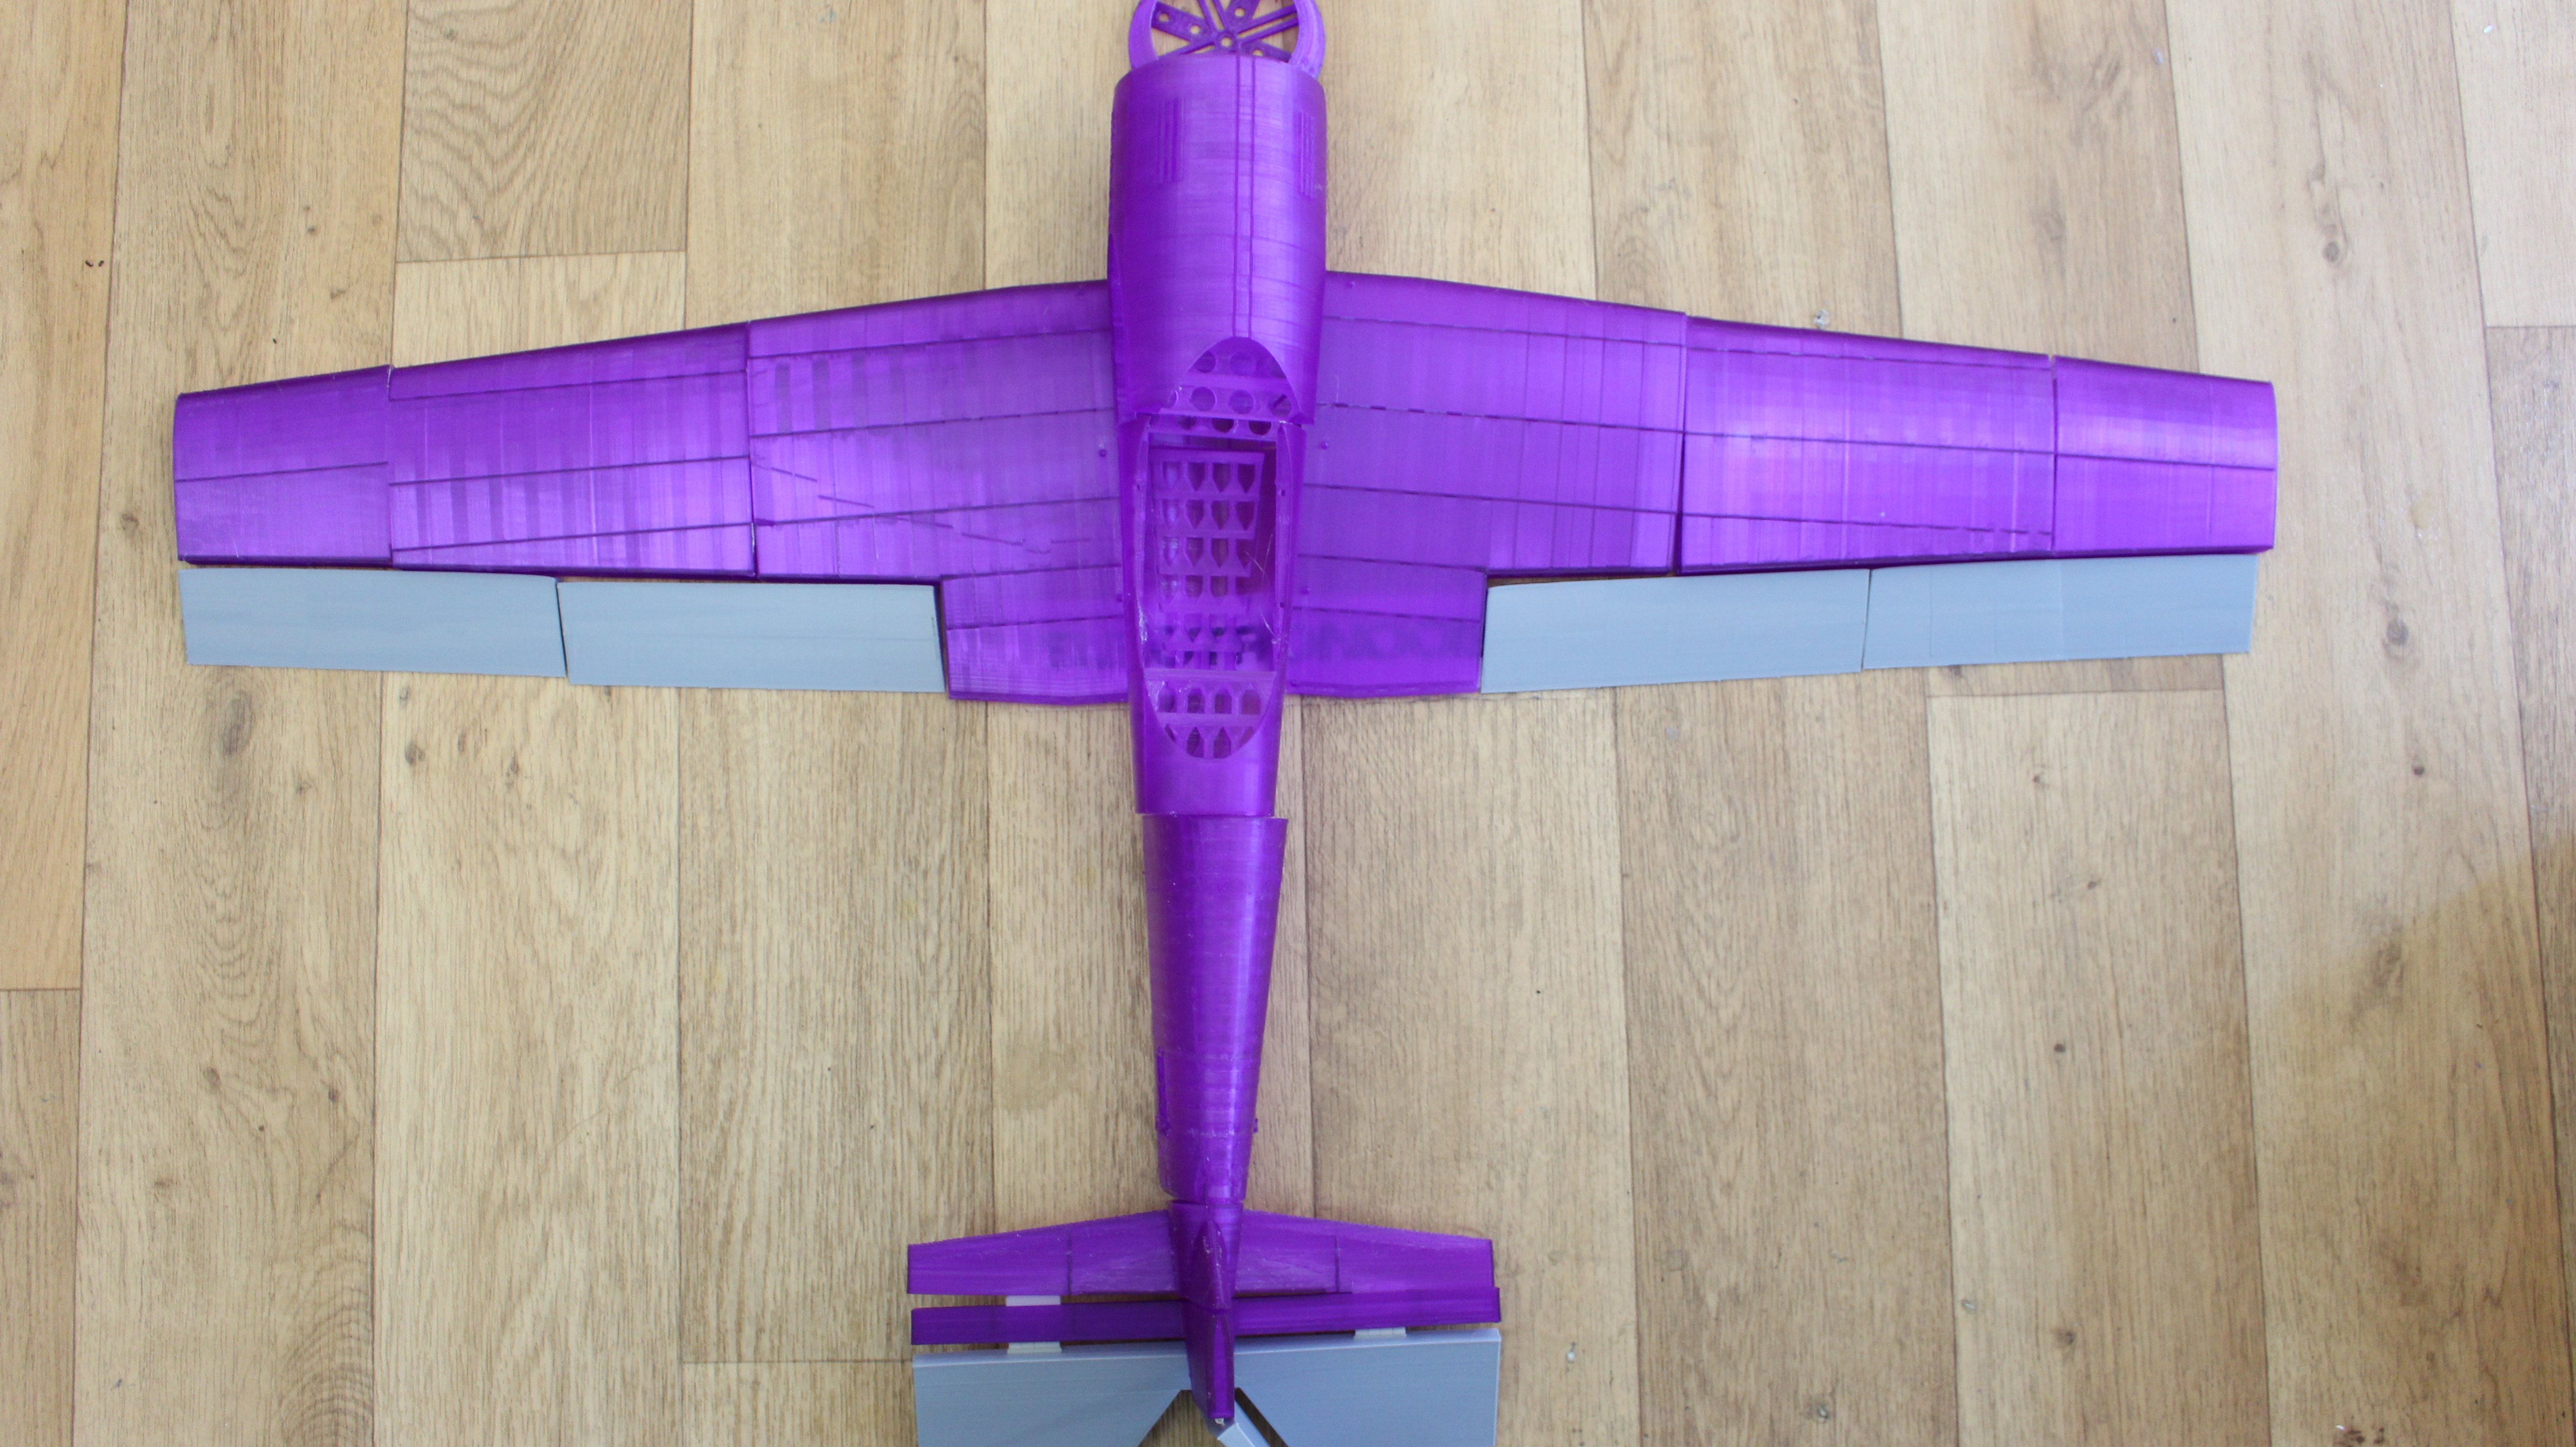
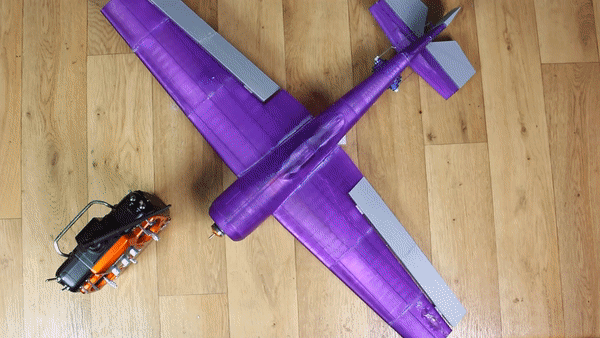
As you can see above, we have a total of 20 main parts and a few small extra parts like elastic rubber hook, aileron, elevator and rudder hook for servo motor and so on. So let's see how to print the main parts. Let's lice a wing part as an example, let's take the part 7 which is left wing part A. I open REPETIER and import the file.
The files (in .ZIP file) are already oriented and ready to print. You don't have to scale or rotate the part. But, yeah, you can only print one at a time. If you wnat more because you haev a bigger 3D printer, you should join the parts in a unique G code yourself.
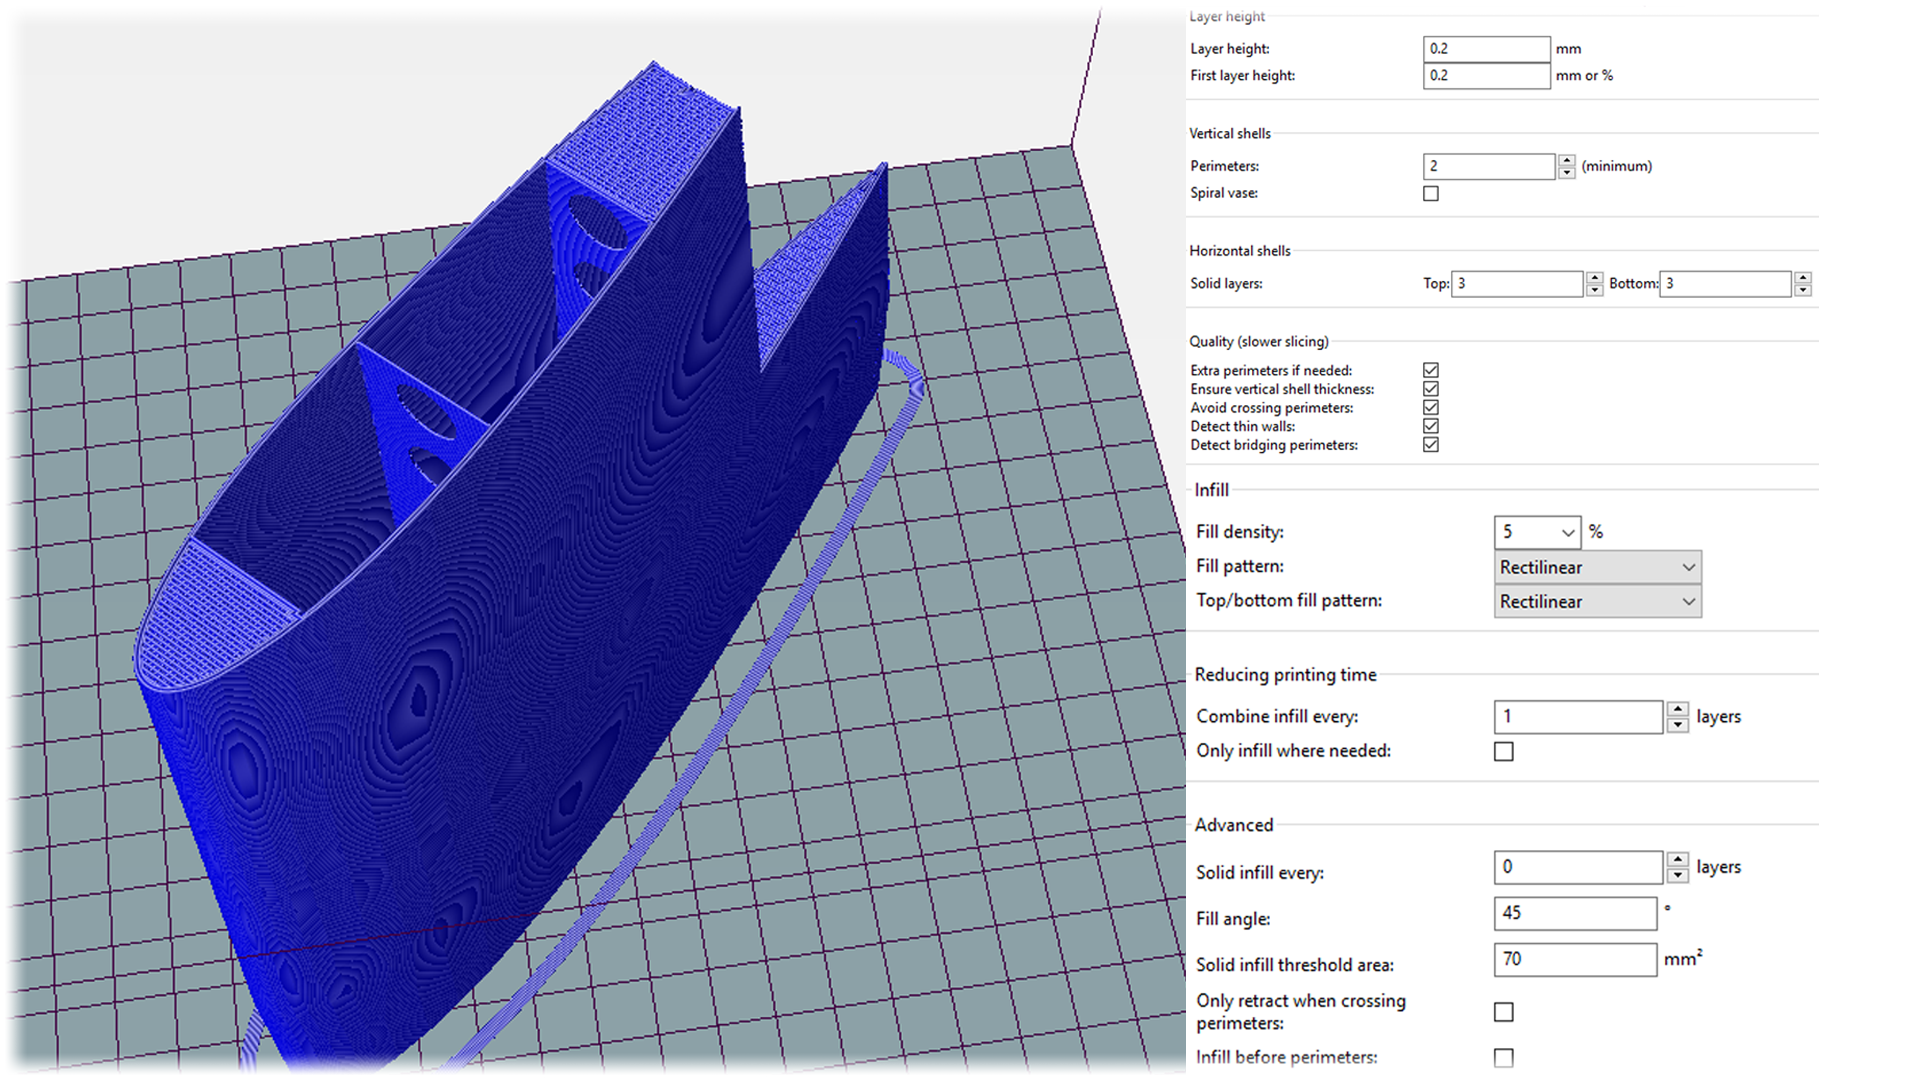
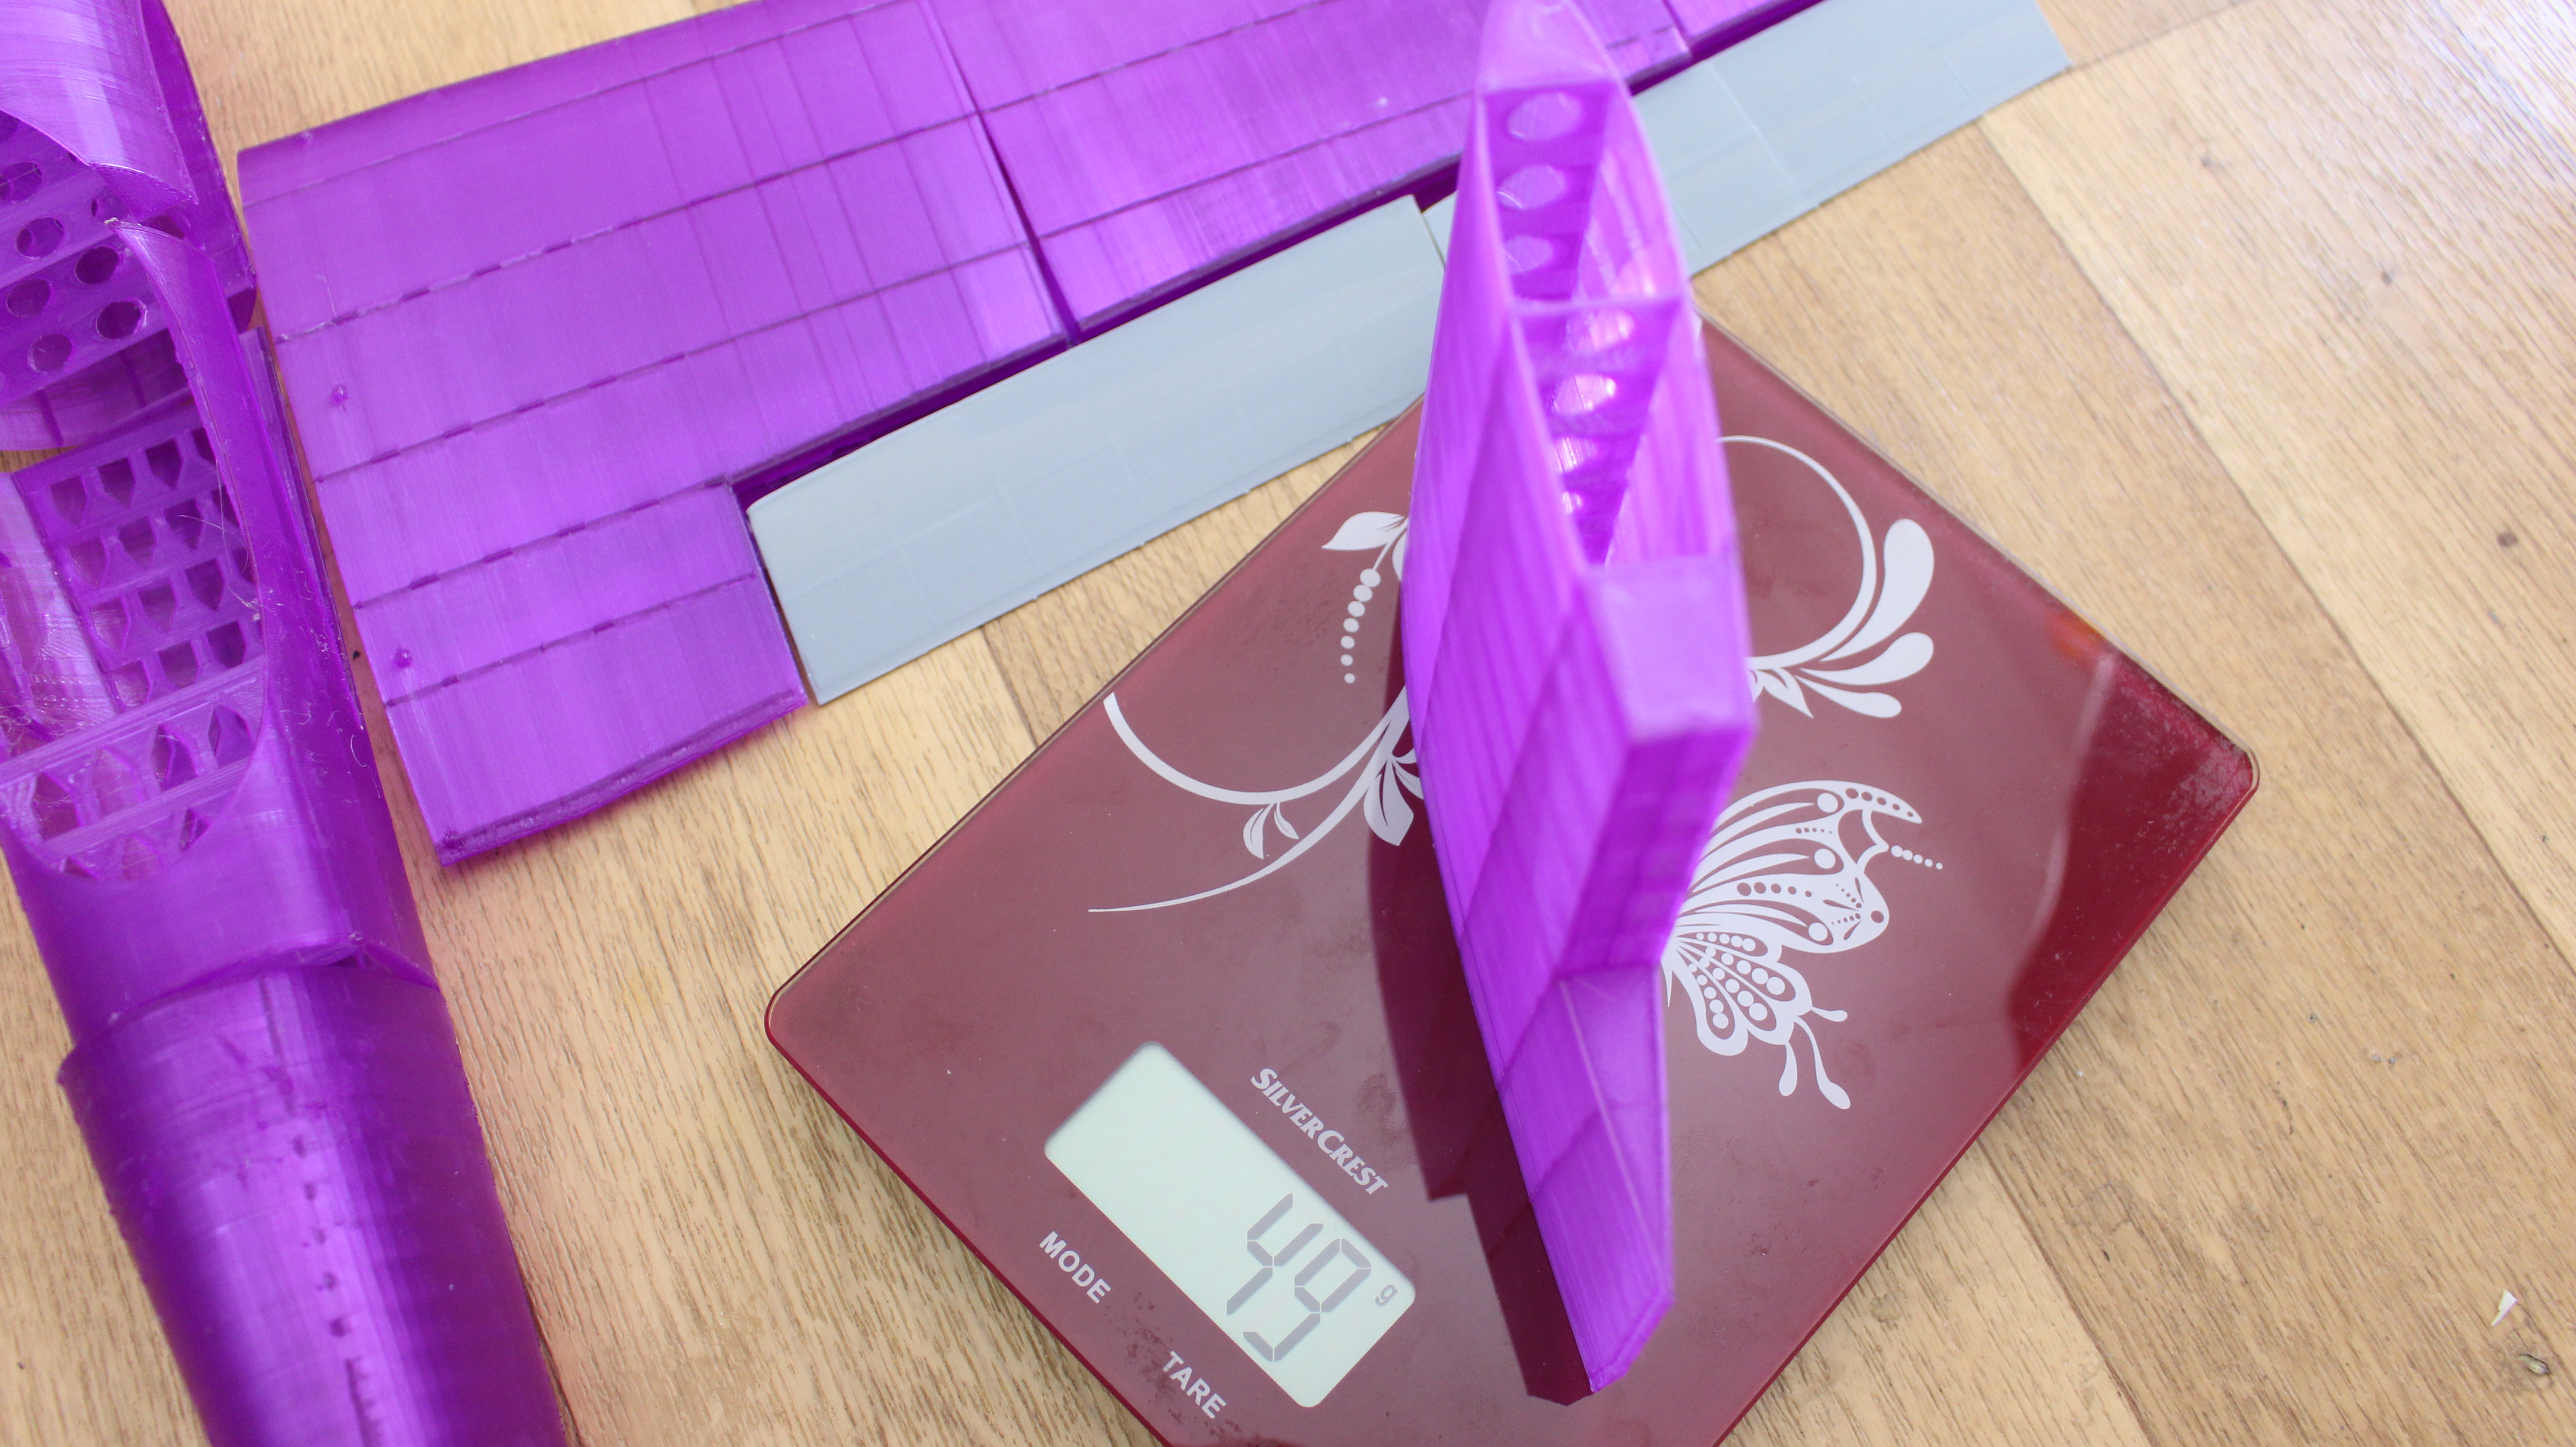
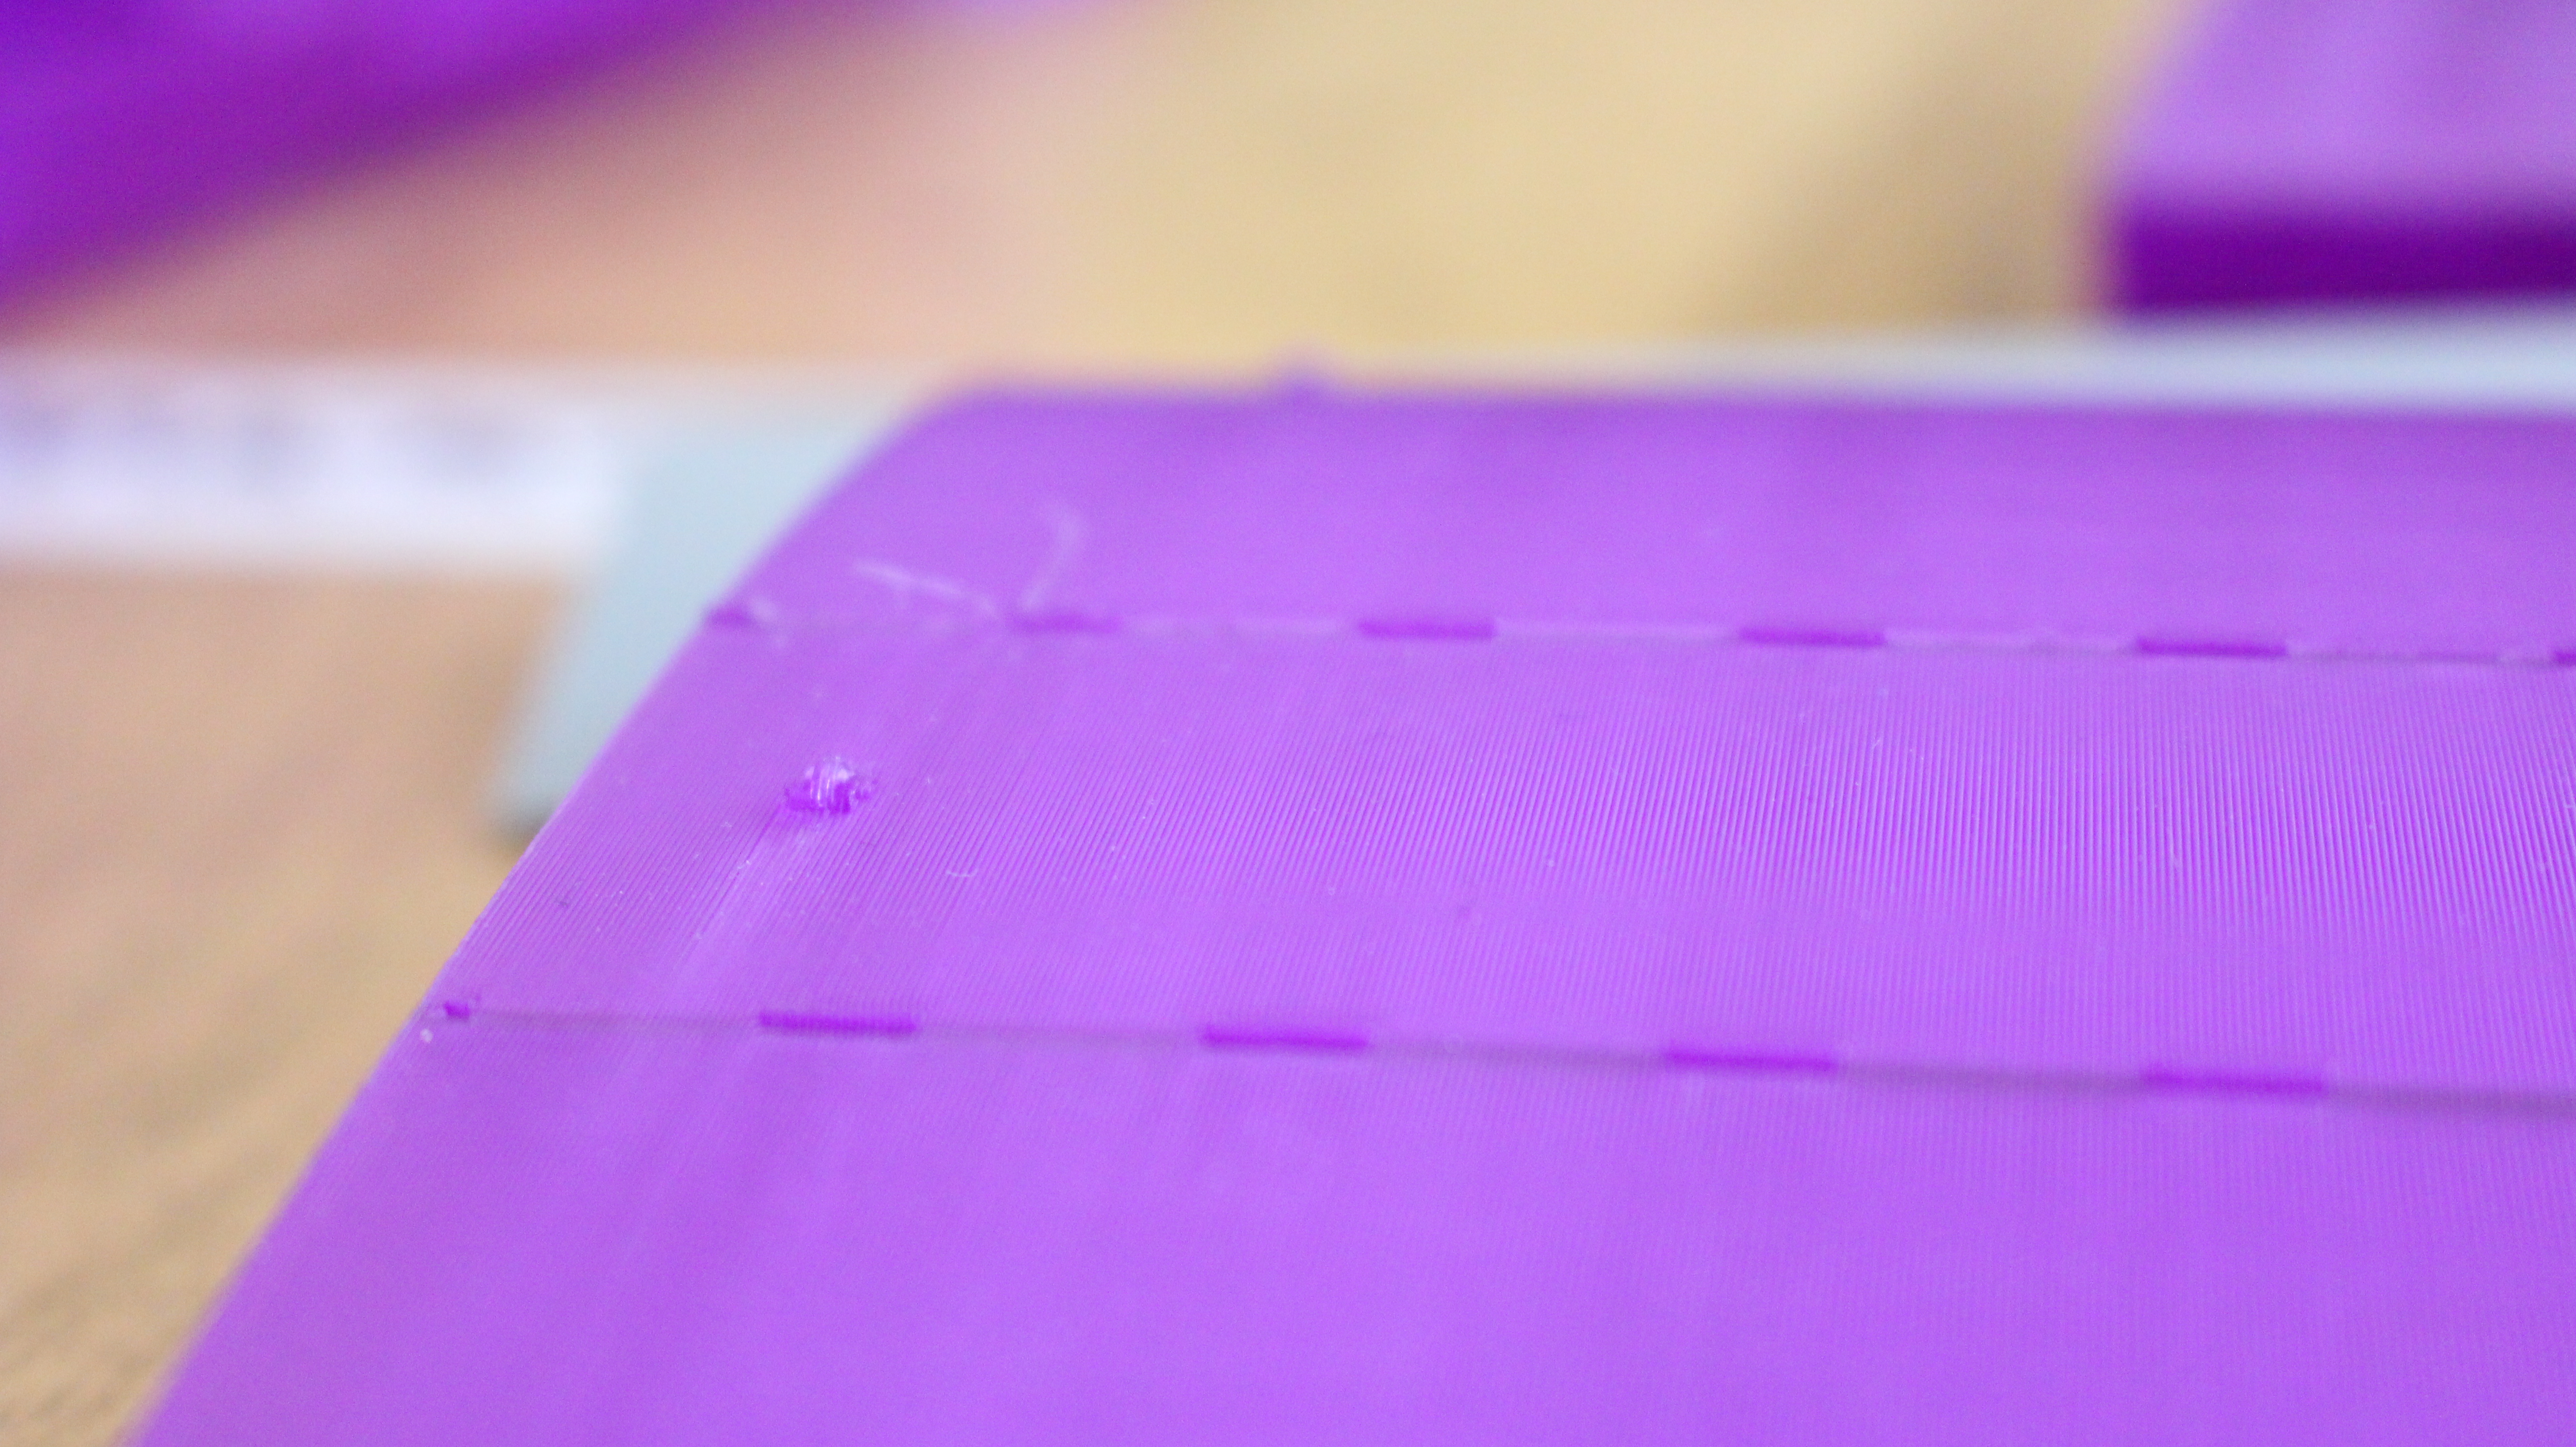
I've used 2 perimeters for all the parts. No support is needed. The infill is very low, in my cae 5%. As solid layers, put the first 3 and last 3 layers. My printers haev 0.4mm nozzle, som the layer height in slicer settings will be 0.2 in order to haev better layers.
Ok guys, so, I've sliced all the parts and printed them using my Creality CR10, Anycubic i3 and also the TEVO Tornado 3D printers. Below you have a photo with all the parts already printed.