
If you want to control stuff from all around the world, this tutorial will show you how. You could connect sensors to an Arduino and send the values to a database on the internet. Then you could enter that website and see the values from anywhere in the world with internet connection. First you’ll need to check your internet availability by address to ensure that you can have a fast enough internet connection to make this work, and then you can move on with the rest of the process. Also, you could add boolean buttons on taht webiste and control stuff connected to the Arduino such as turn on LEDs, Relays and more. So we have a back and forth control over the internet using the ESP8266 module. The code will send data to our database, receive the echo data and separate the values.
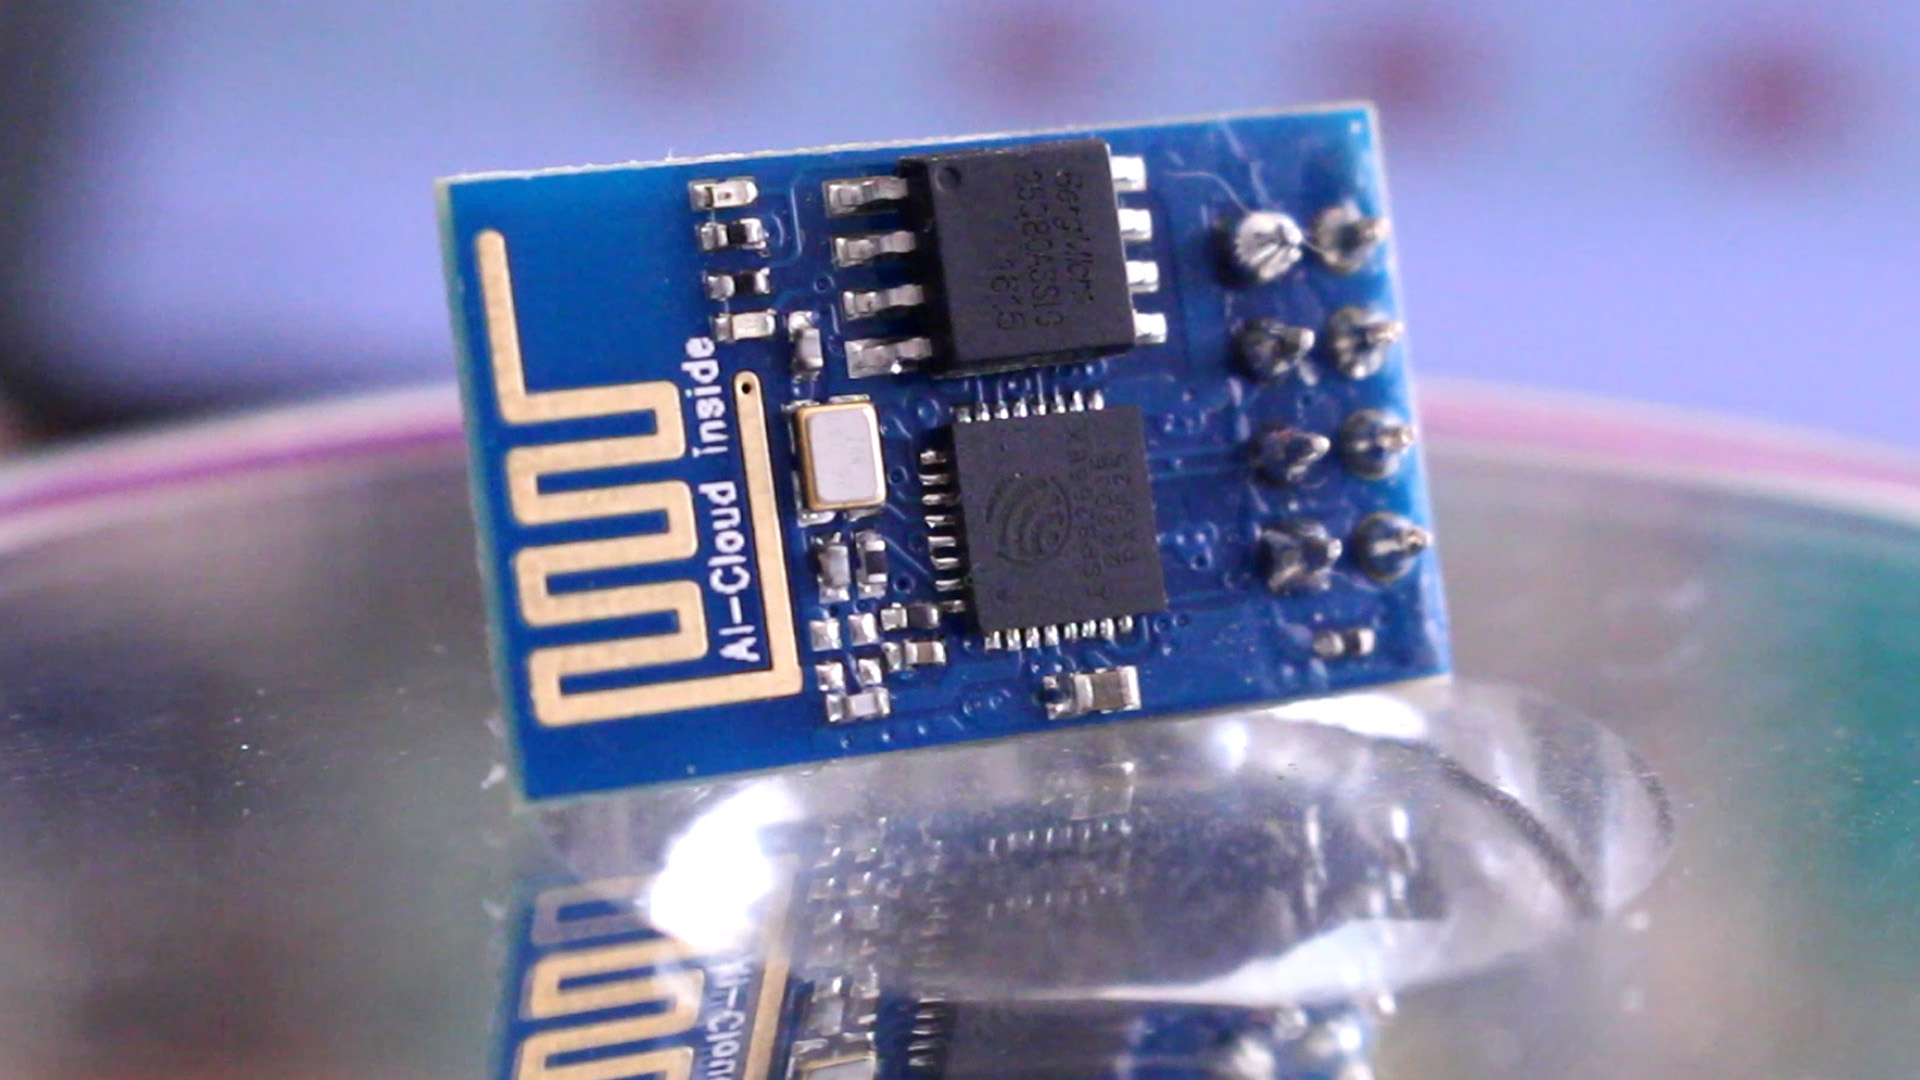
We will make a setup that could send 4 analog values to the database and those values will be the analogRead from 4 potentiometers, that's why we need those potentiometers. We will be able to control 5 digital outputs from the Arduino and that's why we need 5 LEDs. We will use the Arduino MAEGA because the UNO has low memory and the code is very big and that will create problems. We can also receive 5 numbers from 0 to 32.000 because we usse integers. For that we will use the LCD and print the values. We could also receive text from the database and print that on the screen as well. You have the list below.

The connection is very simple. First, we power the modules by connecting VCC and GND, at 3.3V and GND from the Arduino. As we will see in the code, we will use the AT commands and a software serial, which works with some digital pins. Therefore, we simply connect the TX and RX pins to the selected digital pins as in the schematic.
The scheamtic is simple. Just connect the ESP8266 module first. make sure you add that voltage divider for the RX pin connected to digital pin D11. Then connect all LEDs, the potentiometers and the i2c LCD screen. Now we could conterol the LEDs, read the potentiometers and send the data to the internet and receive numbers and text and print it to the LCD. You will need the i2c liquid crystal library for this LCD with the i2c module.

Ok, so first, go and downlaod the .ZIP file from below. Then you have to extract it. Inside you will find 2 folders, one for the Arduino code named "MAIN_ESP8266", and another one with the files for the PHP page called "NOOBIX". LEt's first focus on the NOOBIX folder. When you open it you will find 4 PHP file and a SQL file. We need to put the PHP file on our website, but for that we first need to create a new website. For free domain and hosting I use 000webhost.com. So go there and select free account. Then insert your mail and password. Once you create your account, go to your mail inbox and verify that mail.
Ok, now select create a new website and give it a name and password. In my case is NOOBIX and password "12345678". Now you shoudl have a domain something like this "http://noobix.000webhostapp.com". On the next page select uplaod an existing webpage. Now here you should uplaod those 4 PHP files, but first you ahve to cahnge a few things in the database_connect.php file. So open taht file first.

Go back to 000webhost and select the created website, in my case the noobix. When you open the database_connect.php file you will see that you need the data for the database connection. So, we need to create our database. On 000webhost, select your domain and then in the left menu select tools and then Database manager. Here select "create new database" and give it a name, user and password. In my case is ESP8266 for database name, noob1 as username and 12345678 as password. Once you create the database you will have that data as you can see below with the id placed before each name. Copy those DB name, DB user and DB host and paste them in the database_connect.php file as I've done in my case.

Now is time to fill this databse. So, click manage on the created database and select phpMyAdmin. Here you have to select the created database, in my case ESP8266. Then click the inport button. On that page click the select file button and go to the "noobix" folder and select the ESPtable2.sql file. Then click contuinue and the tables will upload to the database. We are now ready.

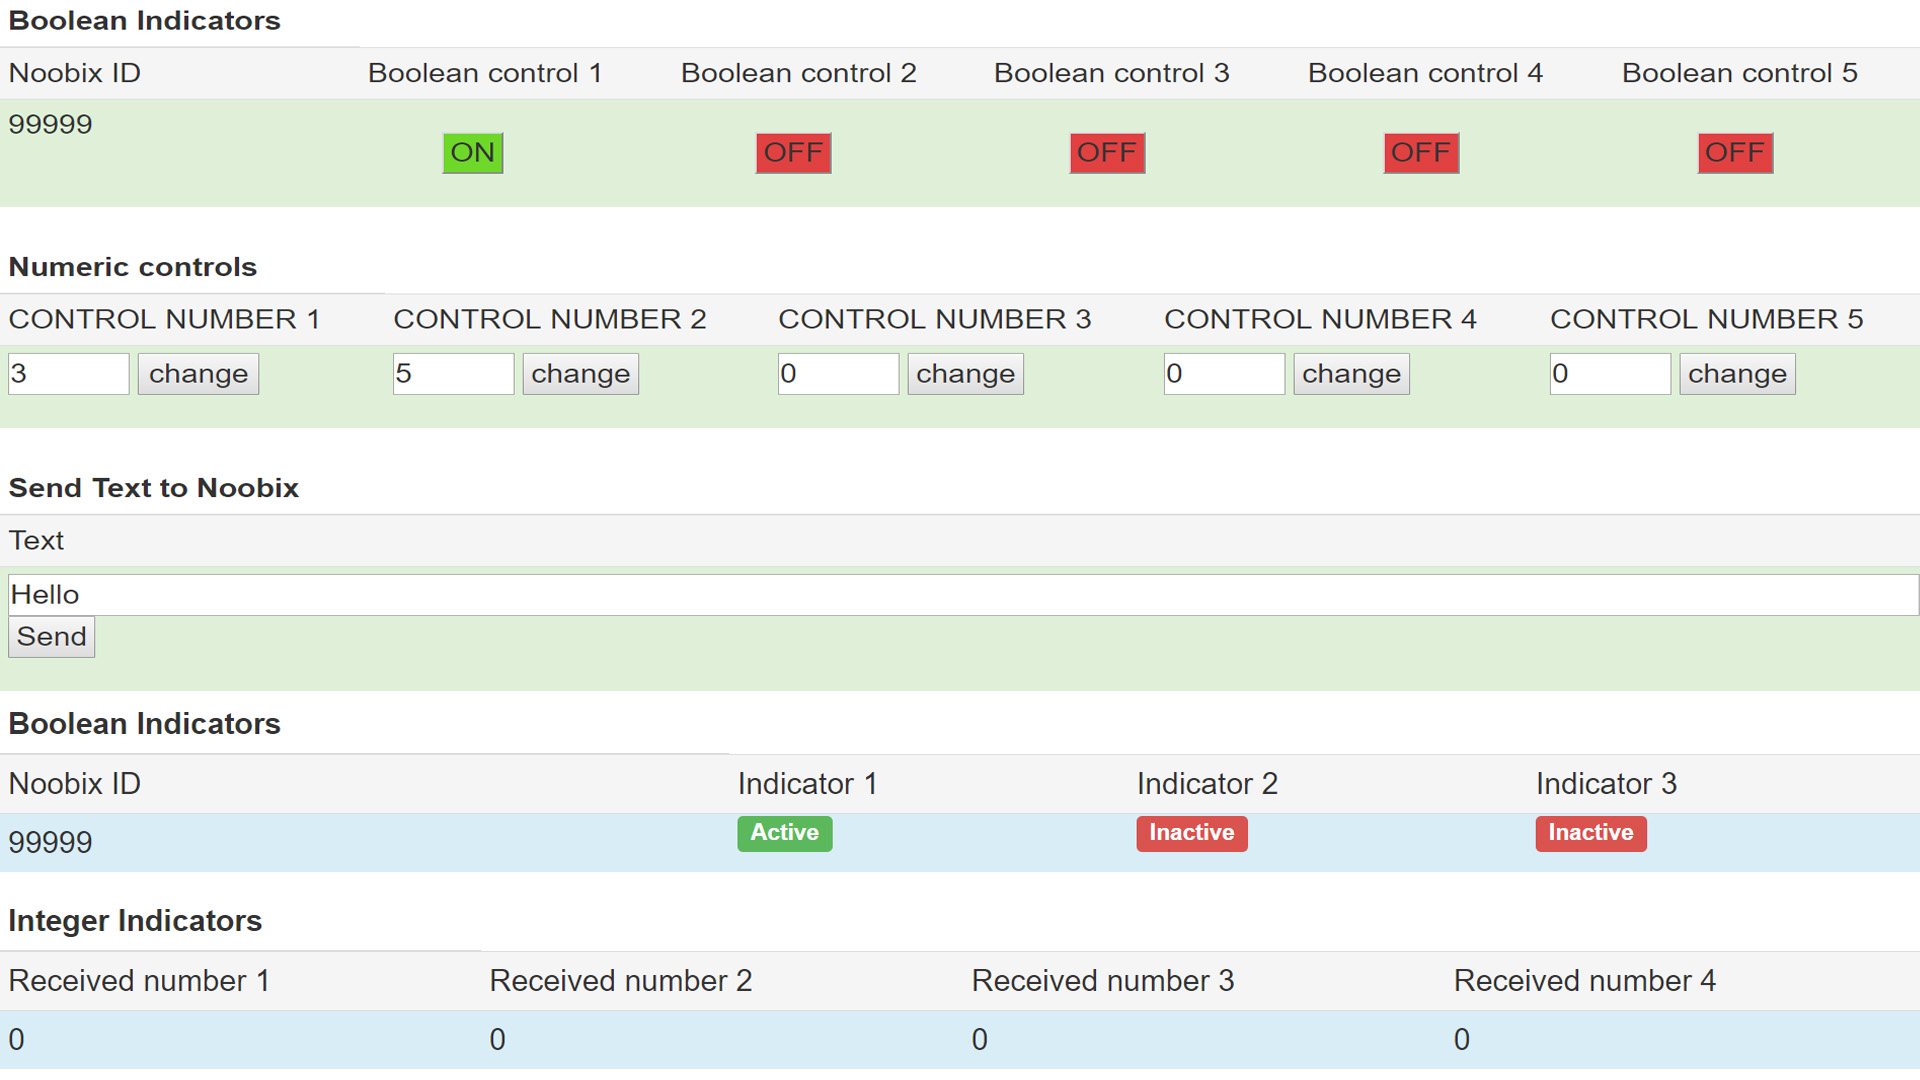
Final step is to uplaod the PHP files to the website. Go back to the left menu and click tools and then file amnager. Here click the upload button and select the 4 PHP files. Make sure you save the new database_connect.php with the new database values. Now if you go to your website you should see something as in the photo below with the interface.


Once again, if you haven't before, downlaod the ZIP file. Inside go to the Arduino code. In the main part, change the data as below. Add your Wifi and password, your domain, the ID as in the database, in this case 99999 and the password as in the database, in this case 12345. Also, go in the connect_ESP Arduino file and add your domain with the "www" as well and the port 80.
Upload the code to the Arduino MEGA. Make sure you have the i2c liquid crystal library downloaded and installed. Then see the results on the webiste. Control LEDs and read the potentiometer values. Also, get the data on the LCD. That's it.