I've seen this idea on twitter and I wanted to make a homemade one. Is a nice product as humidifier but also as a huge smoking capacitor. You can 3D print it and make the same project with ultrasonic mist generator. Get the 3D files, the schematic and the part list from below and make your own. Consider giving me a like or a comment!
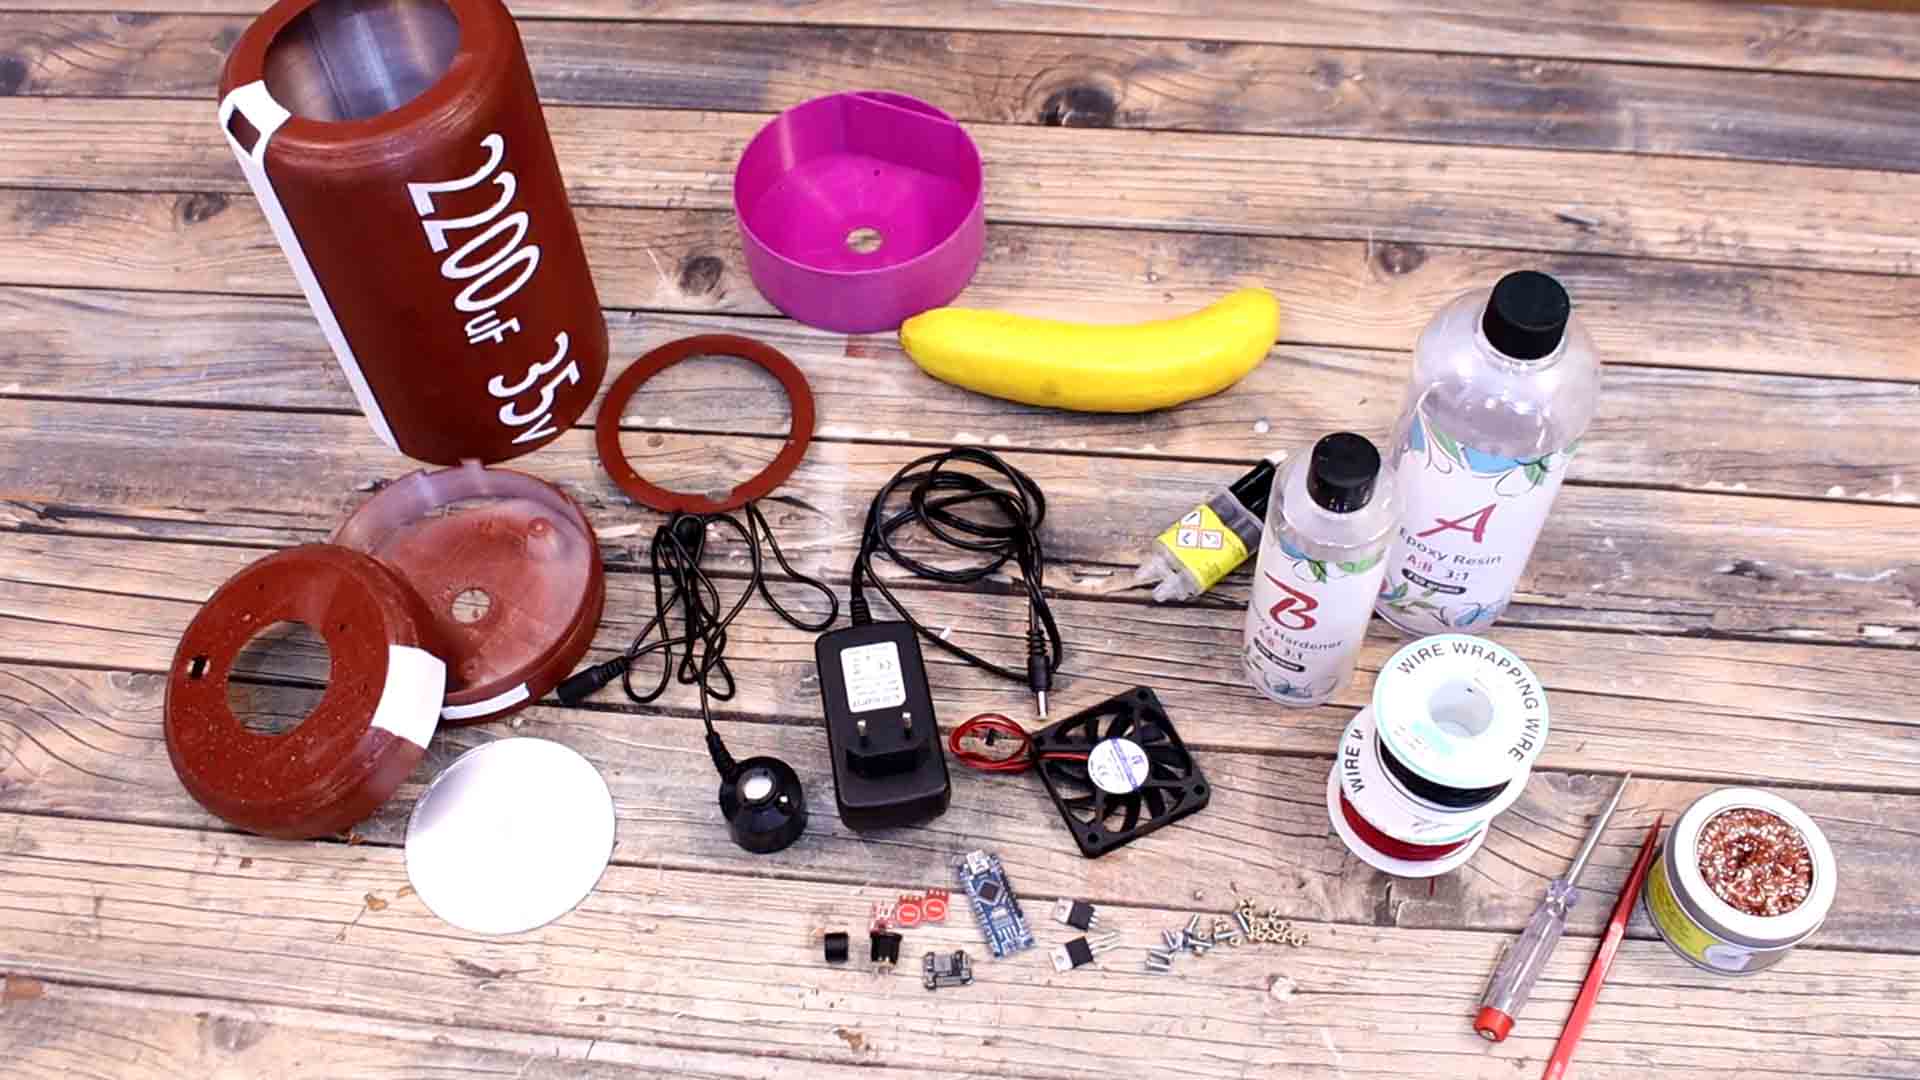
To generate water mist we use this high frequency ultrasonic piezo. This time I will use another module that works at 24V. That can create a lot more mist than the 5V version. To supply the generator and the rest of the electronics I will use a DC adaptor of 24V that comes wioth the mist generator. To connect it to the entire device I will use a power jack. The digital control will be made with an Arduino and to control the time and the power I will use 3 buttons. I want to use capacitive buttons instead of normal push buttons. I will also add a buzzer for sound notifications. To get 12V out of the 24V supply I will use a buck converter module. To control power applied to the fan and mist generator, I will use some N channel MOSFETs. We will also need glue, some resin in order to water seal the container, screws, threaded insertions, wires and some other tools.
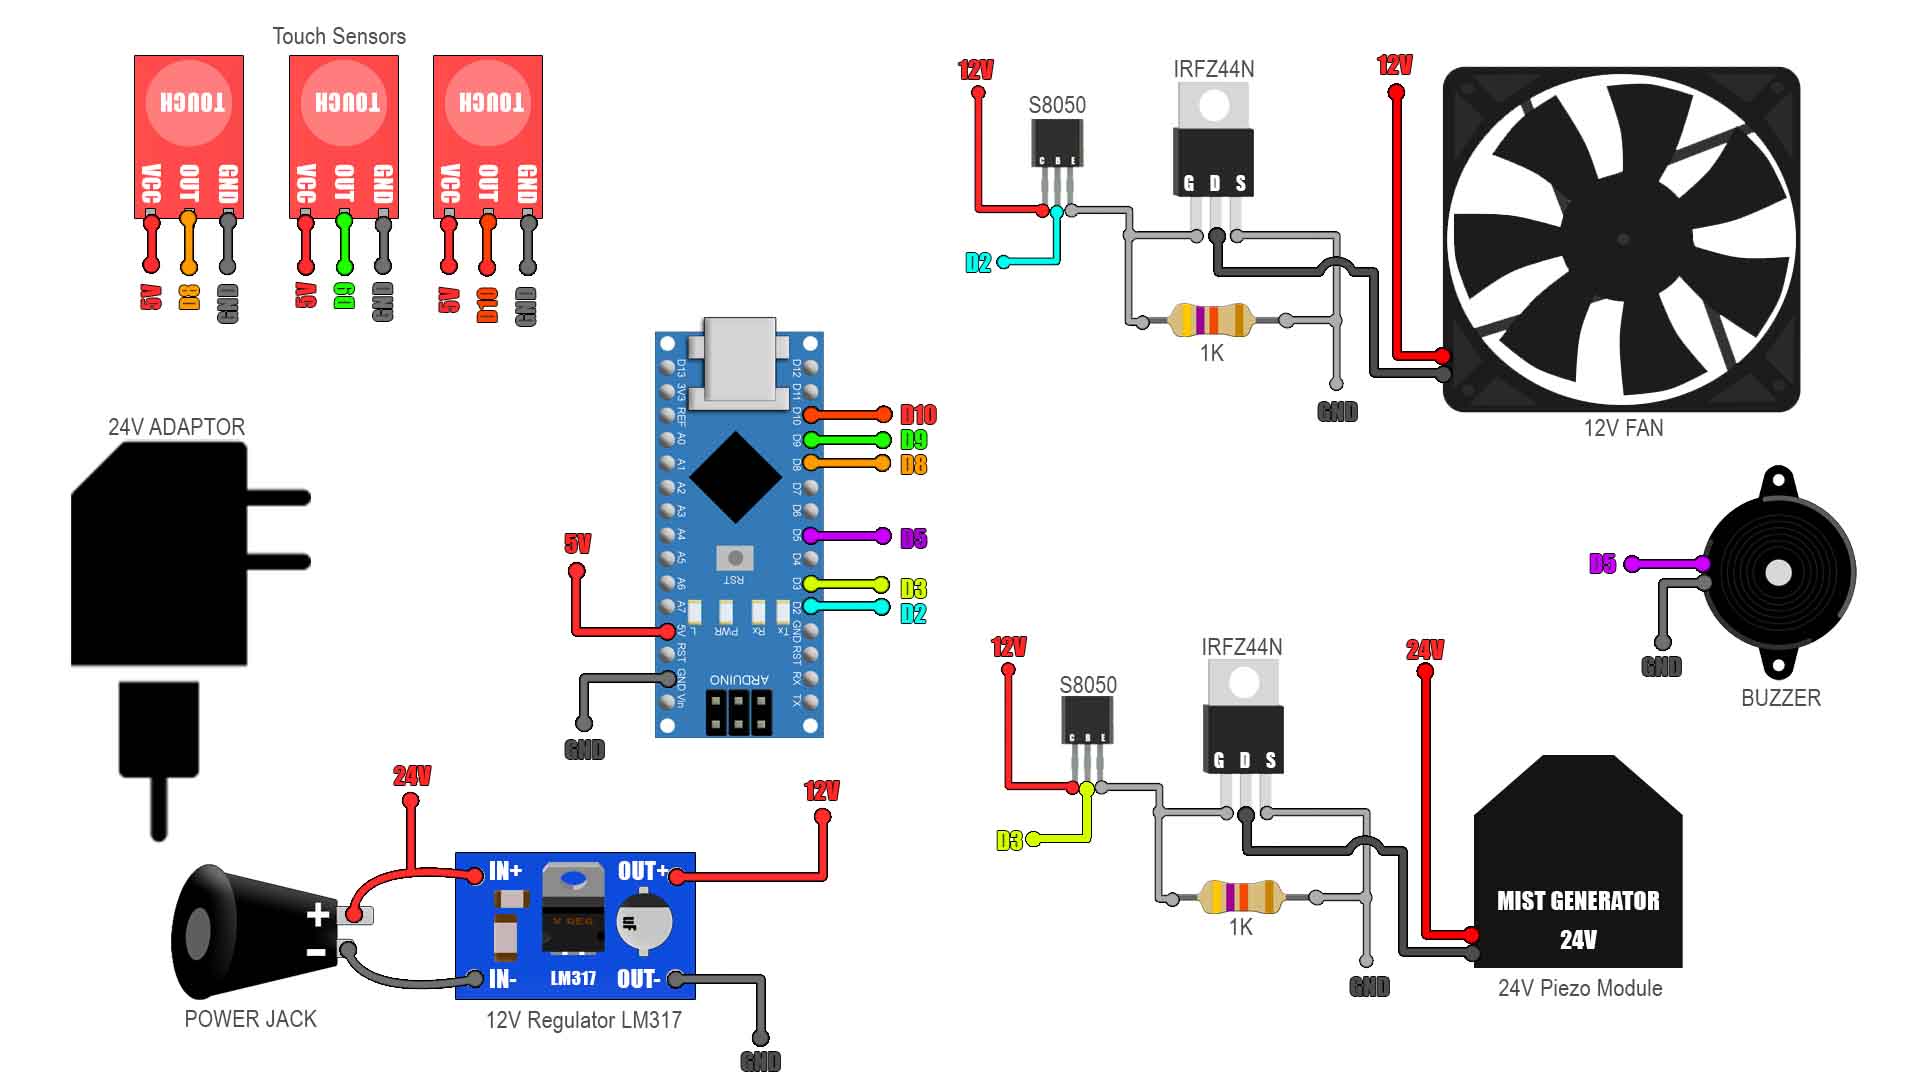
The schematic for this project is this one. The Arduino will control when the fan and the generator are powered on using a timer. To control that we have 3 buttons but we might only use 2 of them. Before we make any connection we first have to water seal the container part using resin and let it dry because it will take a few hours. That part must be weater seal and not leak at all since it will be on top of the electronics.
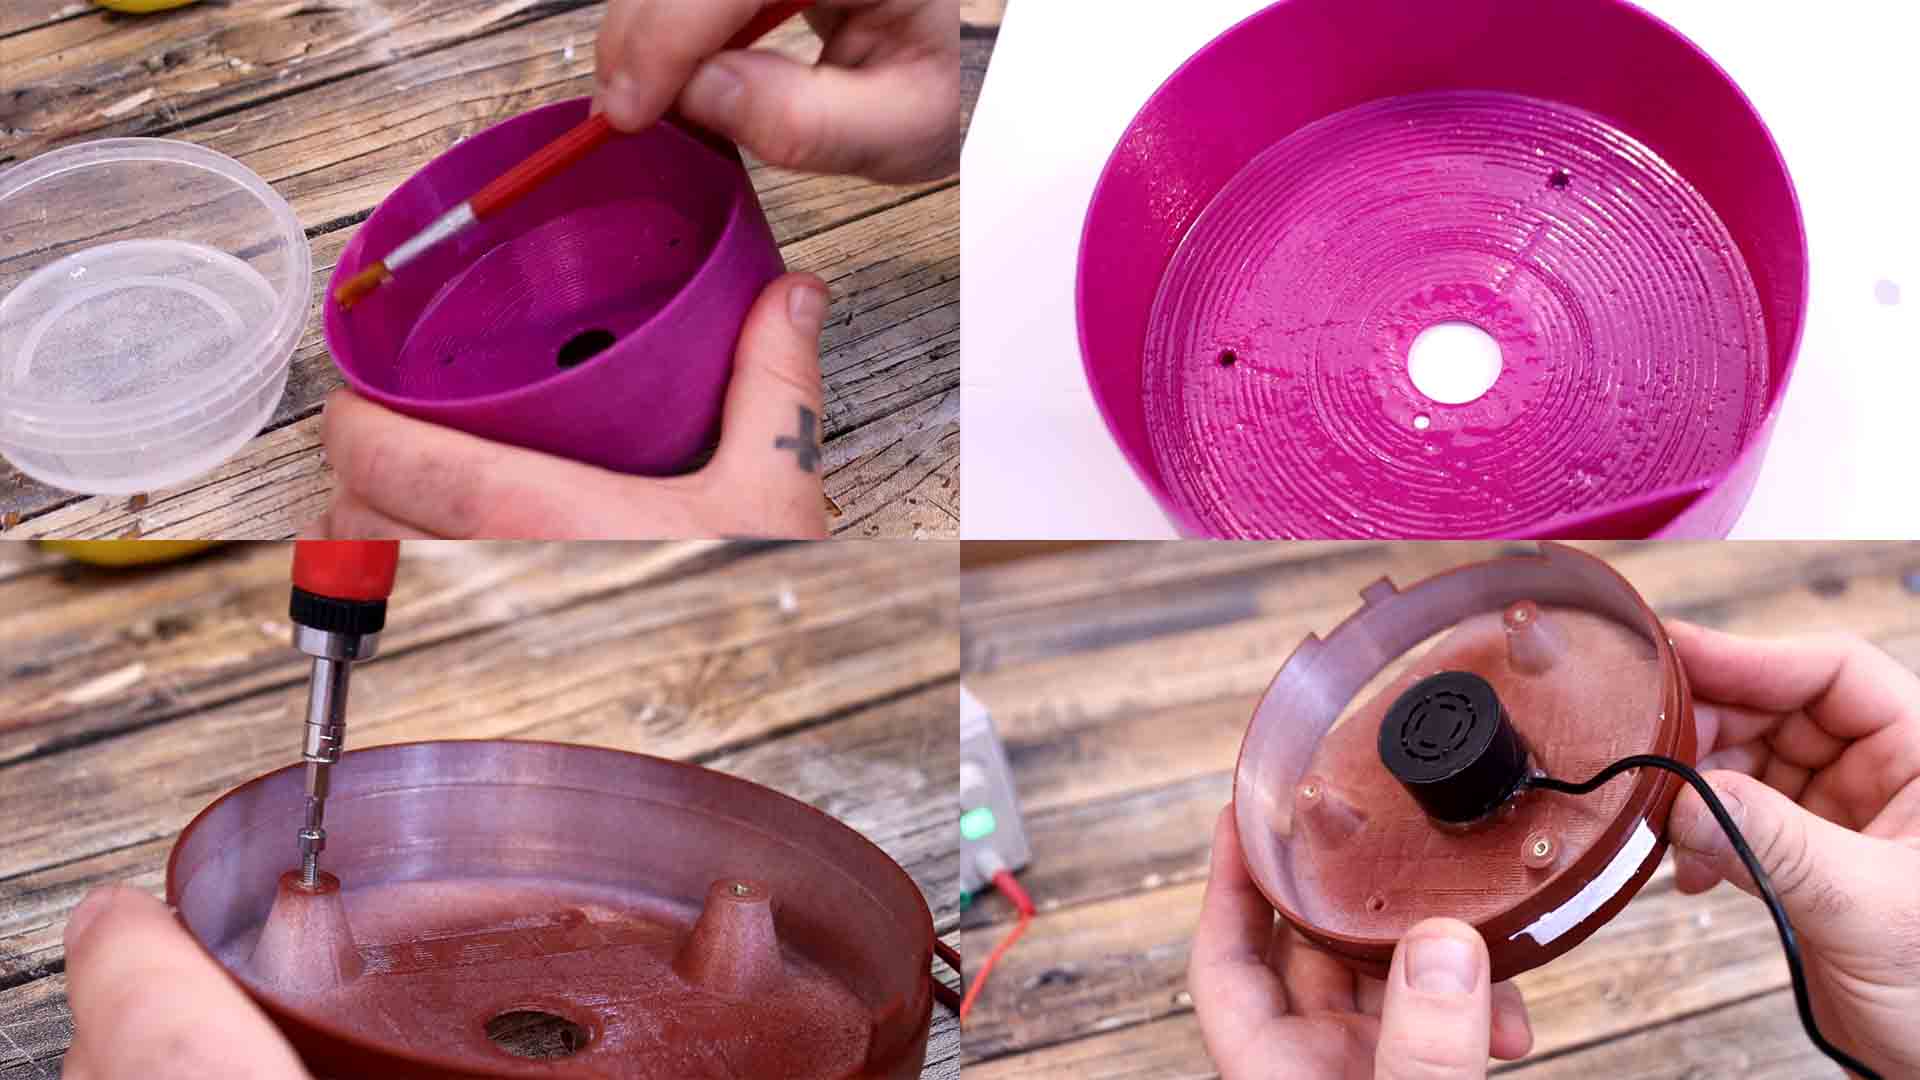
I mix two part resin. Then I apply a layer inside the water container 3D printed part with a brush. Then we let it dry and we can continue with the rest. I get the electronics case top part and we add some threaded insertions. As always, we heat them up with the soldering iron and push them inside the plastic. Now we can use screws to close the bottom part. Then we have to remove some plastic from the mist generator. Otherwise it won’t fit inside the 3D printed case. So we make it flat and now it should fit perfectly. At this point, we can use some glue and fix the generator inside of the printed case.
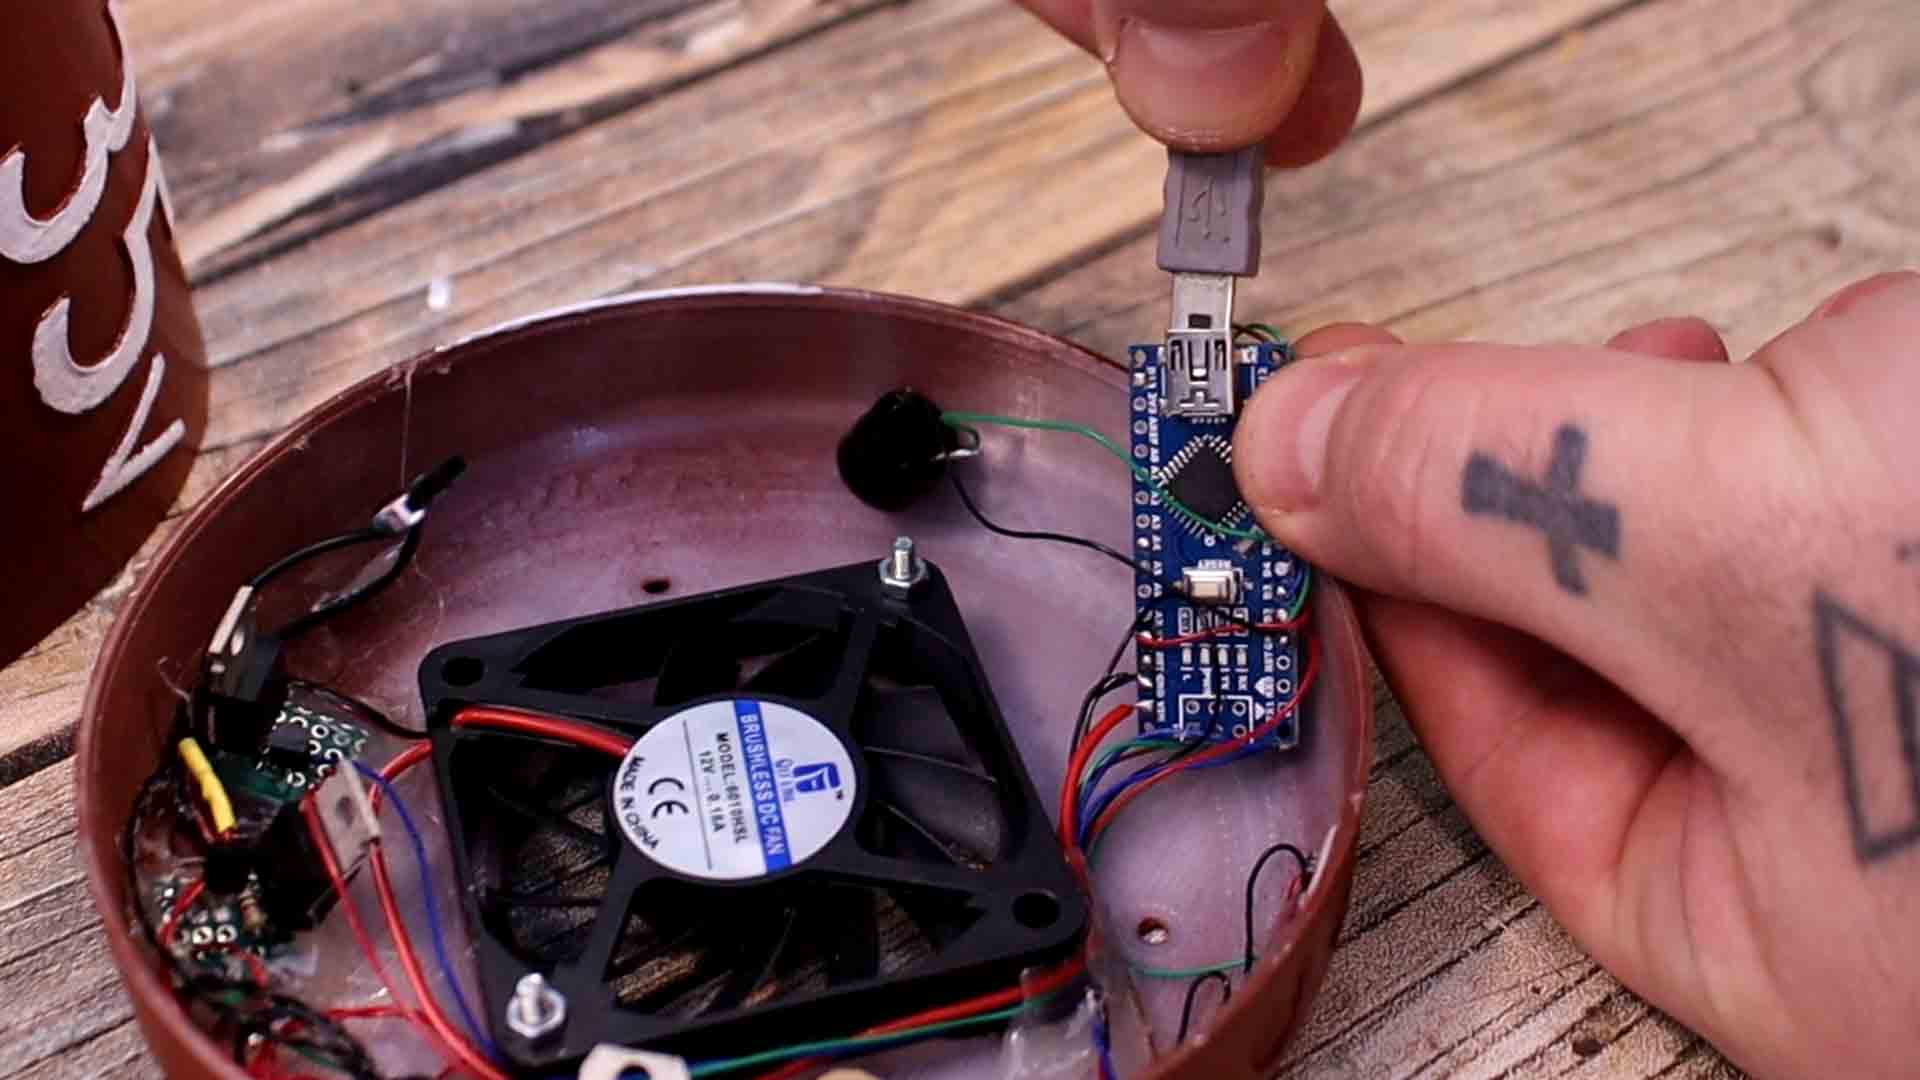
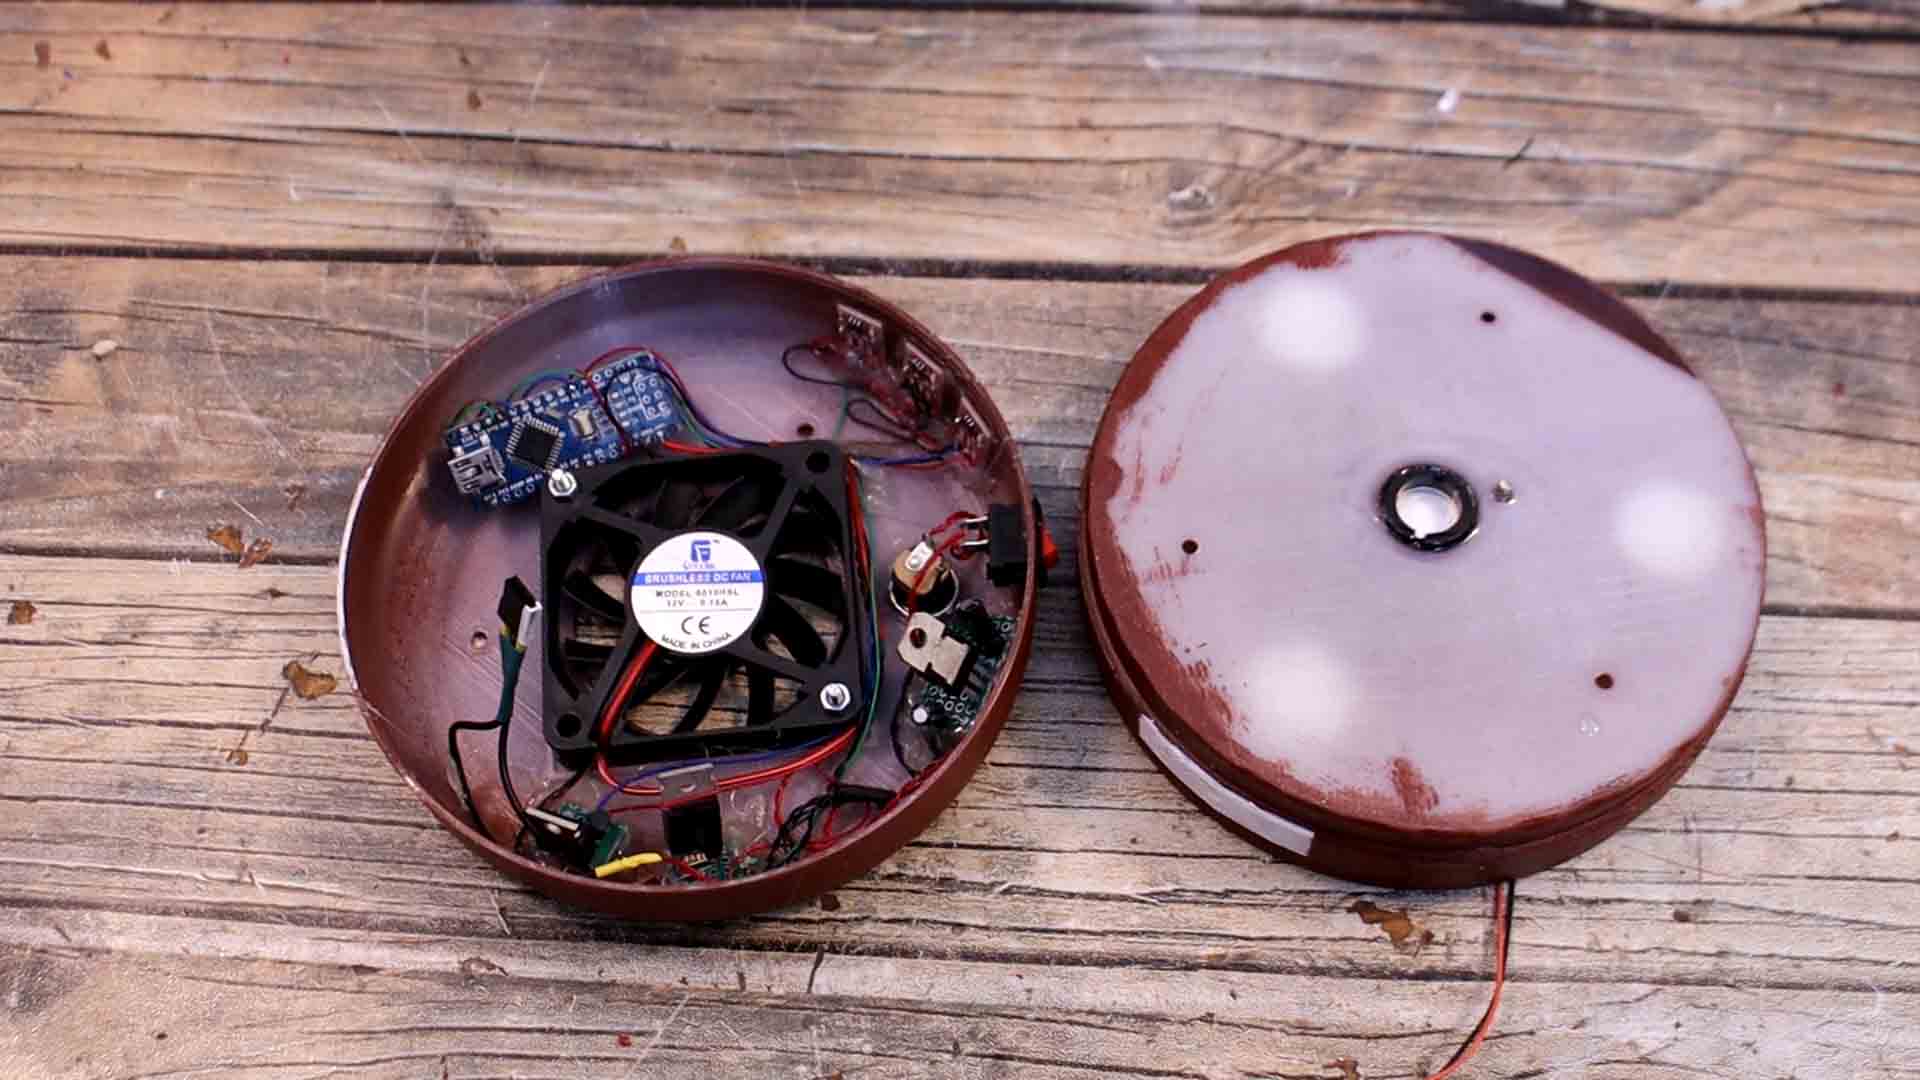
Next I solder some wires for signal and power to the buttons. Then we can glue them inside of the other bottom part of the case, just in front of the buttons circles. Now that we have the buttons, the next part was to add the power jack and the power switch. Then we connect the regulator for 12V as in the schematic. We add the fan in the middle. We make the MOSFET controllers and connect them to the fan and woth some female pins for the mist generator. We glue them in palce. We make connections to the Arduino with thin wires.
Is time to upload the code so download it from below. The code is very easy. We detect when the button is pressed and we change the mode from 0 to 4. Each of the modes 1, 2, 3 and 4 are for 15 minutes, 30, 45 and 1 hour time of mist generation. To let the user know which mode is selected, we make a beep, 2 beeps, 3 and 4 beeps and a long beep when the generator is off. When the mode is not 0, we use digital write to turn on the fan and the generator MOSFETs. And when the mode is 0, we turn them off. We count time in seconds and when the elapsed time is higher than 900 for example in case of 15 minutes, we jump to mode 0 where we turn everything off. That’s it for the code. Once uploaded give it a test and see if it works so connect 24V and test the buttons and if the fan turns on.
Now the resin is dry and the container is water sealed. When we merge together the parts, the idea is that the air from the fan will go upwards through a hole and it will push the mist upwards as well and it will exit through the top hole. Without the fan the mist will just stay inside. I place some paper towels below and add water. I check if there are any water leaks but everything seems to be ok. Before I close the case, I connect power and give it another test but this time with the generator connected and with water. It works very well and creates a lot of mist. Now I close the bottom case. Then I add water again and place the capacitor case on top. Looks quite good, right? I connect power and turn it on and there you go.

It can create a lot of mist and it really looks like a magic smoke capacitor. I can say the project is a success. The idea is to add perfume to the water and give a good smell to your home. Just a few drops and it will give a very nice odor to the water mist. So this project is cool but is useful as well.
If my videos help you, consider supporting my work on my PATREON or a donation on my PayPal. Thanks again and see you later guys.