For a while I’ve been watching PET bottles filament maker projects on YouTube. There are a lot of them, and I have to say, it is a very interesting project and I wanted to make one as well. So, following the same steps and ideas, I’ve made the design, made a schematic for a PCB, 3D printed some parts, made some tests and slowly made my own bottle to filament machine. Right now is not perfect, but at least, does it work? Well, check the post till the end to find out. I’ve made a PCB to go with this project and order it from PCBWAY, and basically, together with an Arduino, it should control the heating block temperature, the feeding speed, maybe a fan, it could also have a display and a control encoder and so on. So guys, let’s see how to make a bottle to filament maker and then try to print something with that filament. So, let’s get started.
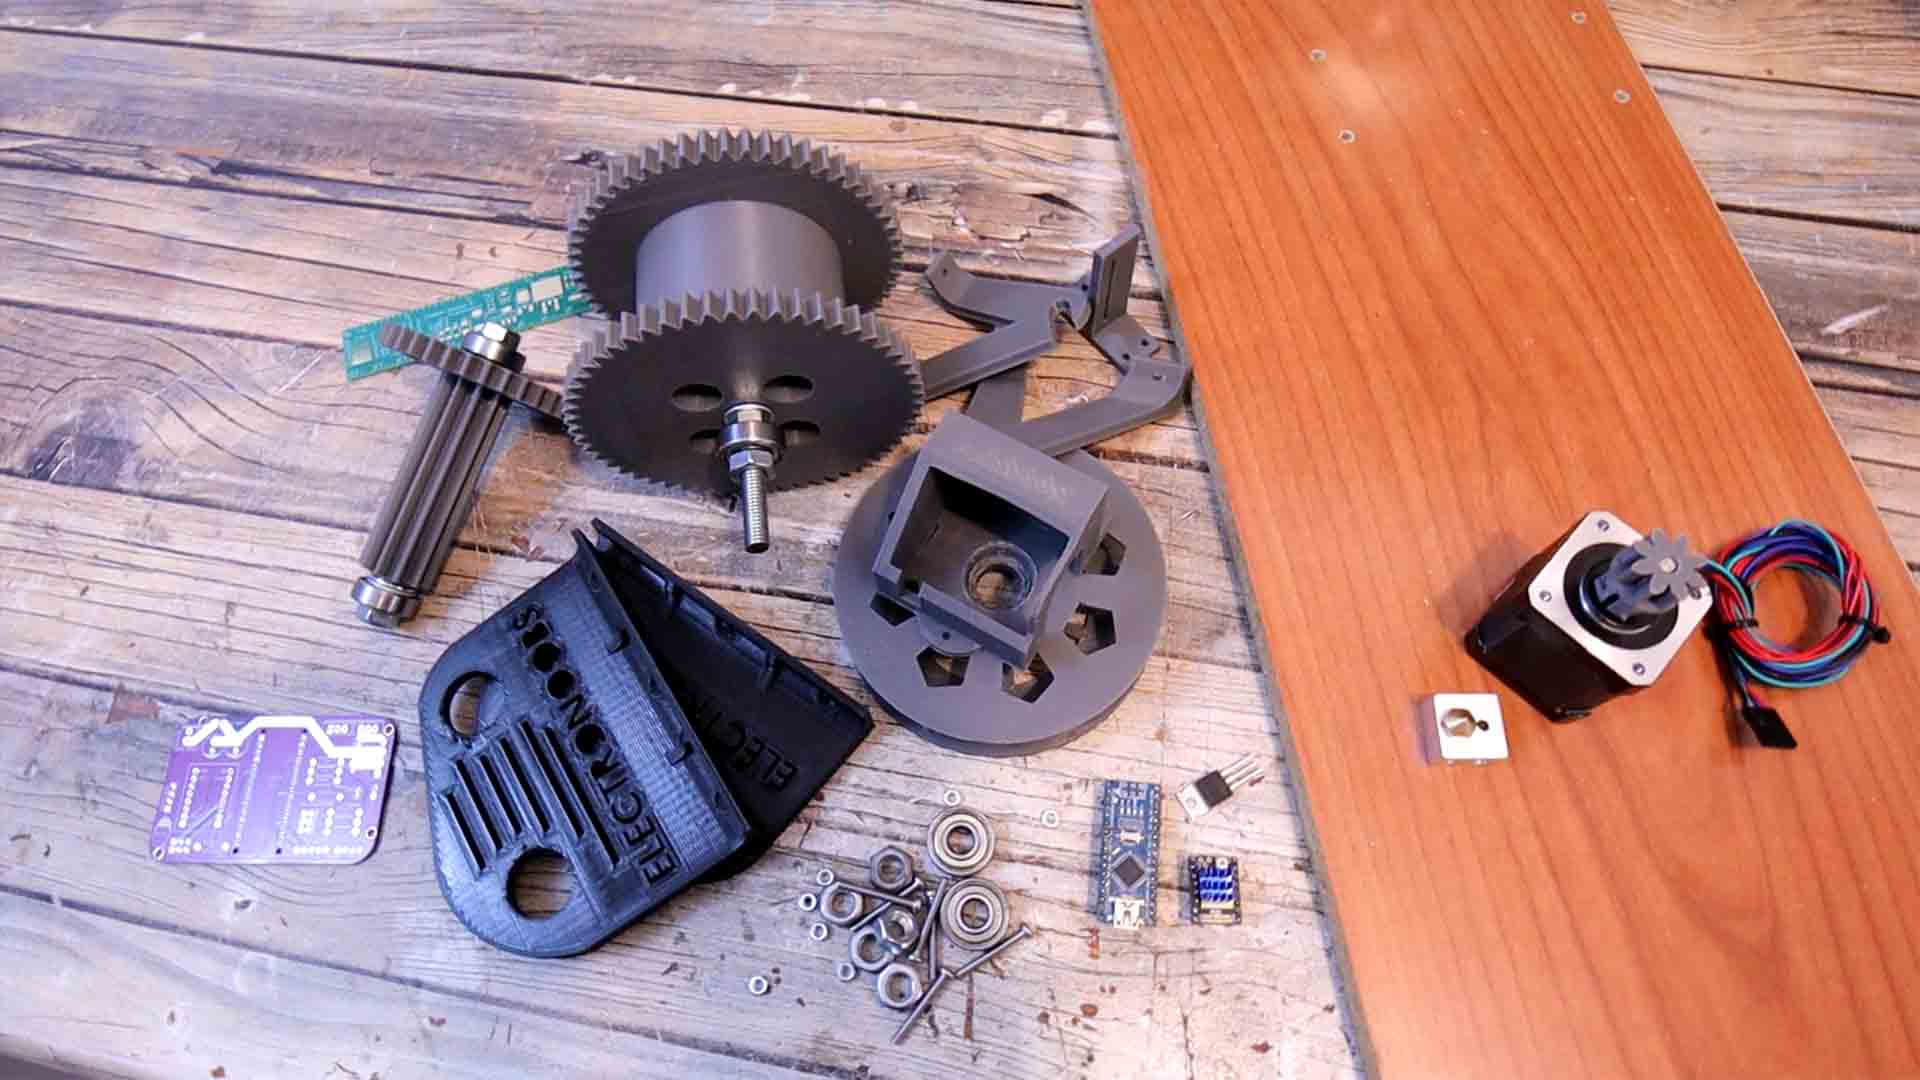
Ok so go below and download all the 3D files that we need. They were all printed with PLA filament. Together with the 3D parts we need bearings, the 608zz, screws, other components for the PCB, an Arduino, an LCD and more. The PCB will work at 12V so make sure you have a decent power supply for that with enough power for the heater.
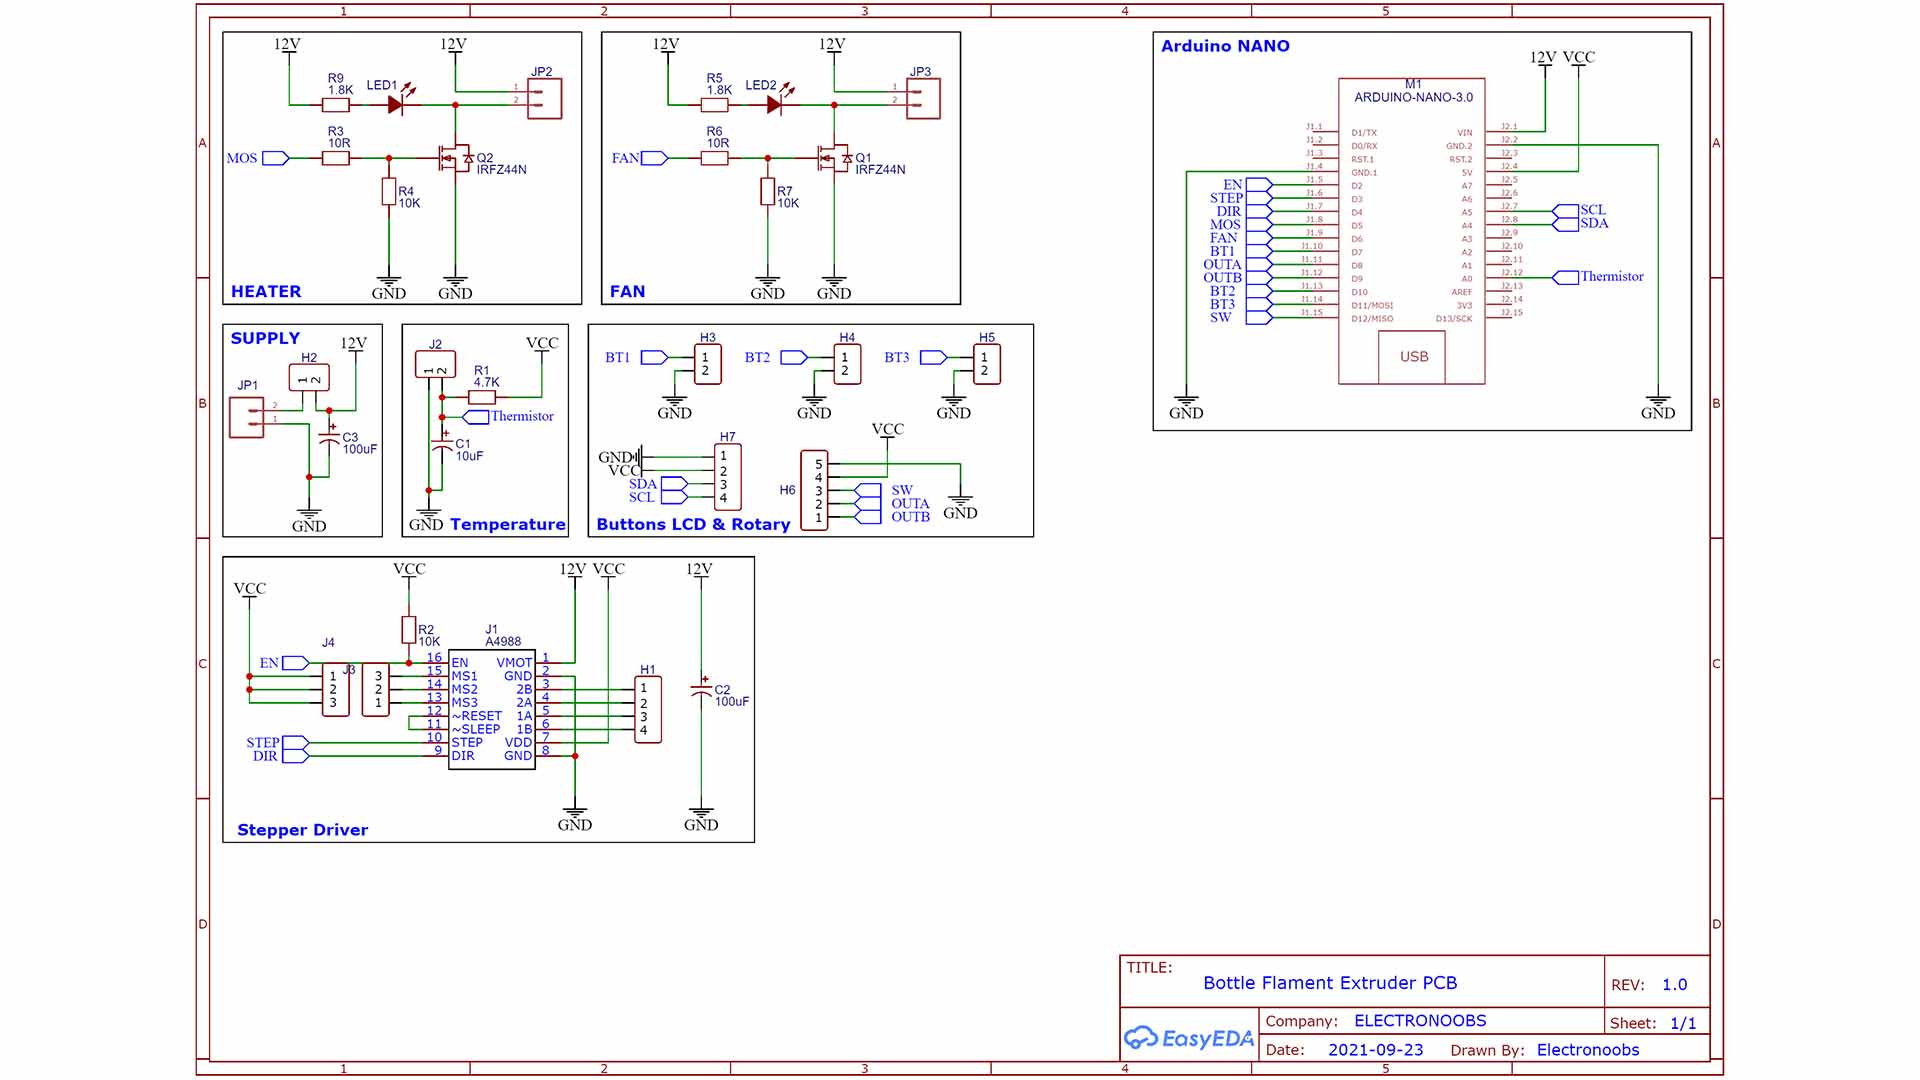
Below you have the scheamtic of the PCB. As you can see is just a shield for an Arduino NANO and is connected to the stepper driver. But it also has a small circuit for the MOSFET control and the temperature read from the heater thermistor. It has terminals for power in and out and also some pins for push buttons, display and more...
The stepper motor will be controlled with a stepper driver that goes on the PCB. If you want to try this same project, you can download my PCB for free and then order it to PCBWAY as well. Or if you want to support me you could also download it from my shop as a donation. So, download the GERBER files and go to PCBWAY.com. There click the quote now button and select the PCB size, the amount of PCB and the solder mask color. Then click save to cart and on the next page click the upload button. There upload the GERBER file you’ve downloaded from my website. Wait a few moments for a PCBWAY engineer to confirm your files and then make the payment and receive the PCBs in a few days. The finish quality is great as always. I never had problems with my prototyping PCBs and for only 5 dollars I can test my projects over and over again till I have a final version that I like. Anyway, once you have the PCB you can try this same project, so let’s continue.
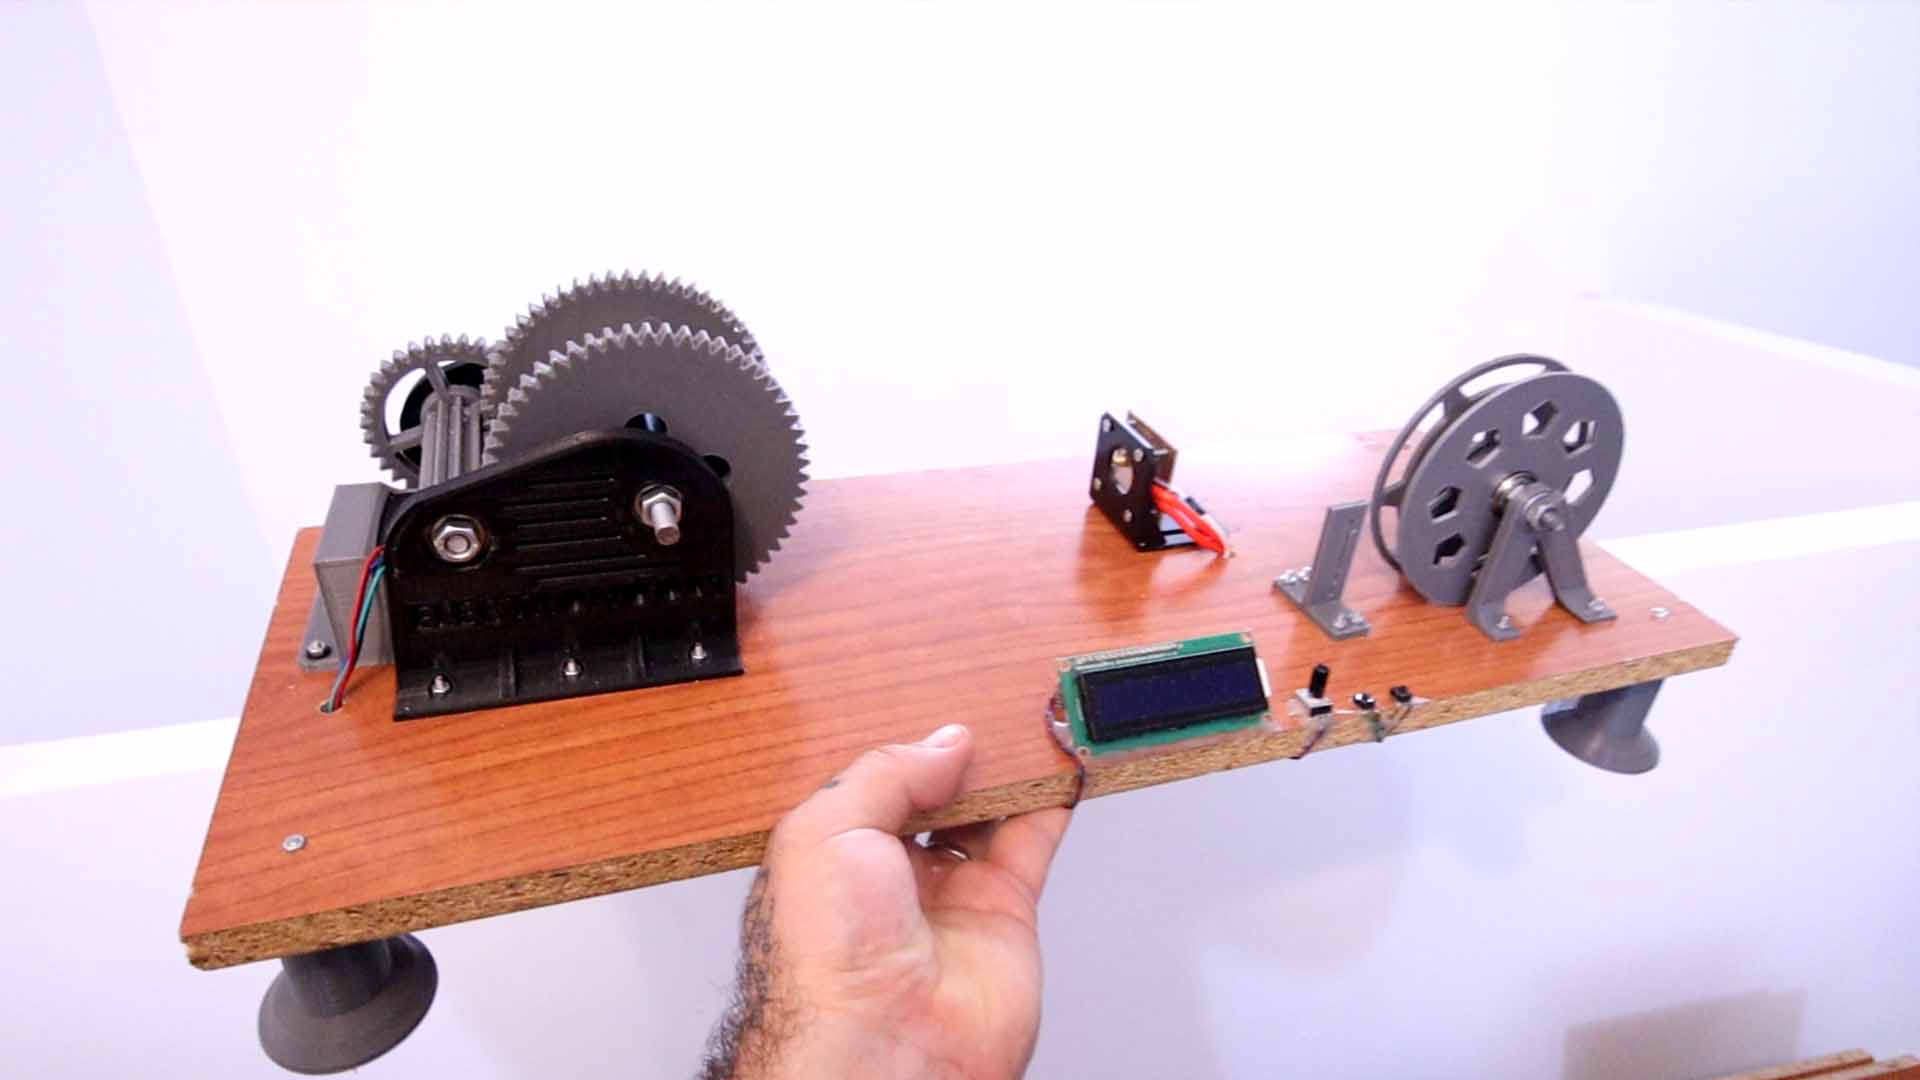
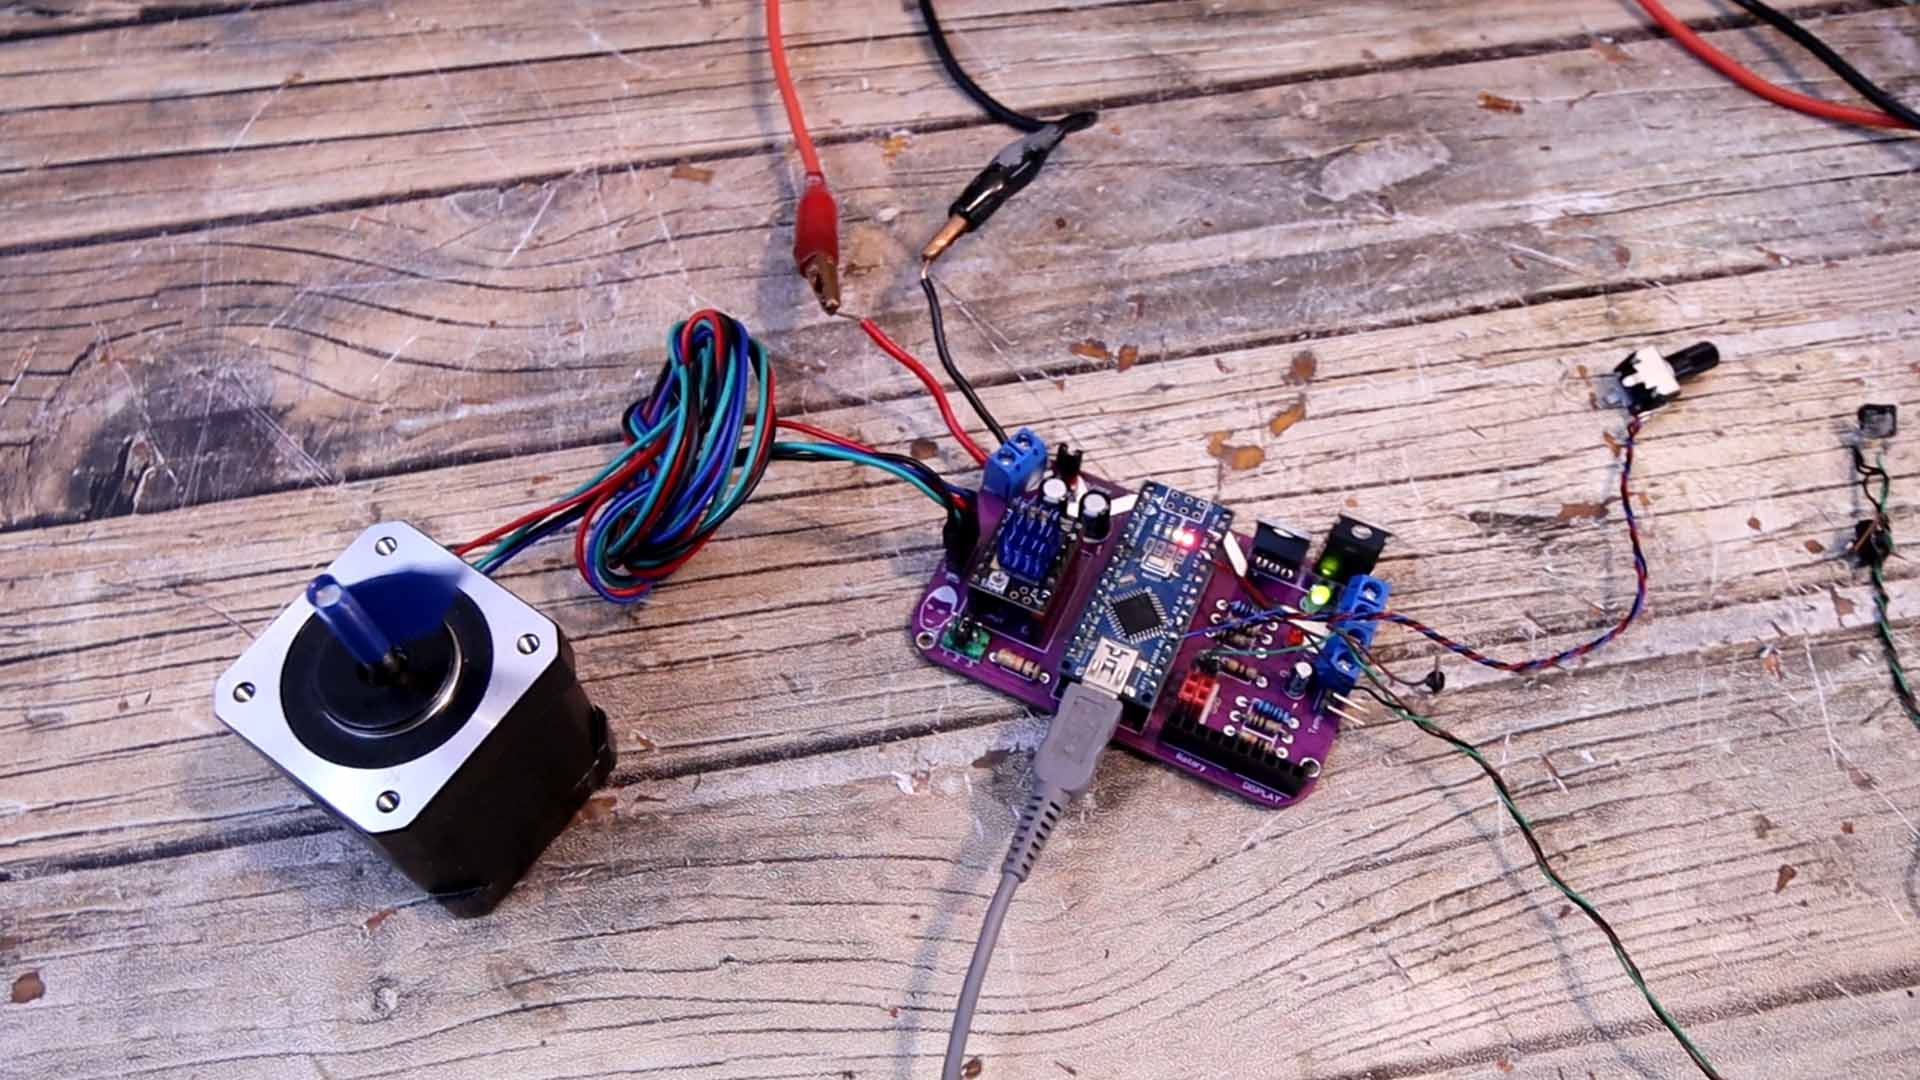
Everything works, so I’ve connected everything below the wood board and fixed the PCB with screws. For now I’ve glued the screen and the controls on the board as well. Then we create a final code that will heat up the block, read the temperature and control the speed of the step motor, all at the same time. This below is the final code that you could download from below. Upload it and let’s give it a test. The temperature stays around 200 degrees (it should be higher), the values are printed on the screen and I can control the motor speed using the potentiometer. Is time to create some filament.
#include
// Define a stepper and the pins it will use
AccelStepper stepper1(1, STEP, DIR); // (Type of driver: with 2 pins, STEP, DIR)

//PID constants
//////////////////////////////////////////////////////////
int kp = 90;   int ki = 30;   int kd = 80;
////////////////////////////////////////////////////////// Obviously, there are a lot of parts that could improve with this project but that’s for a future update video since I was working on this one for more than a month. But feel free to improve it yourself. So guys, that’s how you could make filament out of PET bottles. You have my PCB below for above, get it and order it at PCBWAY. Get my schematic, my code and everything you need for this project form this post and try your own filament puller machine. If my videos help you, consider supporting my work on my PATREON or a donation on my PayPal. Thanks again and see you later guys.