
See also original post. LDR sensor module is used to detect the intensity of light. It is associated with both analog output pin and digital output pin labelled as AO and DO respectively on the board. When there is light, the resistance of LDR will become low according to the intensity of light. The greater the intensity of light, the lower the resistance of LDR. The sensor has a potentiometer knob that can be adjusted to change the sensitivity of LDR towards light.
The connections are pretty easy, see the image below with the breadboard circuit schematic. The sensor will give an analog output or digital, according to the amount of visible light received. You could use this afor a light follower robot, detect sunlight or rotate according to the sun position.
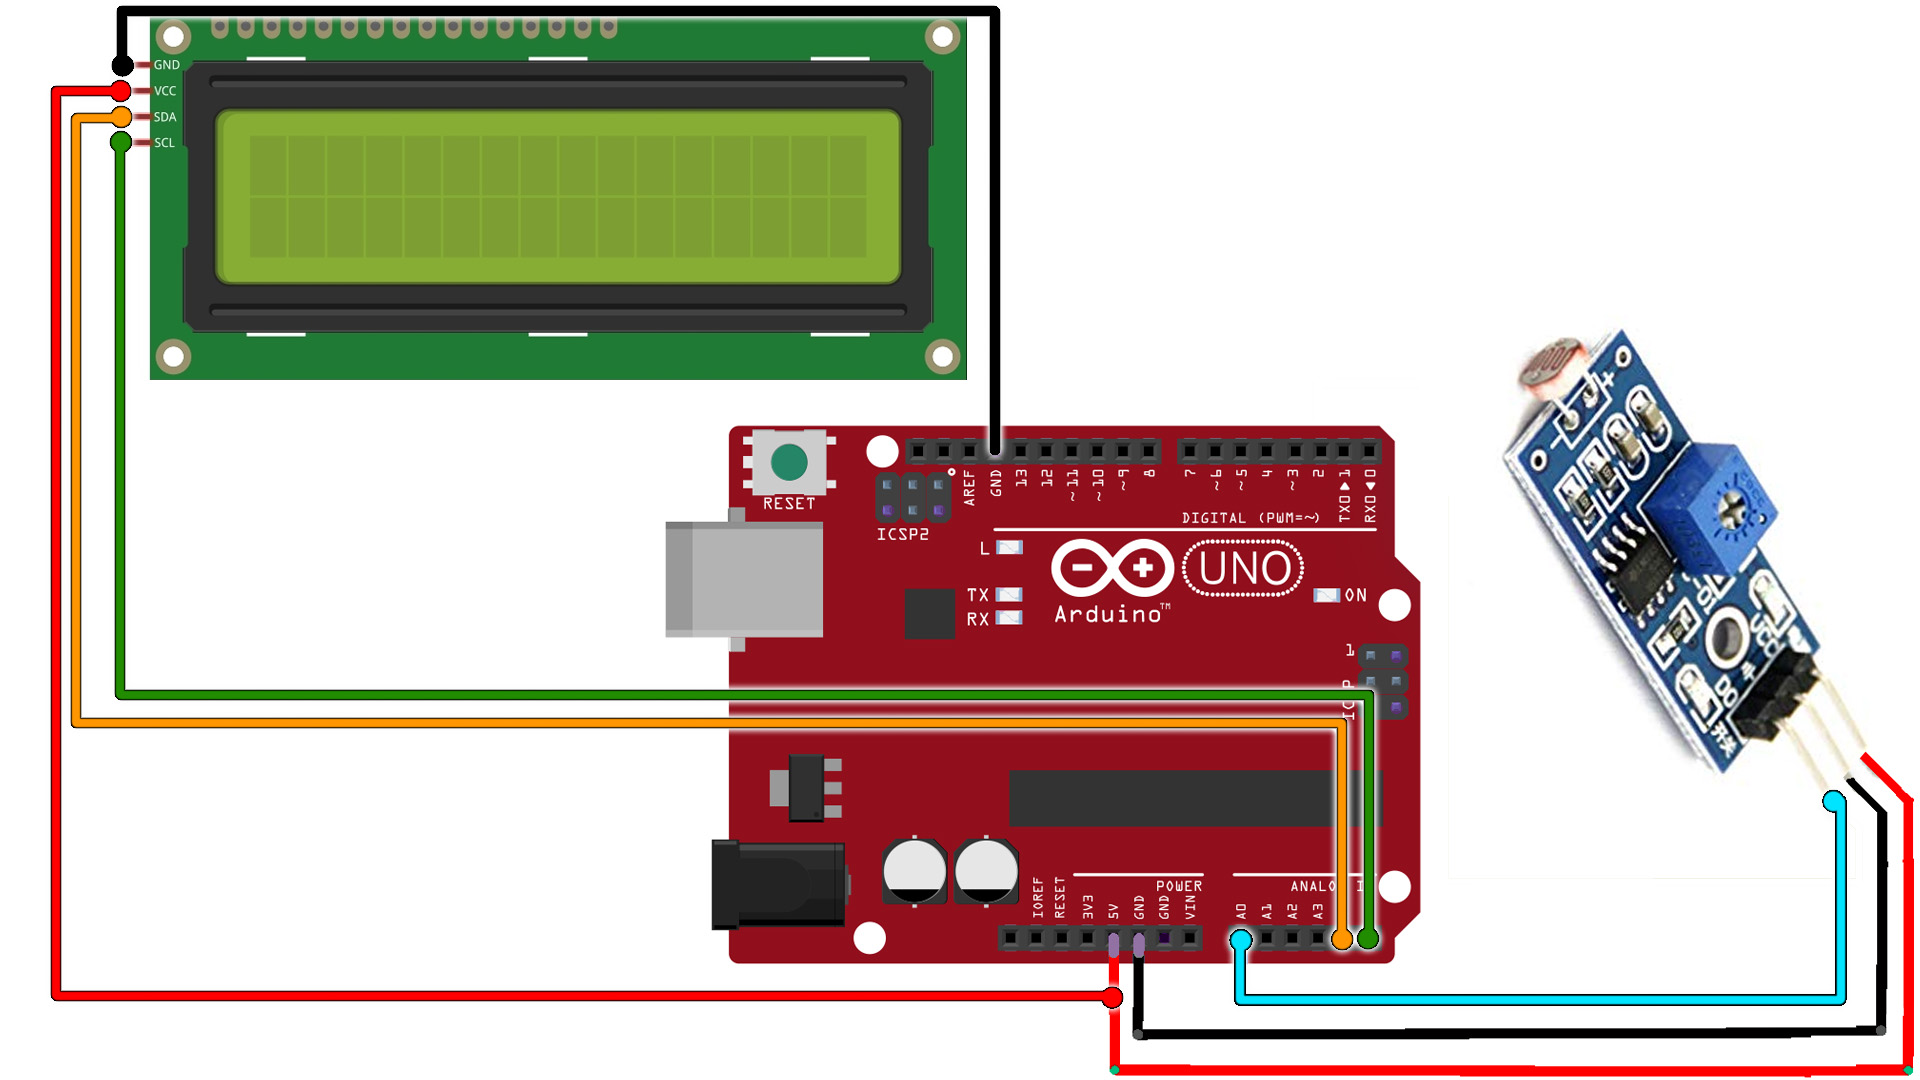
We read the analog value from the sensor and print that to the serial monitor. You could make your own code and activate stuff, detect light, etc...
// LDR sensor Test
// http://www.electronoobs.com/eng_arduino_tut75.php

int LED = 11; // Use the onboard Uno LED
int analog_IN = A0;  // This is our input pin


void setup() {
  pinMode(LED, OUTPUT);
  pinMode(analog_IN, INPUT);
  Serial.begin(9600);

}

void loop() {
  int Value = analogRead(analog_IN);
  Serial.print("Analog read: ");Serial.println(Value);
  delay(200);
}
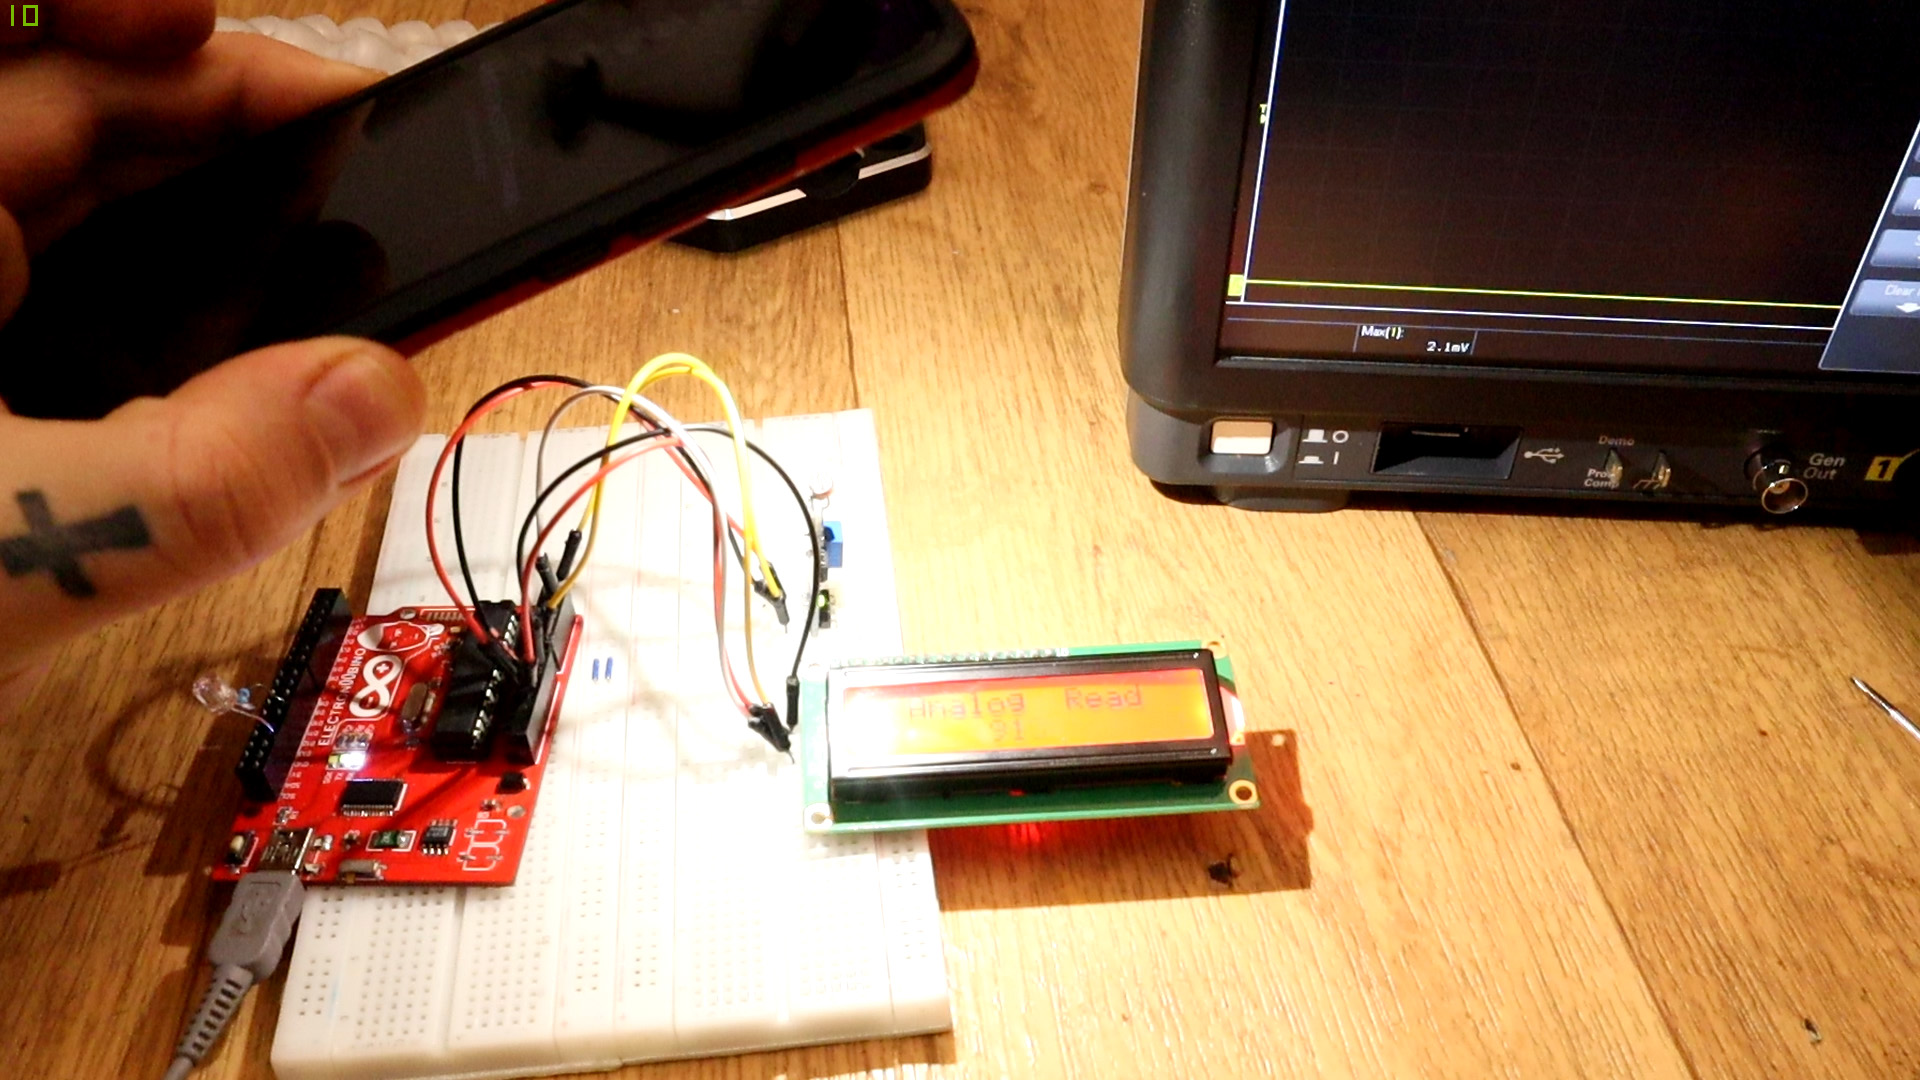
Upload the code and make the connections. Then open the serial monitor at 9600 bauds and you will have the analog read printed to the serial monitor. Or go below and download the code with the i2c LCD.
// LDR sensor Test
http://www.electronoobs.com/eng_arduino_tut75.php

#include <Wire.h>
#include <LiquidCrystal_I2C.h>

// Set the LCD address to 0x27 or 0x3f for a 16 chars and 2 line display
LiquidCrystal_I2C lcd(0x27, 20, 4);
int LED = 11; // Use the onboard Uno LED
int analog_IN = A0;  // This is our input pin

void setup() {
  lcd.init();
  lcd.backlight();
  pinMode(LED, OUTPUT);
  pinMode(analog_IN, INPUT);
  Serial.begin(9600);
}

void loop() {

  int Value = analogRead(analog_IN);
  Serial.print("Analog read: ");Serial.println(Value);
  lcd.clear();
  lcd.setCursor(0,0);
  lcd.print("  Analog  Read  ");
  lcd.setCursor(6,1);
  lcd.print(Value);
  delay(200);
}
Upload the code and make the connections. Then open the serial monitor at 9600 bauds or just see the results on the LCD screen.


