
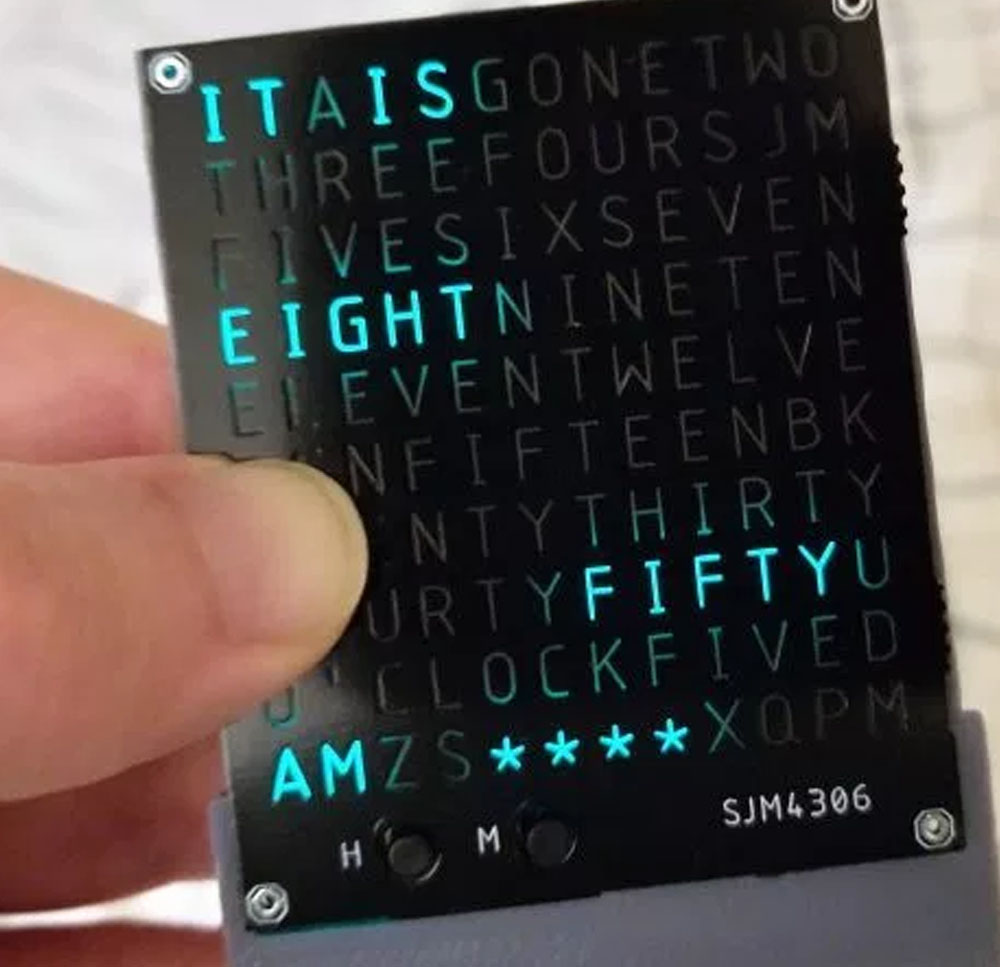
Ok, so we have another clock project on this page but this one is a bit different. The main difference is that is using words instead of numbers to show the time and that makes it a lot cooler. As you can see from the start, in order to show all these words we need a lot of lights behind each character, to be more precise 120 LEDs in total. Now controling this amount of lights is not easy using just a single microcontroller. We definitally need to multplex the chatodes and anodes of the LEDs by rows and columns since the used chip has a low amount of pins, in this case he used the ATmega328p microcontroller, which is the same chip used by our dear Arduino. Having 120 LEDs placed in 12 columns and 10 rows, that means we need 22 pins to control these lights. But how is that done?
So, a more digital and precise control is needed and is that why he designed a new PCB and compare it with a commercial product that dose the same.

How is the display actually multiplexed/scanned? Well to start an entire column is lit at once. To do this the vertical strip of LEDs in the column have their anodes driven in the pattern we want them to light up. To actually select the correct column we then set the pin attached to all of the cathodes of the LEDs in that column as an output and pull it low, while at the same time setting every other column pin to an input (high impedance so no current can flow). Simple right? There are tons of examples and schematics that explain it much better than me if you google something like "how a led matrix works".
So from the perspective of the programmer, all you have to do to write to the display is set the pixels stored in a display buffer array and they seemingly magically light up the corresponding LED! Cool, right!
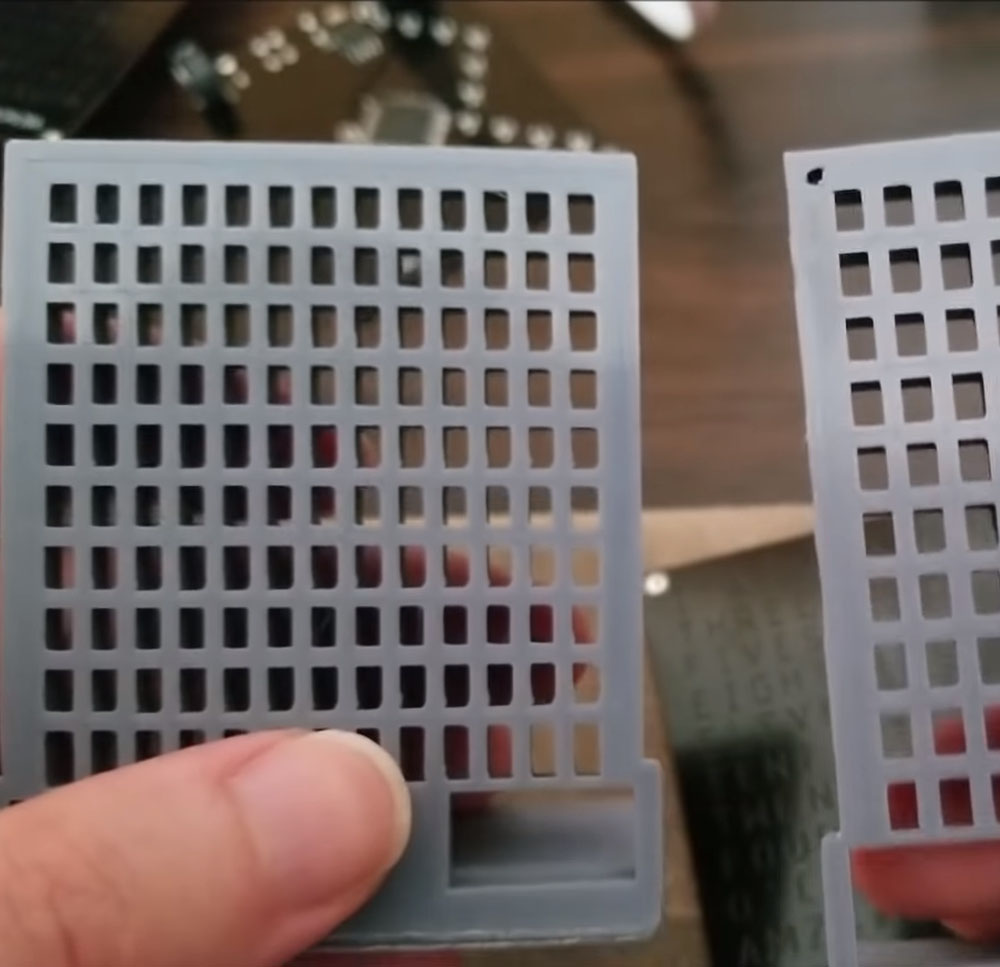
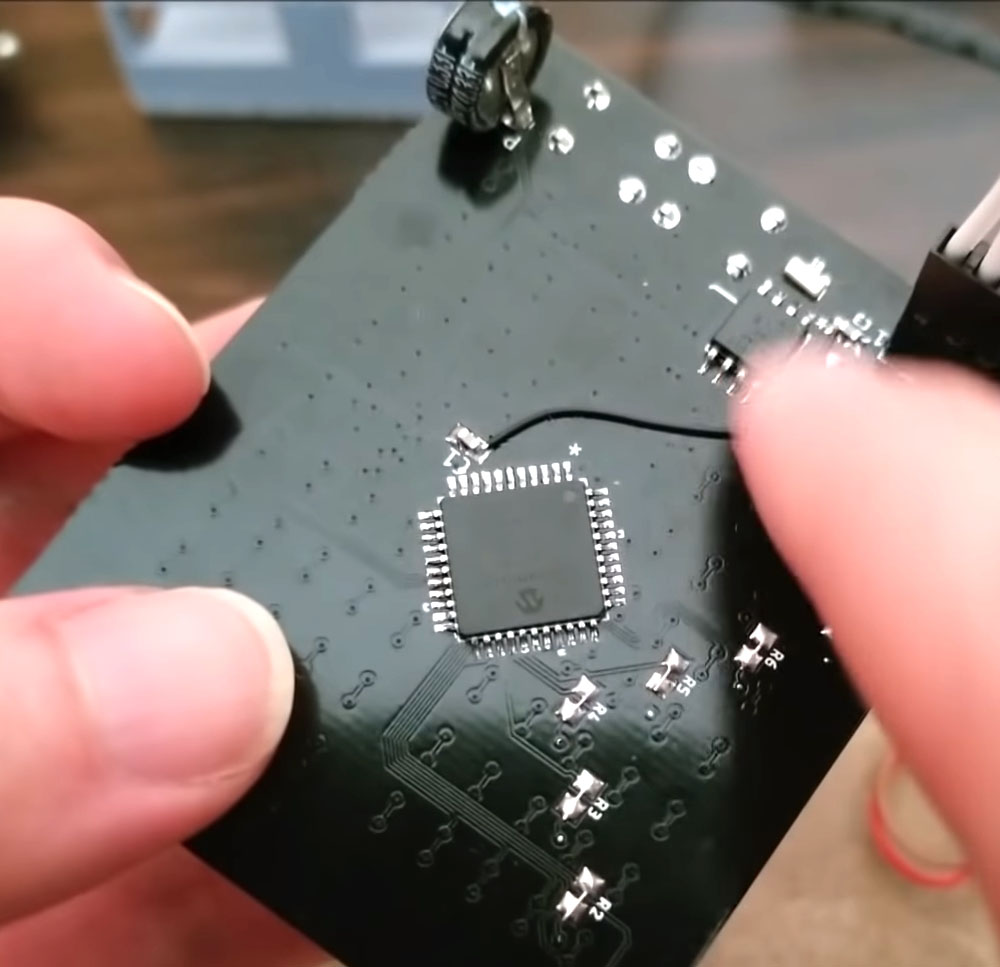
In order to know the time, he used a real time chip or RTC with i2c communication so it was easy to get and set the time. The board he made had some small errors but that was no problem. With some wires he fixed those errors. If you want to see more about this, check the video he posted with the project on his YouTube channel sjm4306. Also see the 3D case, the board he designed and some animation examples that the clock will make.
Apart this post, if you have your own project and you need good quality PCBs, consider using the services of PCBWAY.com which will offer you quite good services, I use their services a lot of my PCBs.
Consider supporting ELECTRONOOBS on PATREEON.


