

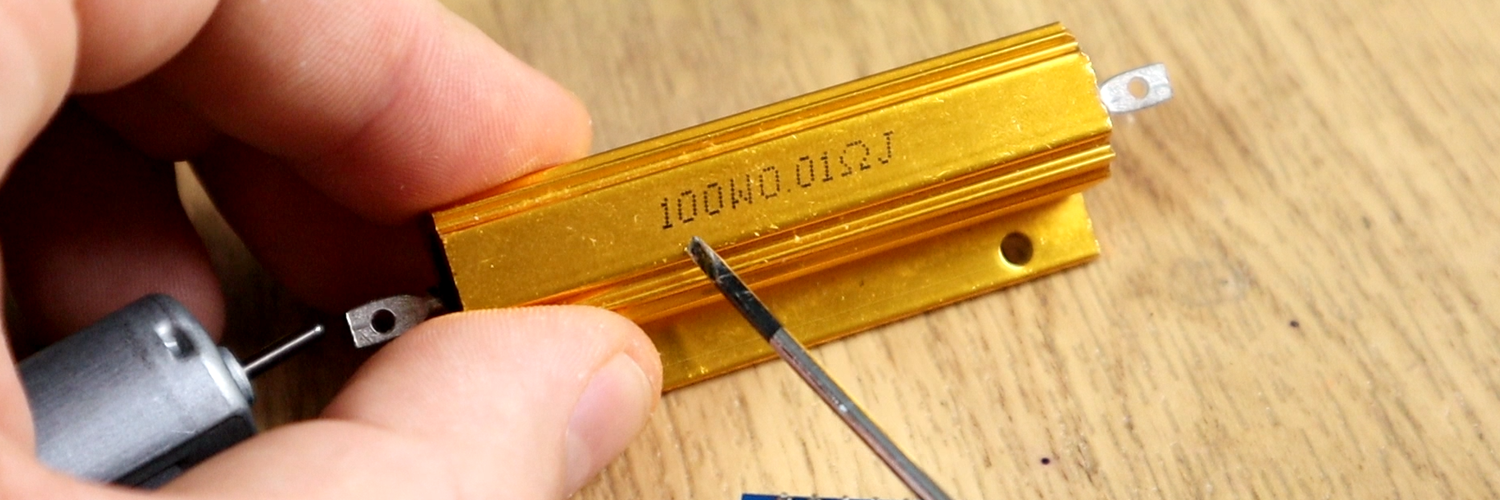
ELECTRONOOBS teach us once again with a new meter made with Arduino. This time the measured value is power. Well, power is voltage time current. The first thing he did in his tutorial is show us how to easily measure current using the Arduino. The microcontroller can’t directly measure current, but it can voltage. So, the idea is simple. Place a shunt in series with the load and the current that passes will create a voltage drop. Measure the voltage, divide it by the shunt value and get the current. Easy right?
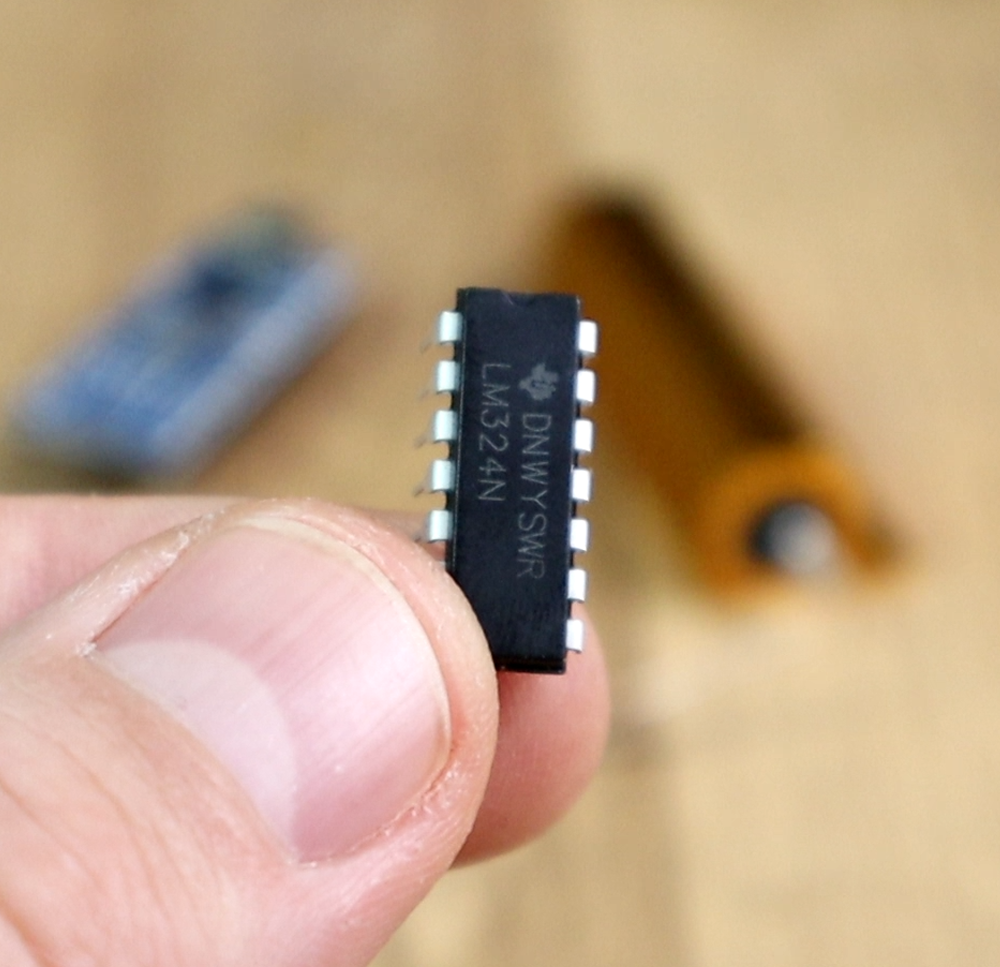
The voltage drop was small since the shunt was of 0.01 ohms. So, he used an OPAMP LM324 and amplified the voltage then measured it using one of the Arduino ADCs. Once the current is measured, the rest is easy.
Is time to measure the main input voltage. The power will be the measure current multiplied by this voltage. To do that, EN just connected the input to a voltage divider and then to the analog input of the Arduino. Why a voltage divider? Well, Arduino works at 5V and the input of the meter could be way more than that.
Is time to measure the main input voltage. The power will be the measure current multiplied by this voltage. To do that, EN just connected the input to a voltage divider and then to the analog input of the Arduino. Why a voltage divider? Well, Arduino works at 5V and the input of the meter could be way more than that.


