Introducing MARK 1, the programmable Arduino Robot Arm. But, that's not all, this Robot Arm can be controlled by Hand Gestures. Here's How..
Introducing the DIY Robot Arm controlled by Human Gestures.
Blockbuster Films like Pacific Rim, Avatar and other Sci-Fi Movies have hinted at the ability to synergize with Robots – where your movements can be enhanced with Robotic assistance.
What if we could build the same industrial Robot, but on a smaller scale?
This project is an attempt at achieving this.
This is an Arduino Robot Arm that can be programmed or even controlled by Hand Gestures.
Staying true to Iron man’s suit convention, each iteration would be known as Mark. This prototype would be known as MARK 1. We can expect more iterations to improve on the original robotic arm.
In this tutorial, we’ll build a six-axis Robot controlled by Hand gestures using a Robotic Glove. And by mimicking natural human gestures such as a pinch, or a wrist rotation to the left, You’ll be able to open/close or rotate the robotic arm left and right respectively. In effect, manually controlling a Robotic Arm.
MARK 1 Features:
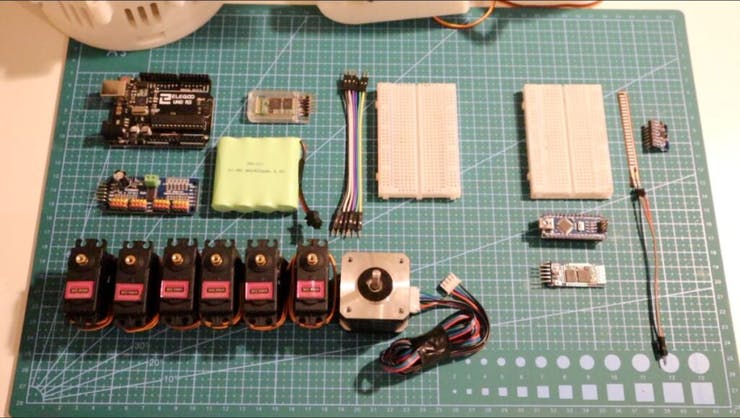
The Robotic Arm is fully customizable. You can either buy your own or 3d print your own. If you choose to 3D print, no worries. There is a list of different Robots that use servo motors, so the theory of what we’re building still applies.
For this project, this prototype (Mark 1) would be 3D printed as it gives me more space to create custom parts.
Robotic Arm: Thingiverse 3D Printed Robotic Arm (credits: Wonder Tiger):
You can find more information on this build, along with the screw types from the parts above. The time taken to print can up to 40 hours. However, this cuts the cost of buying a Robotic Arm.
Robotic Glove: The Robotic Glove.STL files (credits: Roman 13)
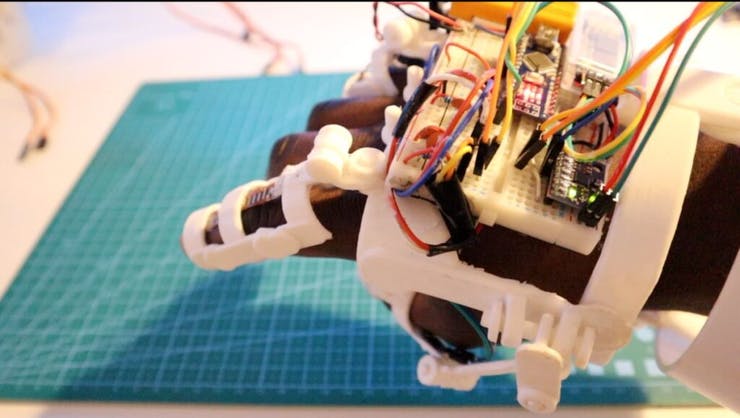
Overall, we’re sending a signal (over Bluetooth) from the Robotic Glove to the servo motor. When a value has been received, the servo driver will send a signal to a specific servo motor moving the Robotic Arm.
Now, if we add multiple servos and more sensors, we can control each Motor.
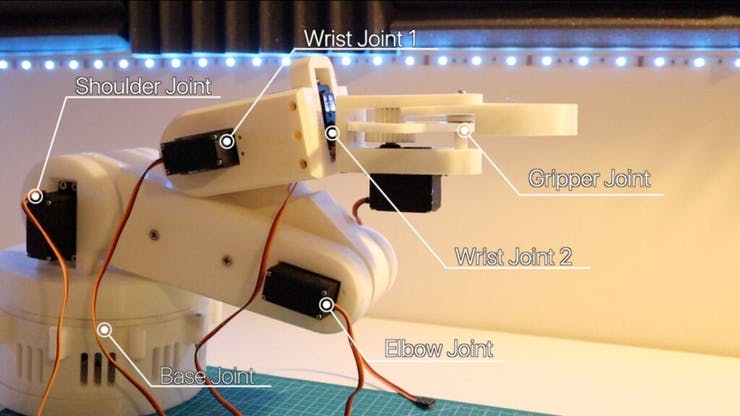
f we think of a Robotic Arm as a series of servo motors coordinating with each other to perform a function, we can create a robotic arm controlled by a Robotic glove.
The Robotic Glove’s Arduino uses sensors to communicate with the Robotic Arm Arduino and sends data to move a Servo to the desired angle.
You may be wondering, what sensors does the Robotic Glove use?
For MARK 1, we would be using Flex Sensors and an accelerometer (MPU6050)
We are using these sensors to detect a change in a gesture. We can then send a specific value mapped of a gesture to the Robotic Arm to control a servo motor via Bluetooth. And With enough gestures, the robotic arm comes to life!