Panel Cookies
yt_link
insta_link
fb_link
twitter_link
Blog#5 - FLSUN-S 3D DLP


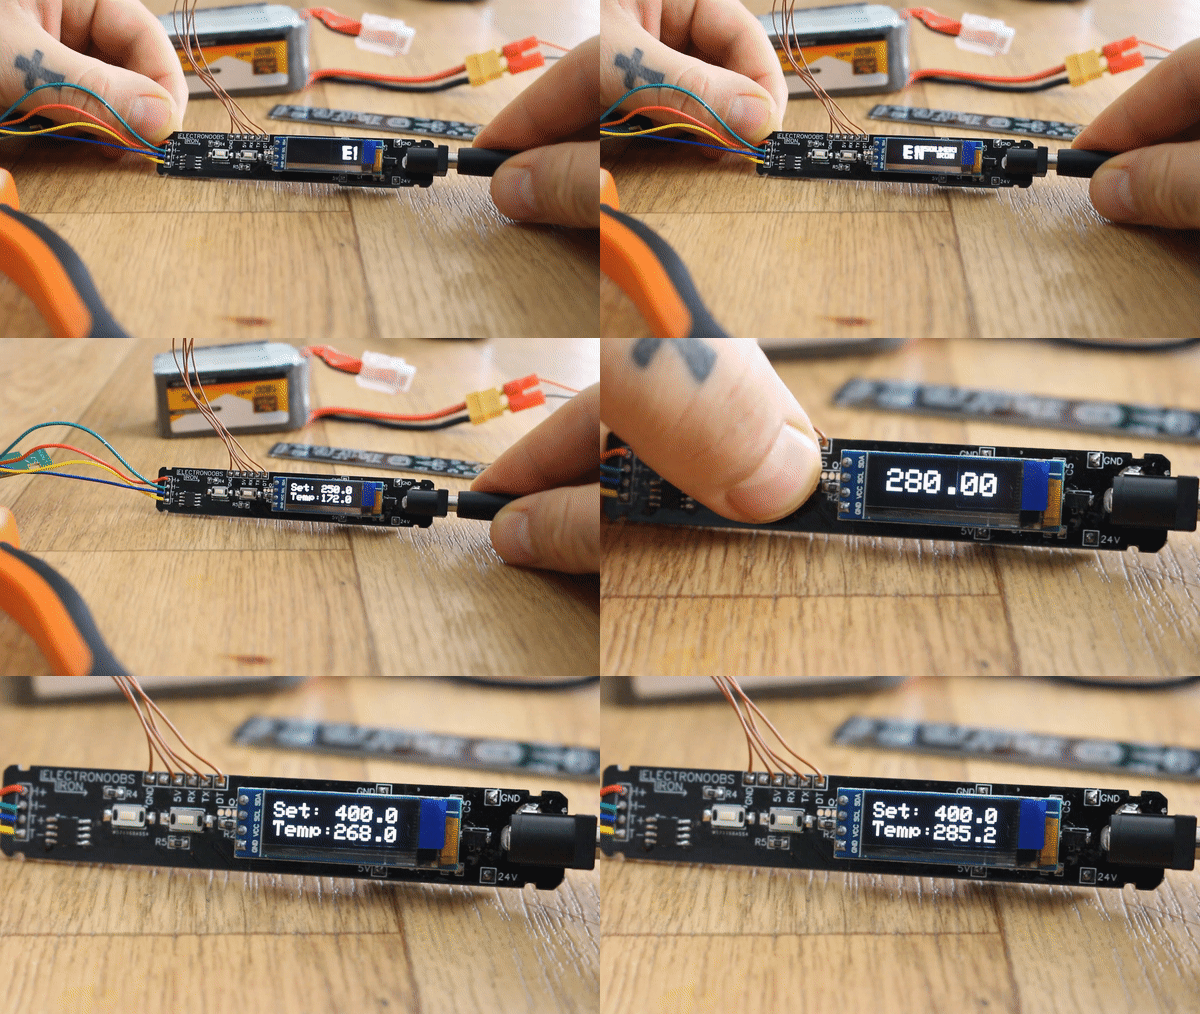
Last tutorial - homemade soldering iron!
Check here my last tutorial. I hope that you will like it. Keep up you guys!

last tutorial


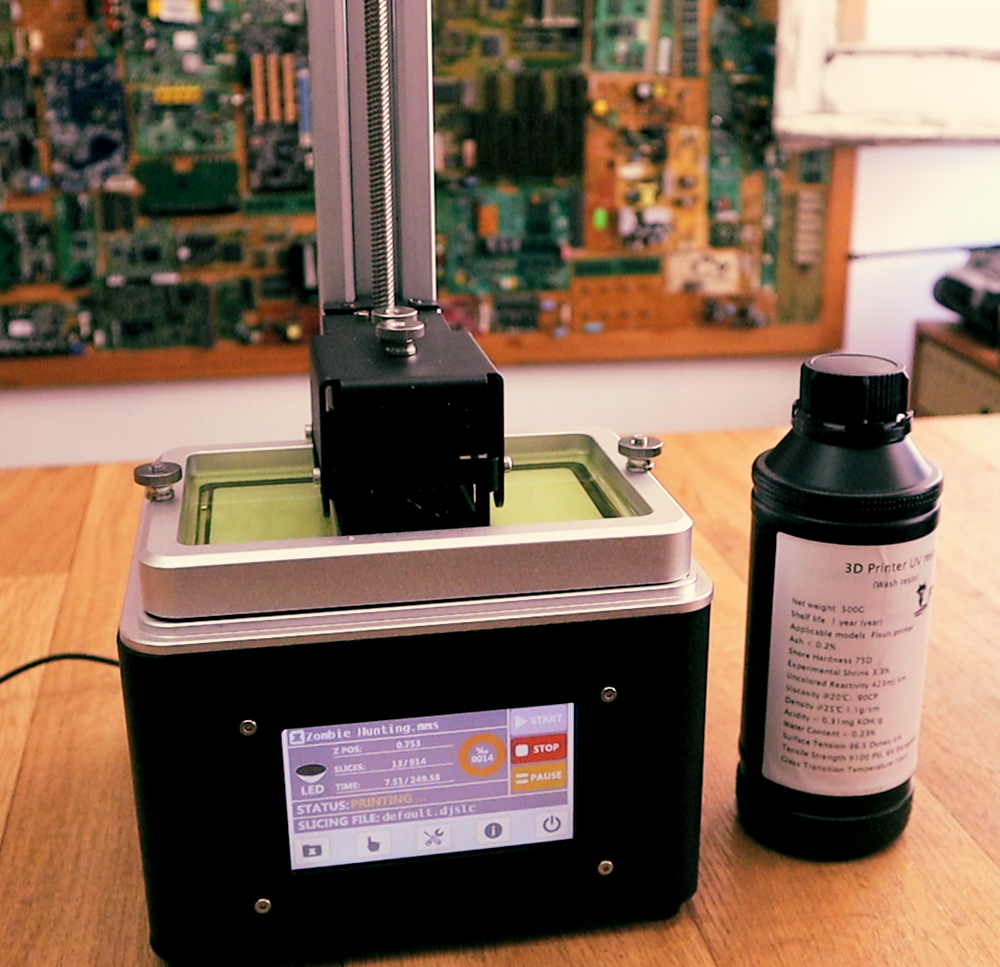
FLSUN-S DLP 3D printer
Help me by sharing this post

Go back ↞ See other blog→


Author: Harakiri
08/06/2018
Most common 3D printers are FDM which are fused depositing modeling machines. Usually a solid plastic (or other material) filament is introduced inside an extruder. The filament is melted and while the axis of the machine are moving, the filament is deposited on the printing surface. The precision is given by the nozzle diameter of the printer, the amount of steps per rotation of the stepper motors, pully system, etc.

A different type of 3D printer are SLA printers. SLA stands for stereolithography and these machines use a light sensible resin that hardens while exposed to light. usually UV light. A laser with high precision passes and hardens each layer. These printers are very expensive, at least 1500€.

Finally, DLP which is the middle way between the SLA precision and FDM low price.
This is how DLP printers work. We have a resin that hardens when exposed to UV light and that resin is kept in the printing bath. The bottom of this bath is transparent. Below we have a UV light source, which usually are ultra violet LEDs. So, if that UV light exposes the resin, you would get a full layer of hard material. But for that, between the light and the resin a mask with the shape you want to print is placed. So now the resin hardens in that shape. You harden one layer, lift a bit the Z axis and expose the next layer, then the next and so on till you have all the layers printed. To achieve this mask an LCD is used. You know that LCD works with polarized pixels. When the pixel is vertical, light can pass but when is horizontal, perpendicular to the light source, the light can’t pass. So, the LCD will create the mask. Easy right.

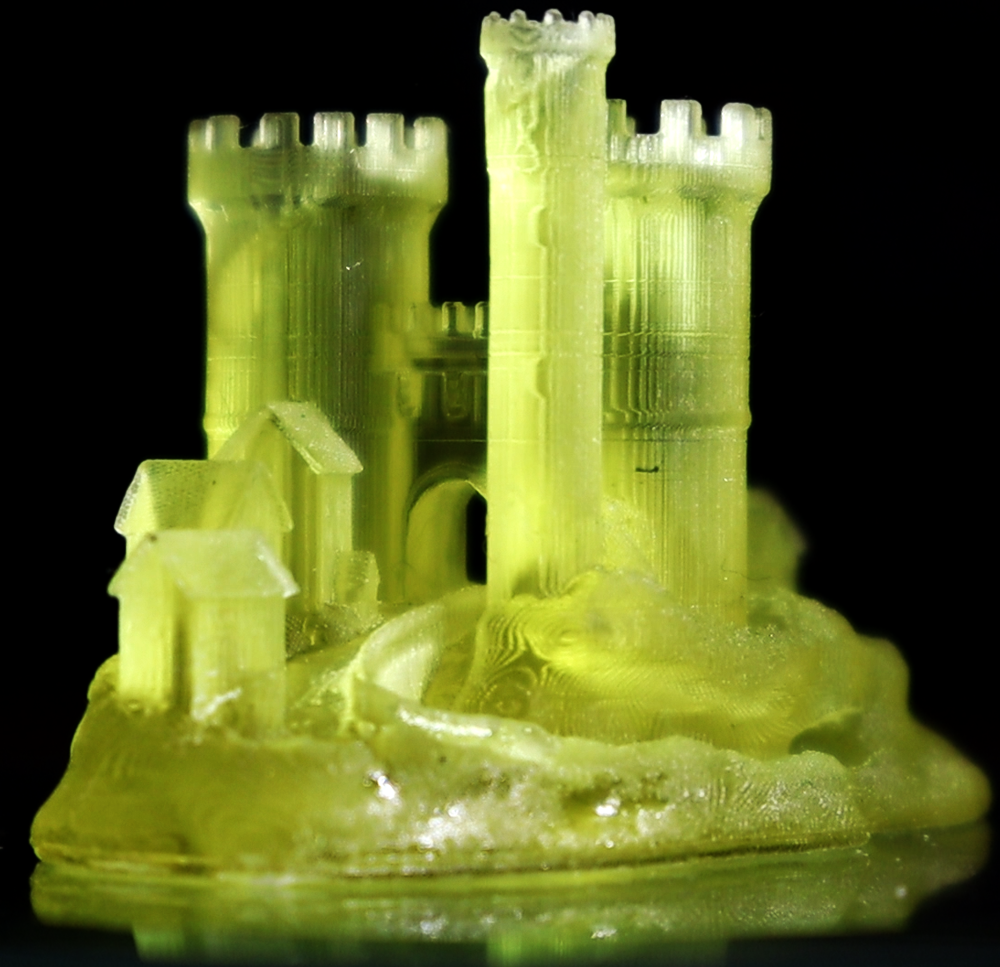
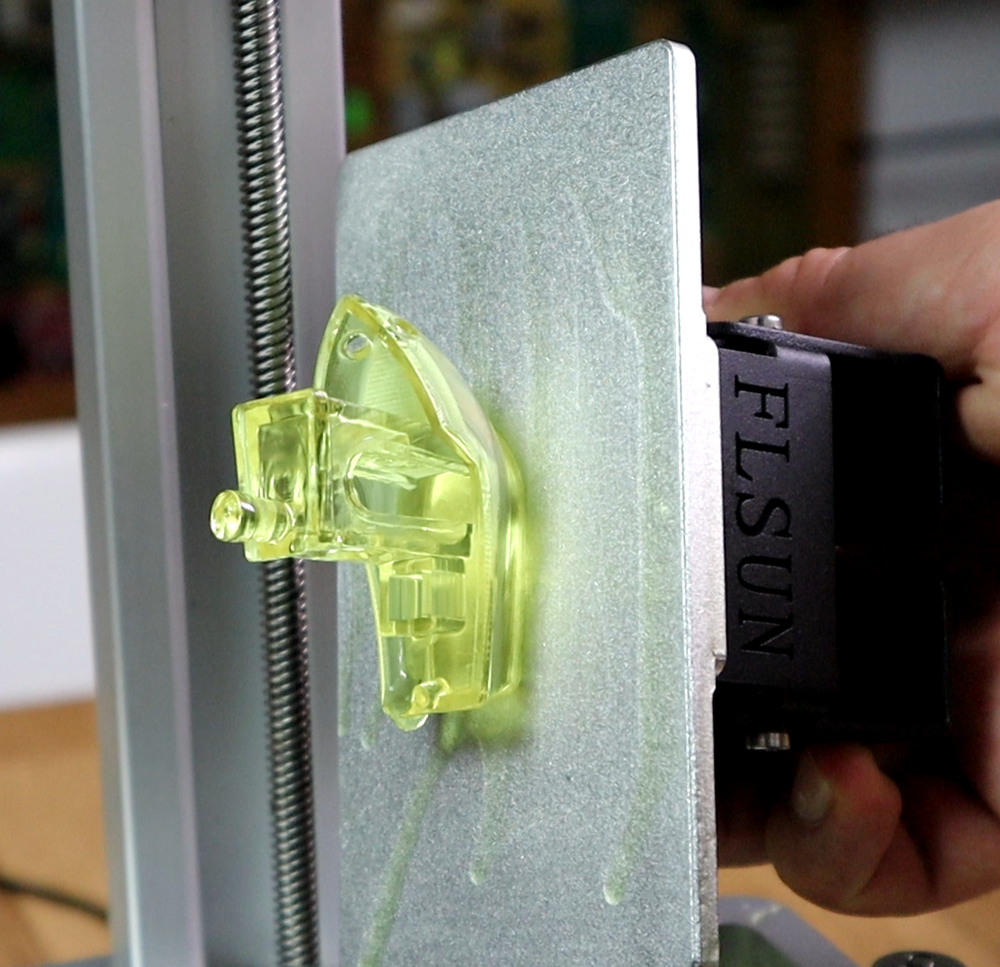
Here we start with some printed examples. Here is the castle downlaoded from Thingeverse. The amount of detail is amazing. The object is around only 3cm height. The windows of the castle can be seen, and even the small inside stairs of the towers. The printing time for this object was around 2 hours. But not because the speed of DLP printer is lower but because the precision is higher so with a layer height of 0.05 or lower, we haev more layers to print.

Buy the FLSUN-S 3D printer here: LINK

The speed of layer printing is even faster than FDM printers. Also, if you print 3 objects at the same time, the speed is the same as for only one because the entire layer is printed at the same time. In DLP, the delay is given by the exposure time on each layer, whcih for these prints was 13 seconds.

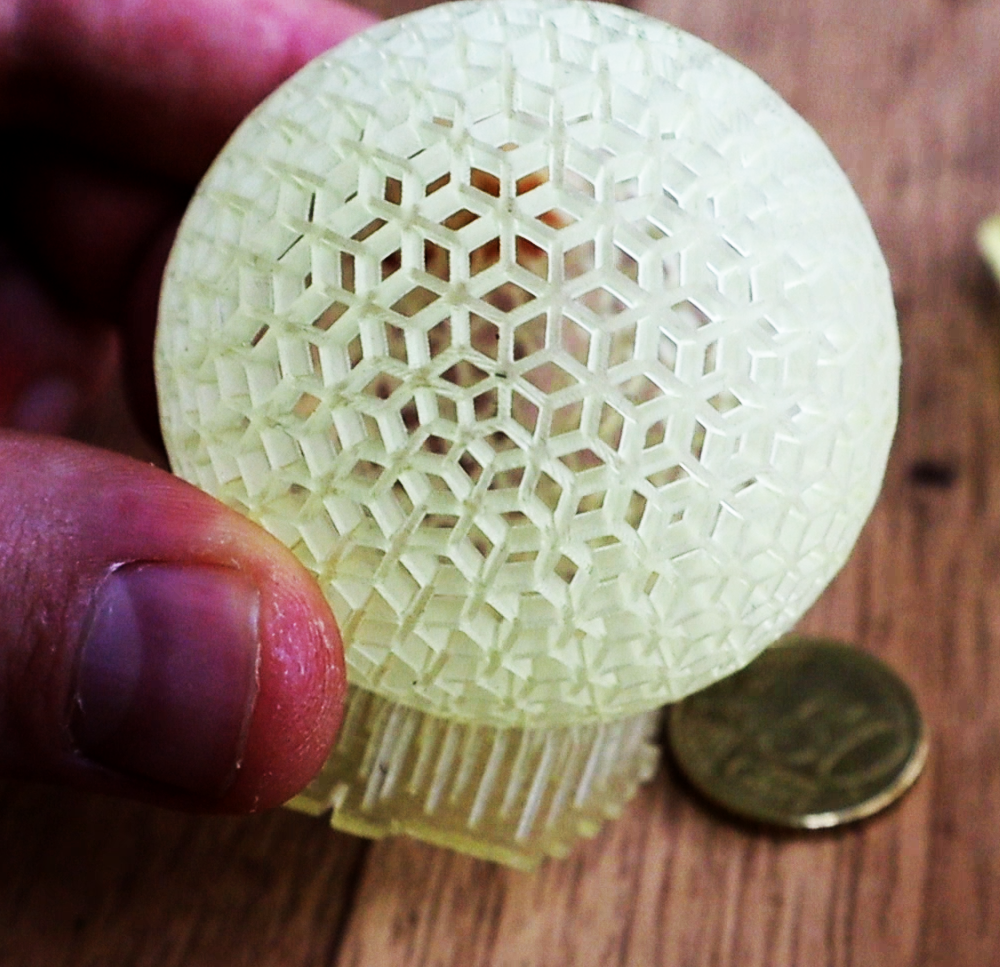
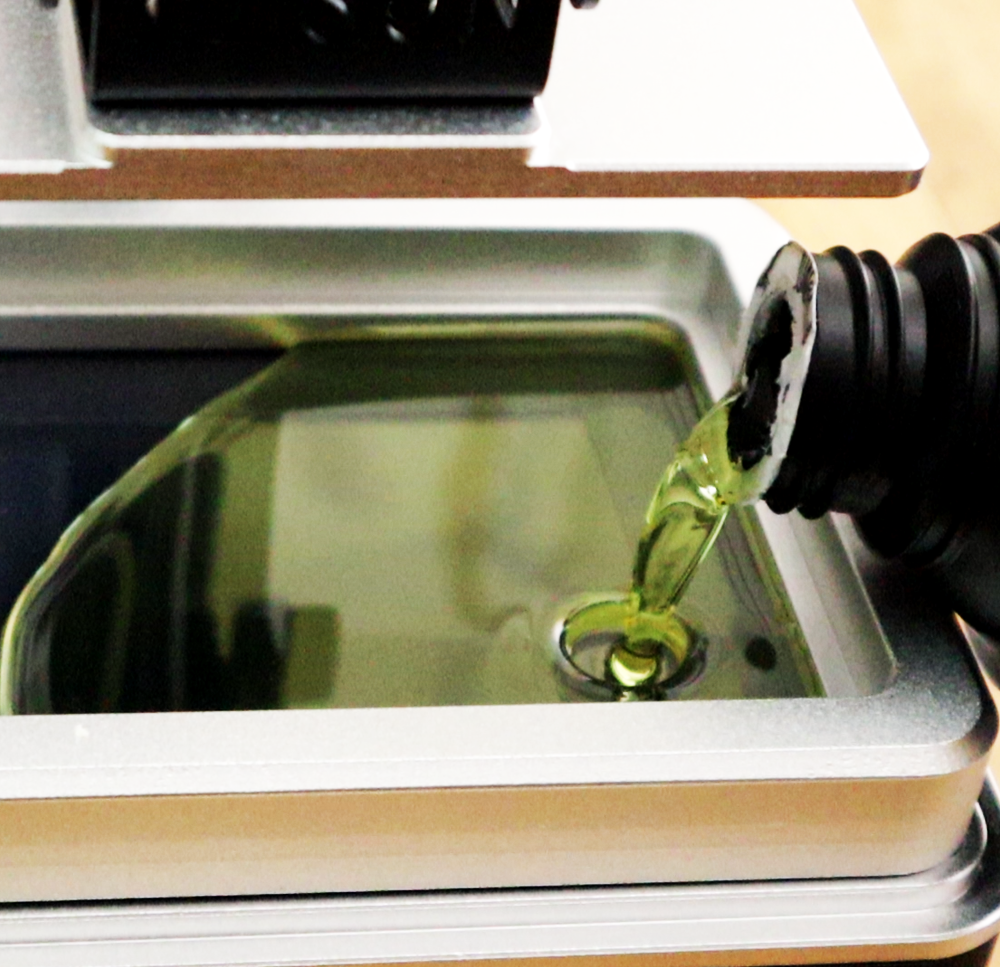
Here we have more examples with the printer. The sphere is included in the SD card you receive with the FLSUN-S printer. You also receive a bottle of 500ml of green transparent UV resin so you could start printing.

The top part of the printer has a UV light so after finishing printing, you can place the prints below and cure the resin 100%. So, what do I think about this printer? Well, yeah it is amazing. Is not expensive compared with SLA printers so that’s nice. The finished prints are perfect, I don’t have any complain about that.

One thing I don’t like is that you can only see the print after one hour or so. Till then the print is hidden below the aluminum plate and if something went wrong at the beginning you can’t tell that. You have to wait to see the print. Maybe a transparent bath would be a better choice for this.

One thing to have in mind, you can’t control the infill for this printer. For example, for the BENCHY object before, the entire print is filled so that’s a lot of resin. If you want to save some material you should first hollow your design before print them.
The maximum print size is 107 by 68 by 200 mm height. You can use any color UV sensible Photopolymer resin with this printer. The bath is removable so you could clean it. Also, make sure to store back the resin once you finished printing. The printing plate is also removable so it is very easy to remove the print. The touchscreen makes control very easy.

Buy the FLSUN-S 3D printer here: LINK


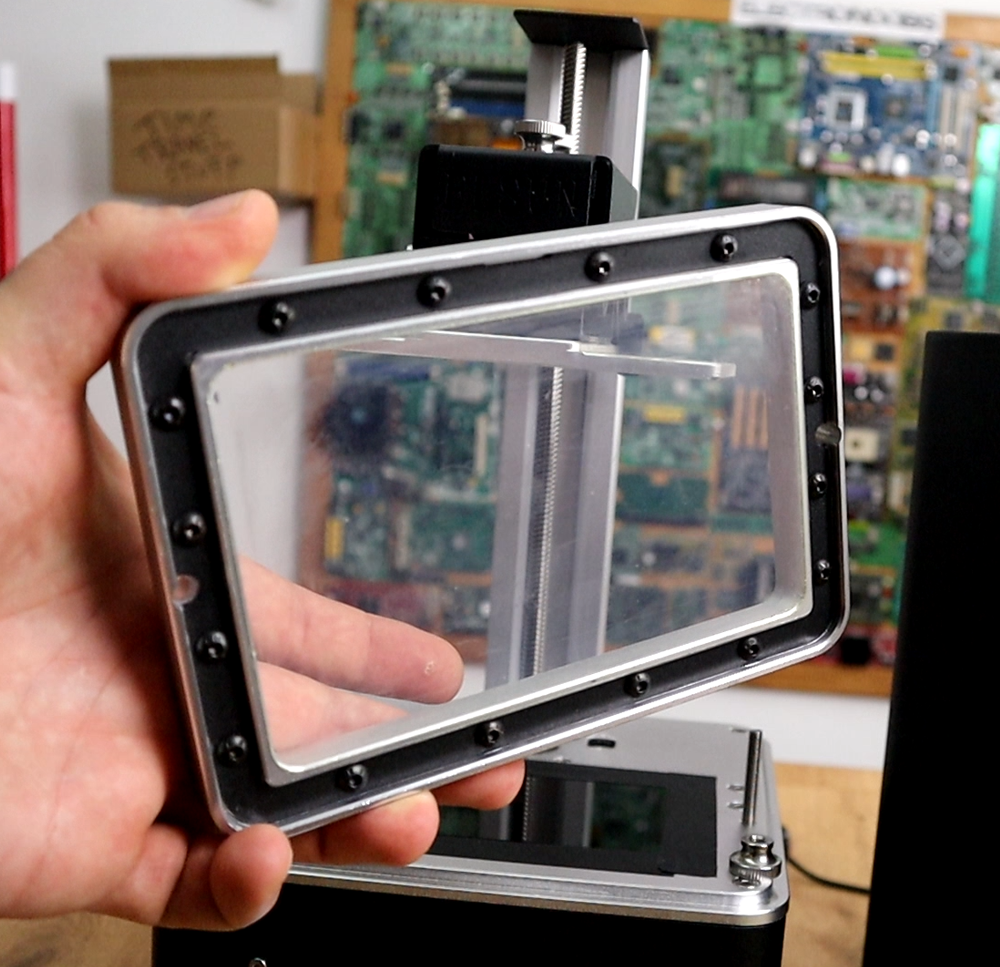
The transparent film bottom of the bath seams a bit fragile. Never use metal tools with it. A spare part for this should be nice. I searched on the internet, and this is called FEP film (eBay LINK) so you might want to buy a spare one. All you have to do, is remove the screws of the bath, put the new FEP film and tight the screws. Make sure the film ends with a drummy look.

The printer doesn’t use normal g code as the FDM printers so slicing models for it is not that easy and there is very few information about that for now. But the printer has a SLICER code integrated. All you have to do is to copy the STL file on the SD card. Then, on the menu, select the slicer, select the default one. You can edit the settings. I put a layer height of 0.05mm. the first layer exposure time for over 100.000 milliseconds and amount of 5 first layers and the rest of exposing time to 13 seconds. Save the file and exit. Now select a STL file. Now all you have to do is to press print. First, the printer will slice the part and then starts to print it. Easy right?

Posted by Harakiri on 08/06/2018


Help me by sharing this post


Go back ↞ See other blog→

Affiliate Disclosure

ADVERTISERS


PCBWAY PCB service


Curso Arduino Online nivel bajo