
 About me
  History
  Let's learn
  Contact us
  Arduino tutorials
 Circuits tutorials
  Robotics tutorials
 Q&A
Q&A Blog
Blog  Arduino
  Circuits
 Robotics
  Modules
  Gadgets
  Printers
  Materials
  3D objects
  3D edit
  Donate
  Reviews
  Advertising


Menu with voice & rotary encoder
3.1 I2C LCD control
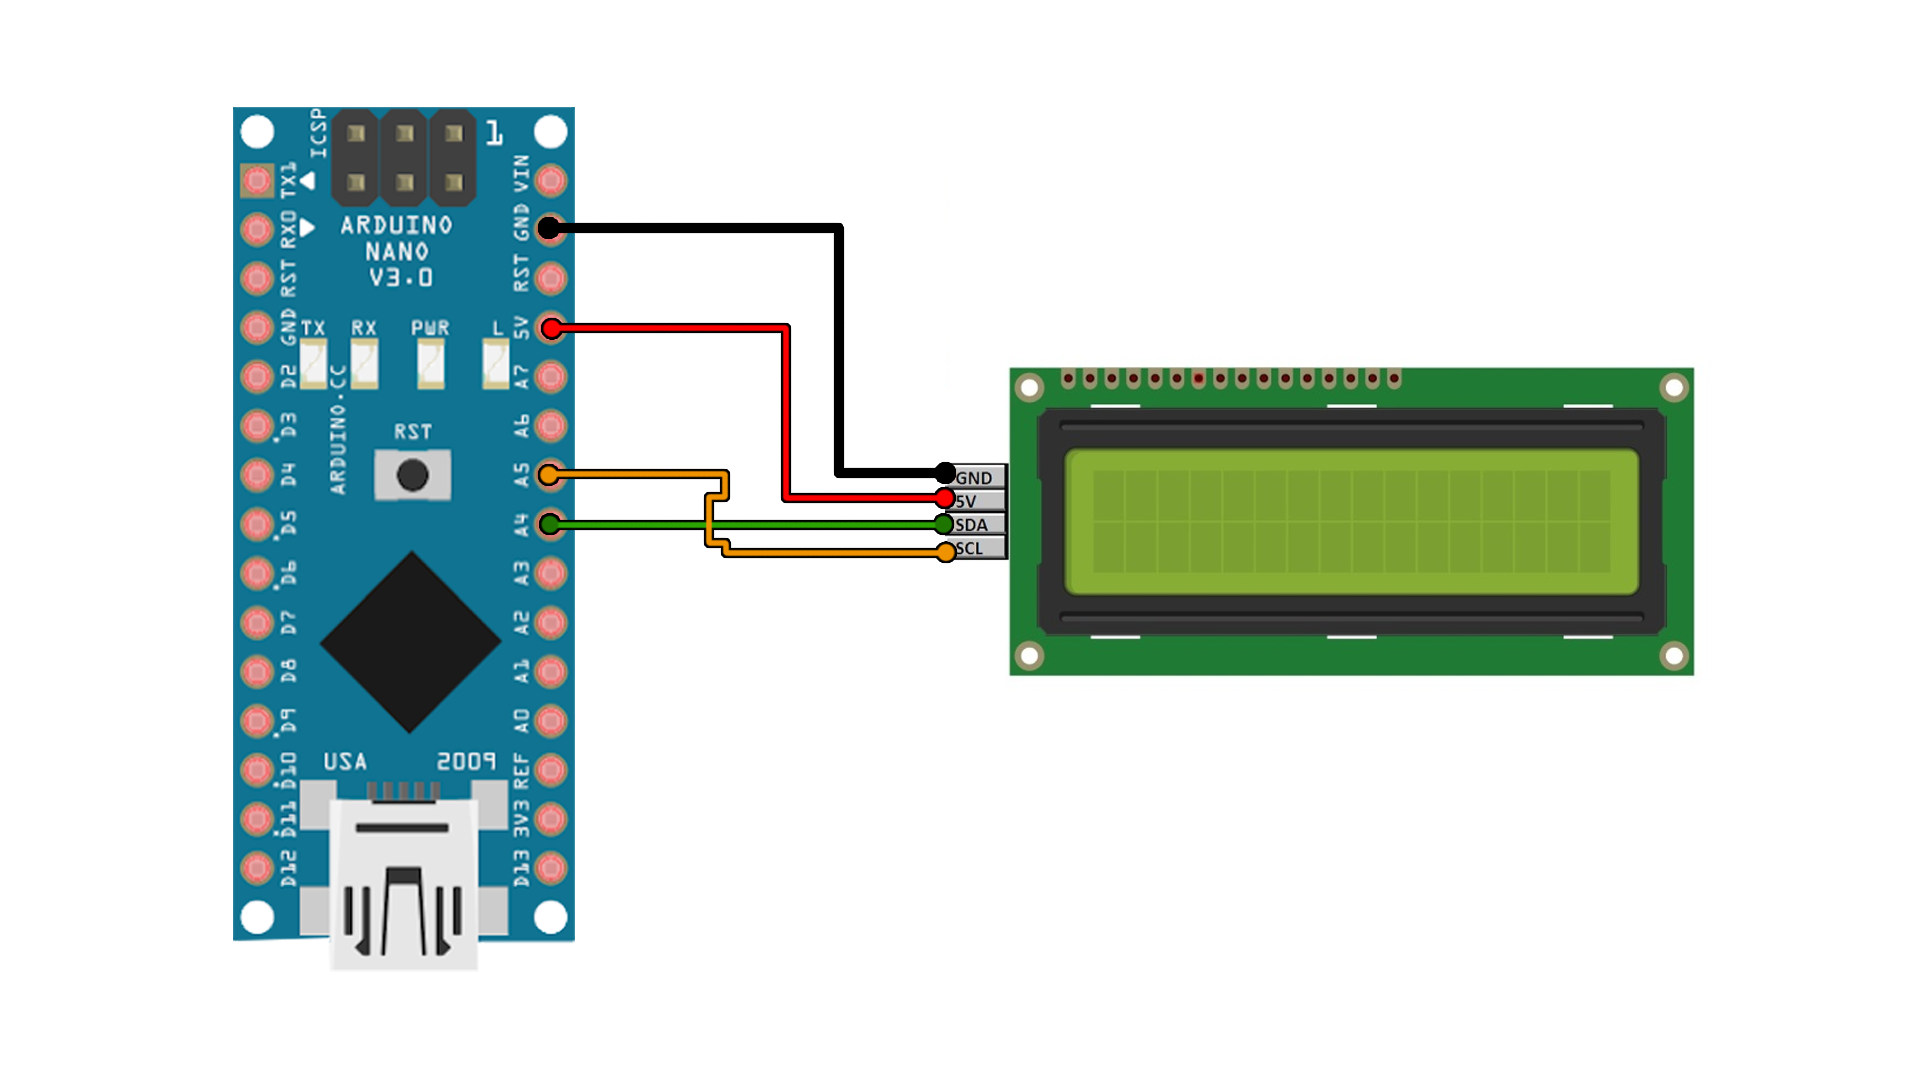
Now let’s put the encoder aside and talk about the LCD screen. Usually you could control these LCDs by connecting all the data pins on the back. But to keep it all simple and only use 2 pins, this LCD has an i2C module soldered to it. Connect the data and clock pins to analog pins A4 and A5 as in the schematic below and let’s look over the code.
First download and install the i2C liquid crystal library below and install it to the Arduino IDE. Without this library, the code won’t work.
Dwonlaod the I2C LCD example code here:
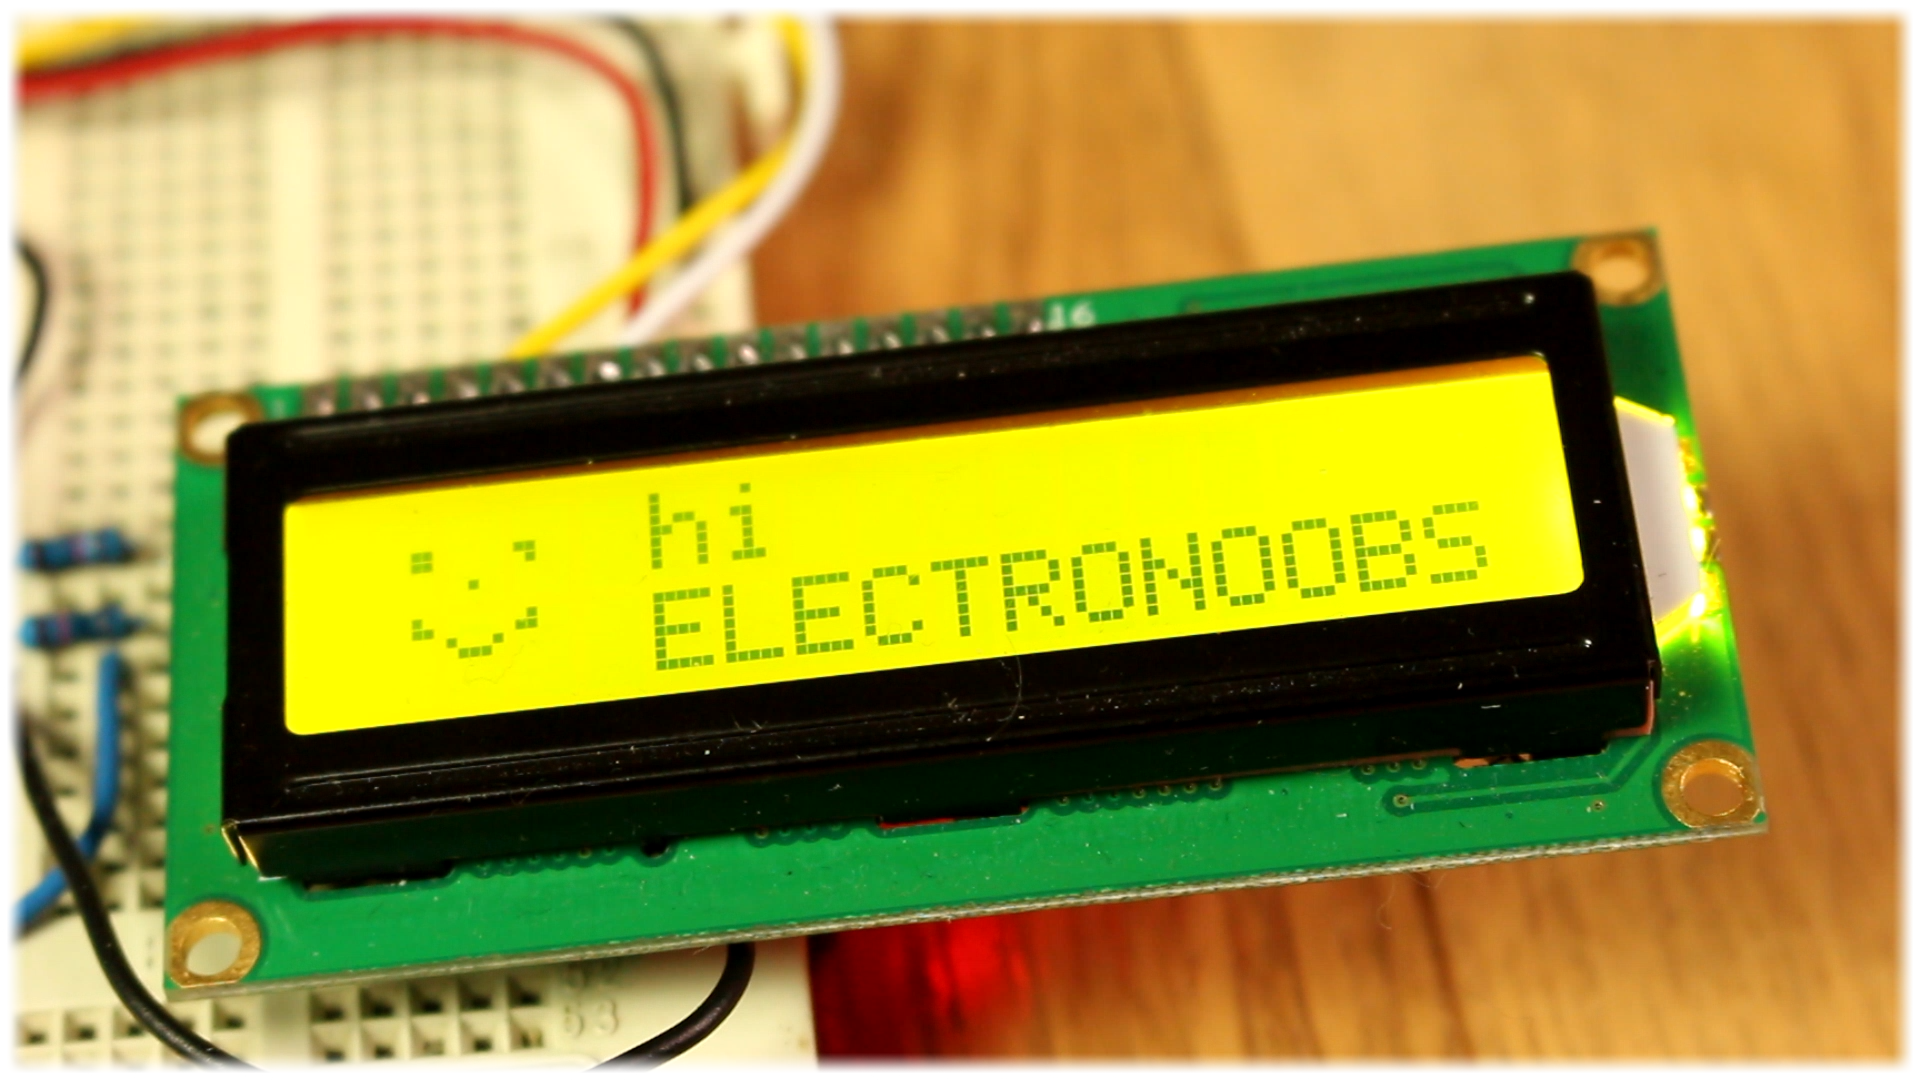
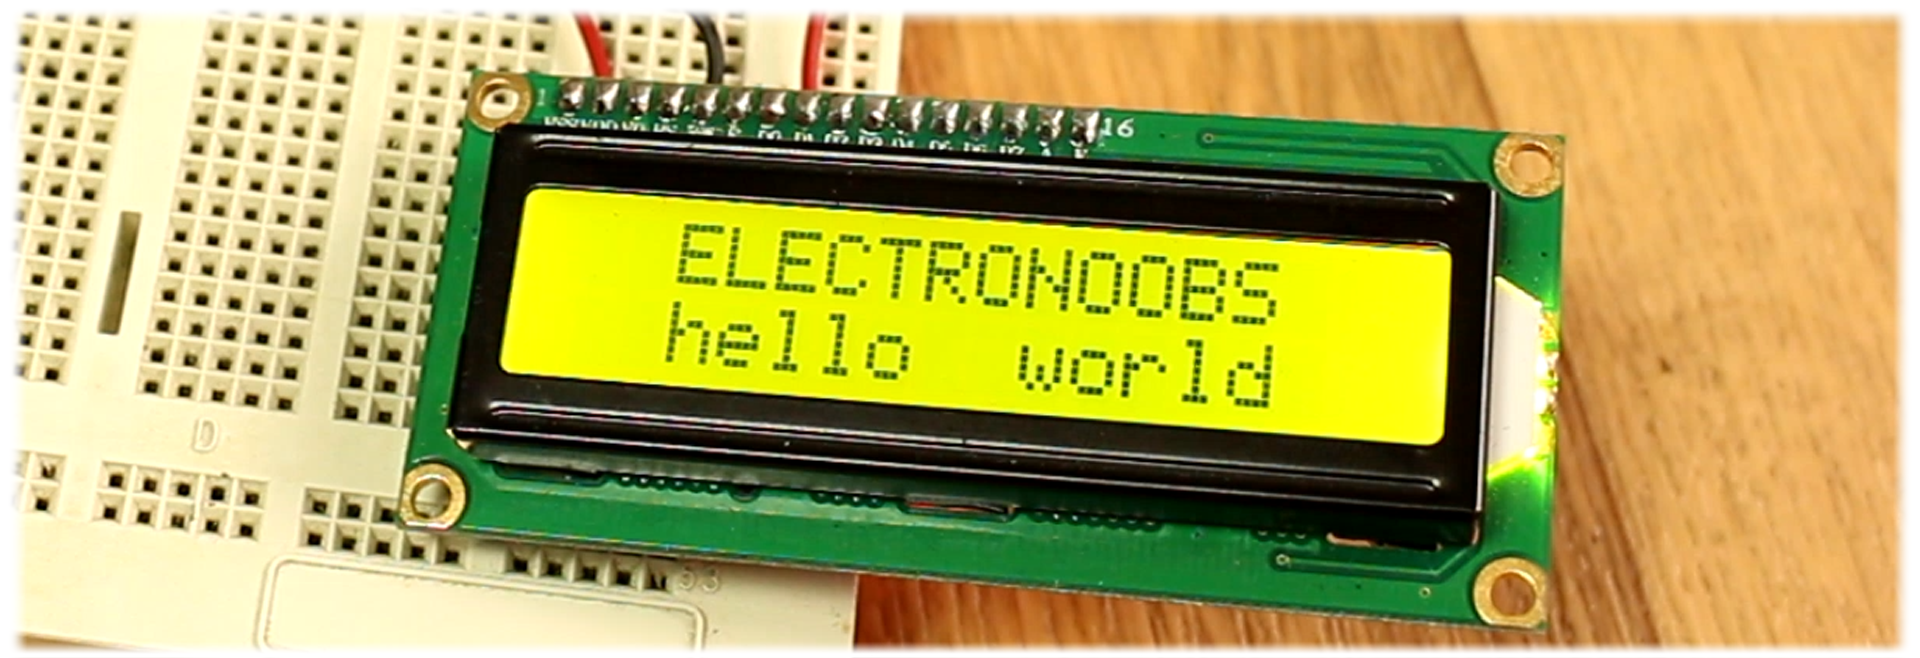
Ok, inside the code we first import the library. We define the slave address for the screen which is usually 0x3f or 0x27 in hexadecimal. So, if your screen doesn’t work try both of this slave addresses. Inside the setup loop we use the init and backlight function to start the LCD and power on the backlight. Now let’s print something. We clear the LCD, set the cursor to the first row and second column position and write ELECTRONOOBS. Now we set the cursor to the second row and write hello world. Add a delay, upload the code and let’s see the results. There you go, easy right. Now let’s create those special characters.
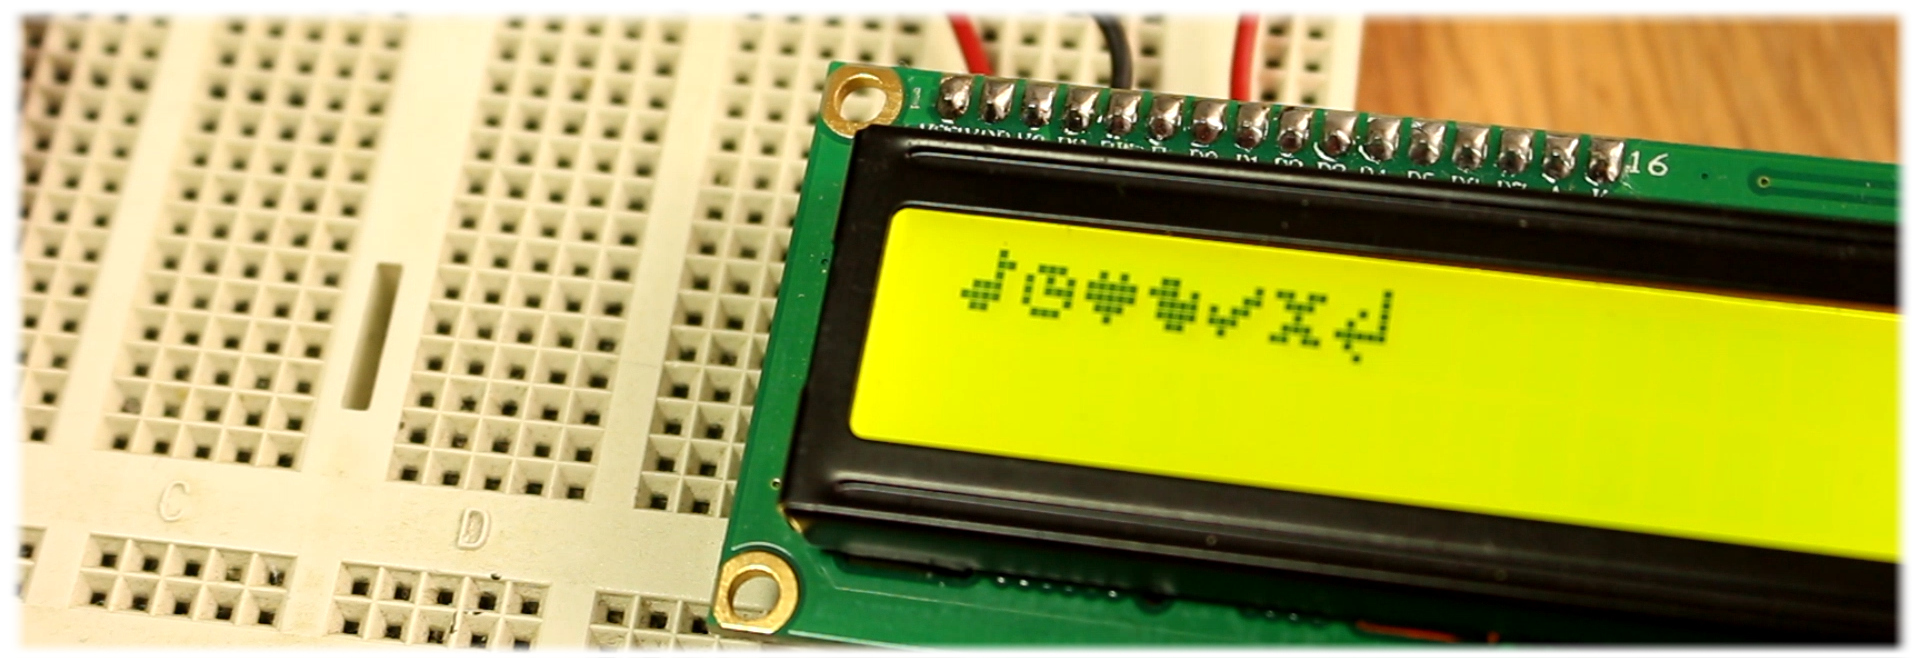
3.2 Special characters
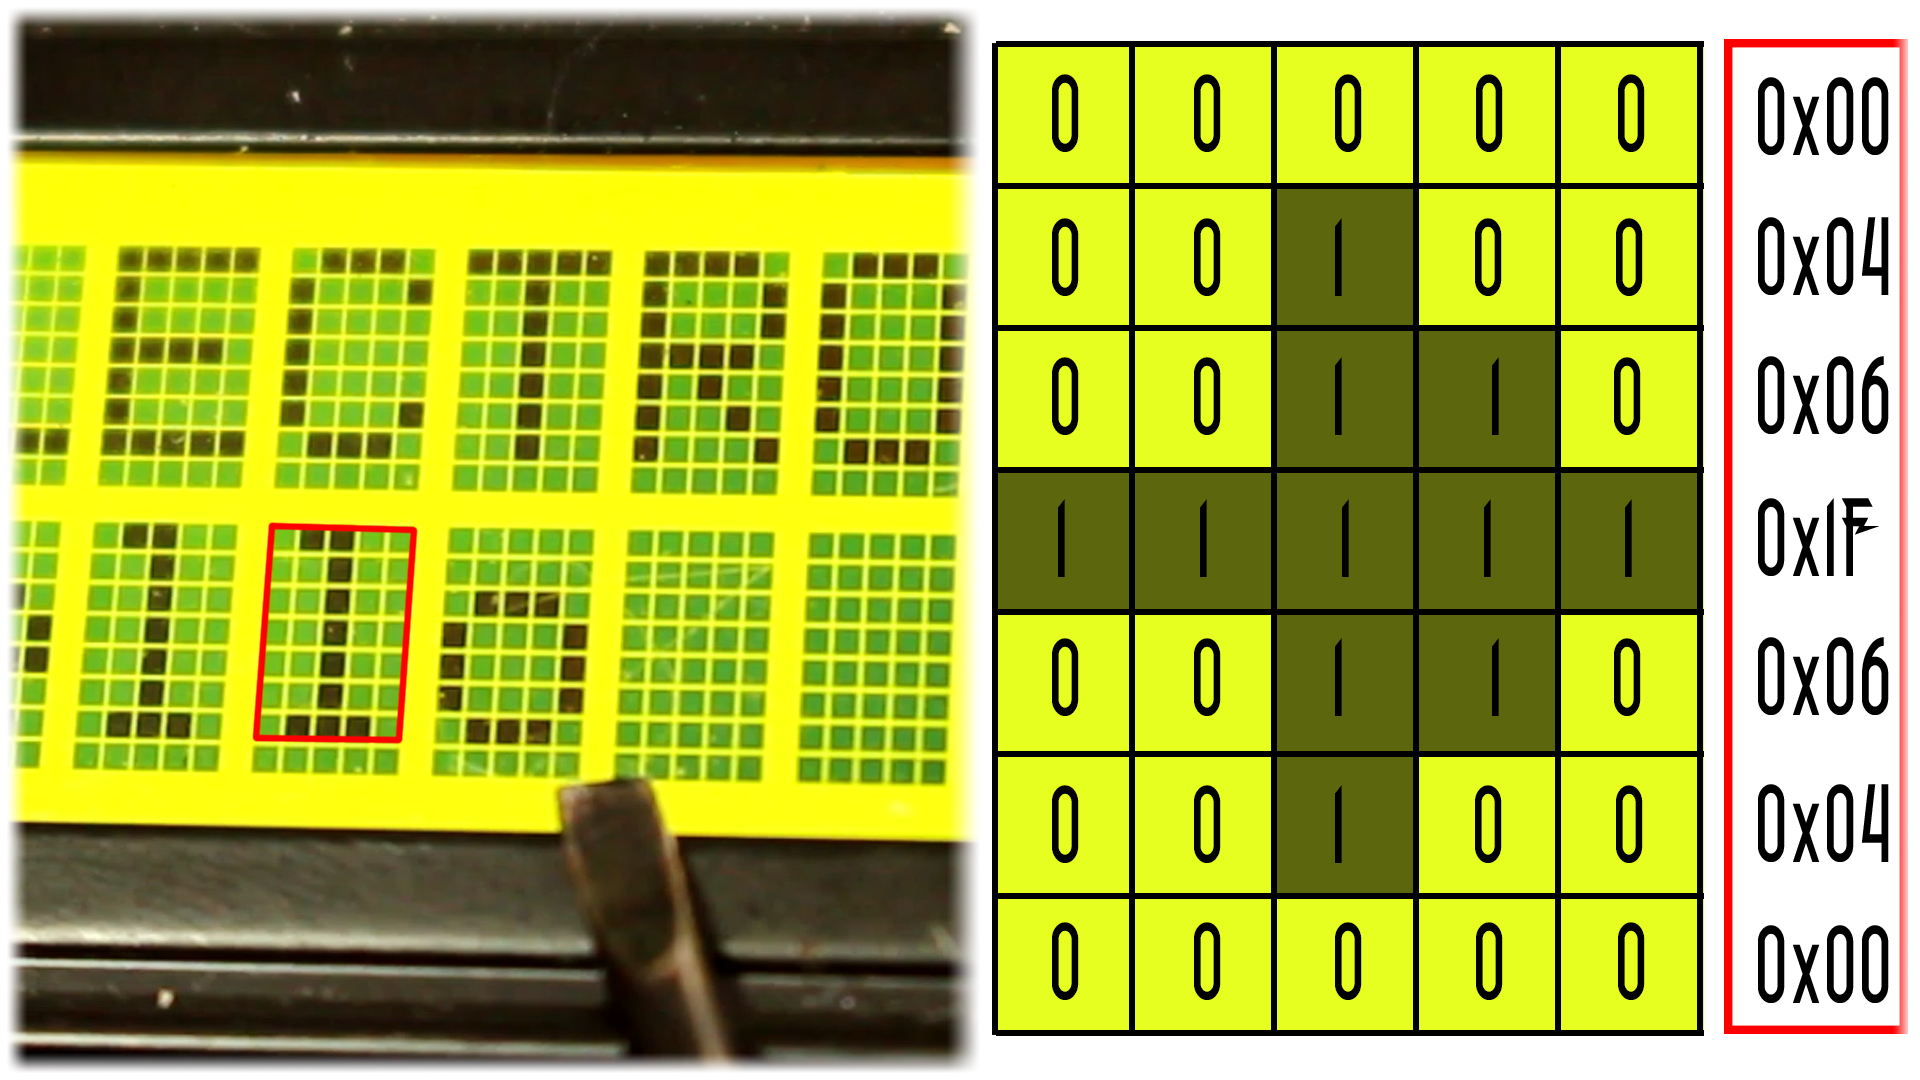
I want to draw the musical note and the arrow symbols. If we look close enough to the LCD screen we can see that each character is made of a square of 7 by 5 small dots. The photo below will be our 7 by 5 dots. Let’s say we want to draw the arrow. The first row has nothing so we have a binary 0. The second row has one dot in the third position se we have a 100 which in hexadecimal is a 4. The third row has a 110 which is a 6 and the forth has a full line of ones which is 1F in hexadecimal. Then everything is repeating. So, to draw this symbol we have to send to the screen 0, 4, 6, 1F, 6, 4 and another 0.
So, in the code I create a new byte called arrow and the vector will be these numbers. Then in the Setup loop I create the symbol using the create Char function and give to it the 0 direction.
Now in the loop I use the lcd dot write function to send the 0 character I’ve just created. Add a delay, upload the code and there you go.
Dwonlaod special character code here:
I’ve got the arrow symbol printed on the screen. Do the same for any symbol that you want. You could even create two symbols that when put together create a unique symbol. That’s it. Let’s put the LDC aside and now look on how the DF player works.
Go to the next part, the DFplayer