I've started a new project. I want to make my own homemade electric longboard with a powerfull Brushless motor. The first idea was to use two motors, but I had not enough space between the wheels of my longboard. In this tutorial we will see how to mount everything together, make a test and give the final results. Make sure you watch the tutorial on how I've made my homemade 6S battery pack in order to finish this tutorial.
Below you haev the STL files for this project. You will need a printring area of more thann 28cm to print the big case. That's why I've used my Creality CR10 for this job with a printing area of 300 by 300 mm. You don't need support and the aprts are already oriented and ready to print. Donwload the files, create the G code and print.
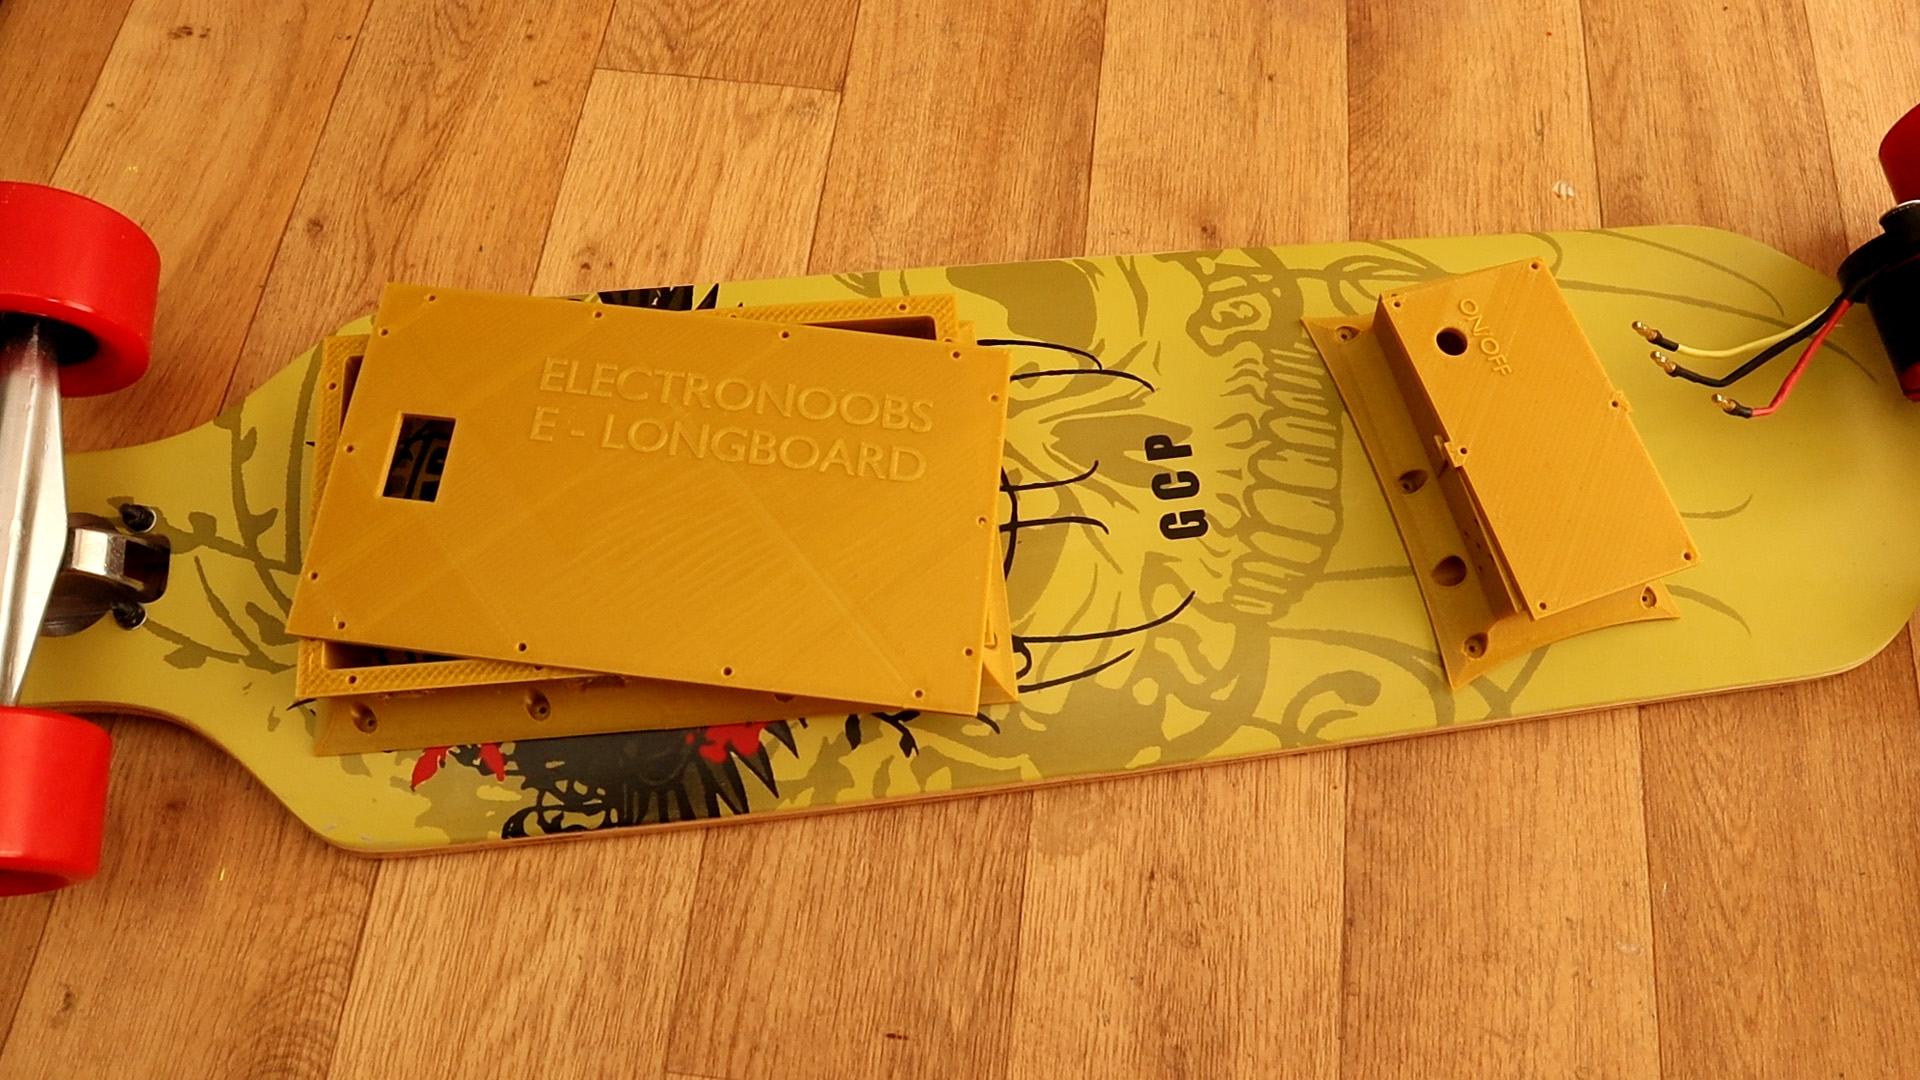
I've used a 0.4mm nozzle and 0.3mm layer height. I've used PLA material and with 15% infill and 2 perimeters and it took me aroudn 25 hours to print all the parts. You have 2 cases and 2 top paltes for each.
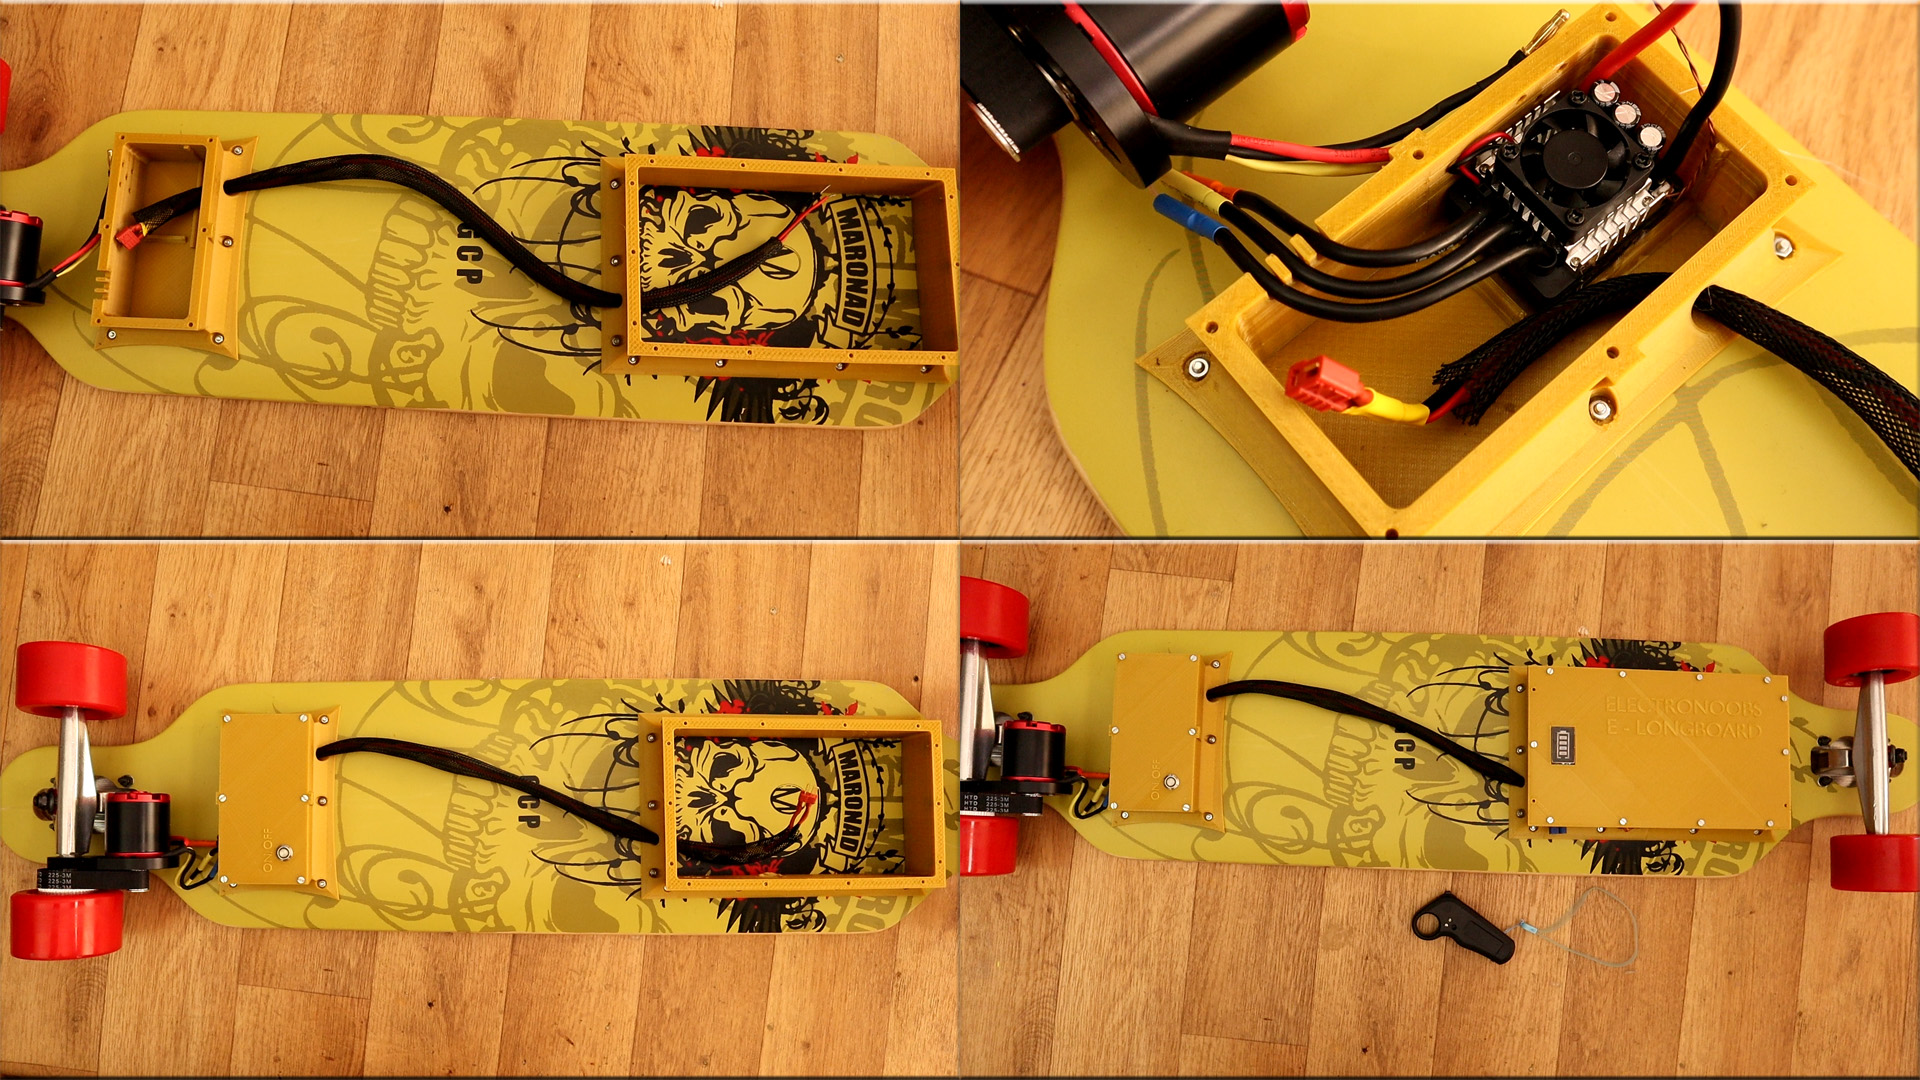
Mark the holes and drill them using 3mm drill bit. use cone shape head screws so they will end flat on the board. Screw the case in place and make all the connections as in the schematic. Close the case using other 3mm screw and nuts inside of the 3D printed case. That's it.