Edge computing a ML model on ESP8266 and finding different gesture made with hand. The world is certainly getting better everyday at technology based on gestures because it’s very intuitive, easy to use and clearly makes the interaction with gadgets and things around you futuristic and fancy! So, just to be on the trend we’ll be taking the watch we built in the previous hackster project and plunge in some ML and see if we can detect what kind of gesture we are performing, and maybe in upcoming tutorial we can use this gesture to perform some very cool projects based on this.
These are the list of products which can help you do this project with ease(Affiliate Link)

I posted a post on my instagram page telling all the new features I will be implementing on this version of the watch but, I dropped "micro USB port for charging", "hold to turn on or turn off the circuit" and "heart rate monitoring". Because of the quite a mess I made but you know I'm extremely kind hearted and I feel extremely bad to disappoint my readers by not implementing the new hardware features. So, I had to step up my game on the software part.
So I thought about adding some ML to the project, it should be easy compared to electronics, it’s just a bunch of codes that we have to copy paste from stack overflow. At Least that’s what I thought. So, I just jumped heads first on implementing a ML based gesture detection. Oh boy I was so wrong...
It was just ughh, I hated it. Not because it was complicated, it was just so frustrating collecting the data and training the model. It was like teaching a little puppy how not to poop on the bed.
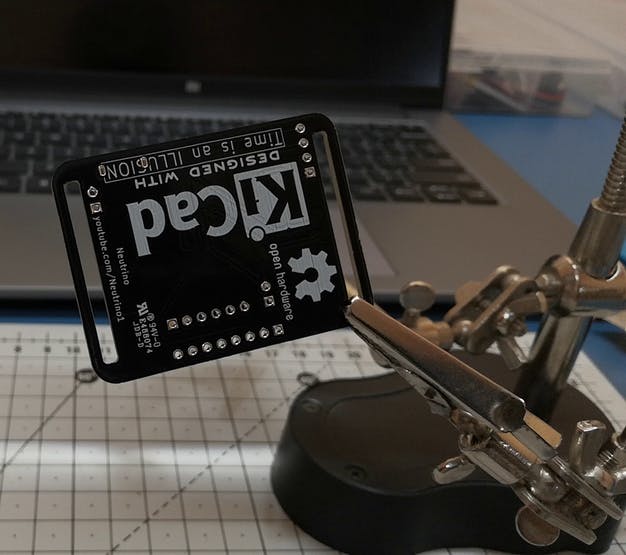
Assembly. This time the assembly must be very simple and quick because of the printed circuit boards and for this I thank PCBWay for sponsoring this gorgeous black PCB’s for this project.
I gathered all the SMD components for the project, then arranged them in a place where I can easily access without messing around. Then the rest was just soldering!
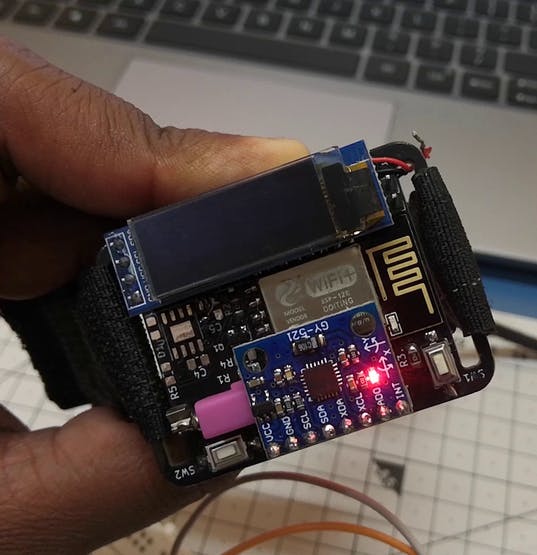
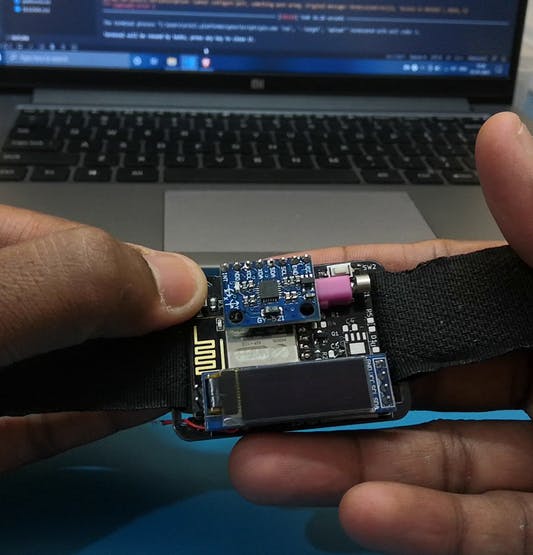
Just follow the circuit diagram and solder the components accordingly in the PCB. To make the soldering easier work your way up from soldering smaller SMD components [Resistor, Capacitor, regulator] to bigger through hole components [MPU6050, OLED]. During the soldering I also secured the Lipo battery between the board and the OLED display using 3M tape.
It is difficult for me to find the right regulator to use for projects, so in my past videos I just use AMS1117 because it’s much cheaper and easy to find. But in order to make this project much more efficient than the previous builds. I have given 2 options in the PCB, you can either use MCP1700 or LSD3985. In my case I'm using the LSD3985 and ignoring the MCP1700. You can use any of the option depending on the availability.
If you need the exact pcb design check out this hackster project.
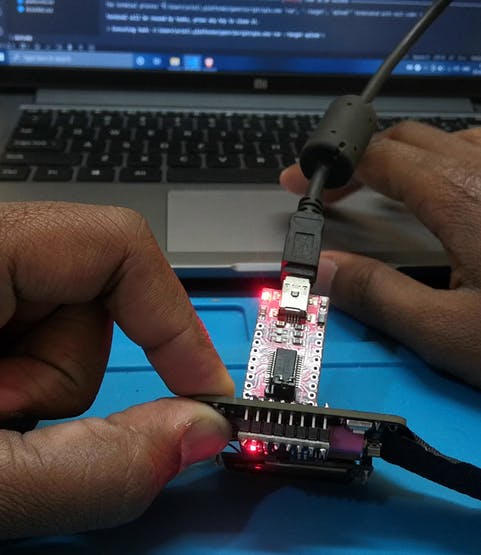
To make the programming simple, I have given up some space on the PCB so you can just plug in the FTDI module to start programming. To program the board you have to first put esp8266 into flashing mode, so just hold the button which is connected to GPIO-0 of the esp12E when connecting to the PC.
To test if the board is working just upload the code from my previous tutorial [Github link] and test if all the features like, NTP time, flick to wake up, and changing the screen works. If everything works fine, your done with the hardware part.
There are so many things that you could do to improve if you want to implement this in a product or for a higher level project, like increase the sample rate while data collection, increase the number of sample that you collect, cleaning up the data after collection, use signal processing to remove noise, etc... But for beginner hobbyist point of view implementing a machine learning model in a microcontroller is still a big deal! So, in the next tutorial we'll use this gesture detection to turn ON and turn OFF some home appliance or you can even send email like we did in the previous tutorial.
See more on the Original Post Tutorial.