Panel Cookies
yt_link
insta_link
fb_link
twitter_link
Blog#3 - Brushed drone PCB


Last tutorial - homemade soldering iron!
Check here my last tutorial. I hope that you will like it. Keep up you guys!

last tutorial


Brushed drone PCB design
Help me by sharing this post

Go back ↞ See other blog→


Author: Andrei
ELECTRONOOBS just posted his new design of the brushed drone PCB. It looks great. It hasn't been tested yet but we all hope that it will work just fine. Designing such a small PCB is not always easy. The tracks he used are 0.22mm and there are a lot of connections for the flight controller board. It uses the ATMega328p-PU microcontroller and an MPU6050 gyro module. Also an NRF24 radio connection with the transmitter. THe board for the transmitter was also designed by ELECTRONOOBS and it has six channels, four analog and two digital.

The flight controller board has the shape of a minidrone. THe first version was simple square and needed an extra plastic body. That made the drone heavy. For mini drones, weight is very important. That's why this enw version has the shape directly for the drone with hole for the motors. The finished board has a green mask cover and all the silkscreen labels it needs. You could get a service like this on PCBWay.com for only 5$ for 10 amazing PCBs like this one.
The project started as a prototype on a simple drilled PCB and using and Arduino pro mini board. The prototype was a success and the control of the drone was good enough. Next step in ELECTRONOOBs design was to CNC engrave the design. That was also a success but the board was quite heavy and not professional enough. Finally a professional PCB was ordered and a few versions were made improving the design each time. This is the final version for now, witha shpe of a drone. ELECTRONOOBS tells us that once the code works well, this will be a kickstarter project and all the files will be shared. He also made a tutorial on this topic here over the brushed drone design.


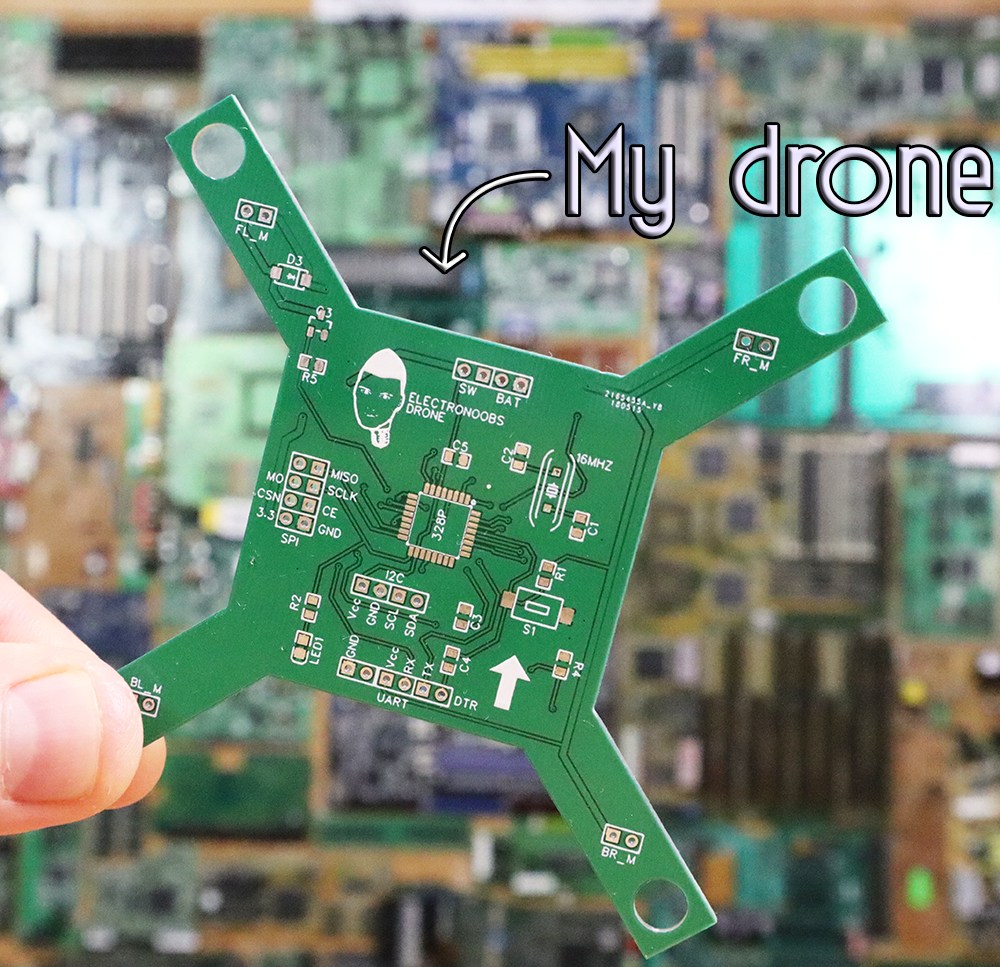
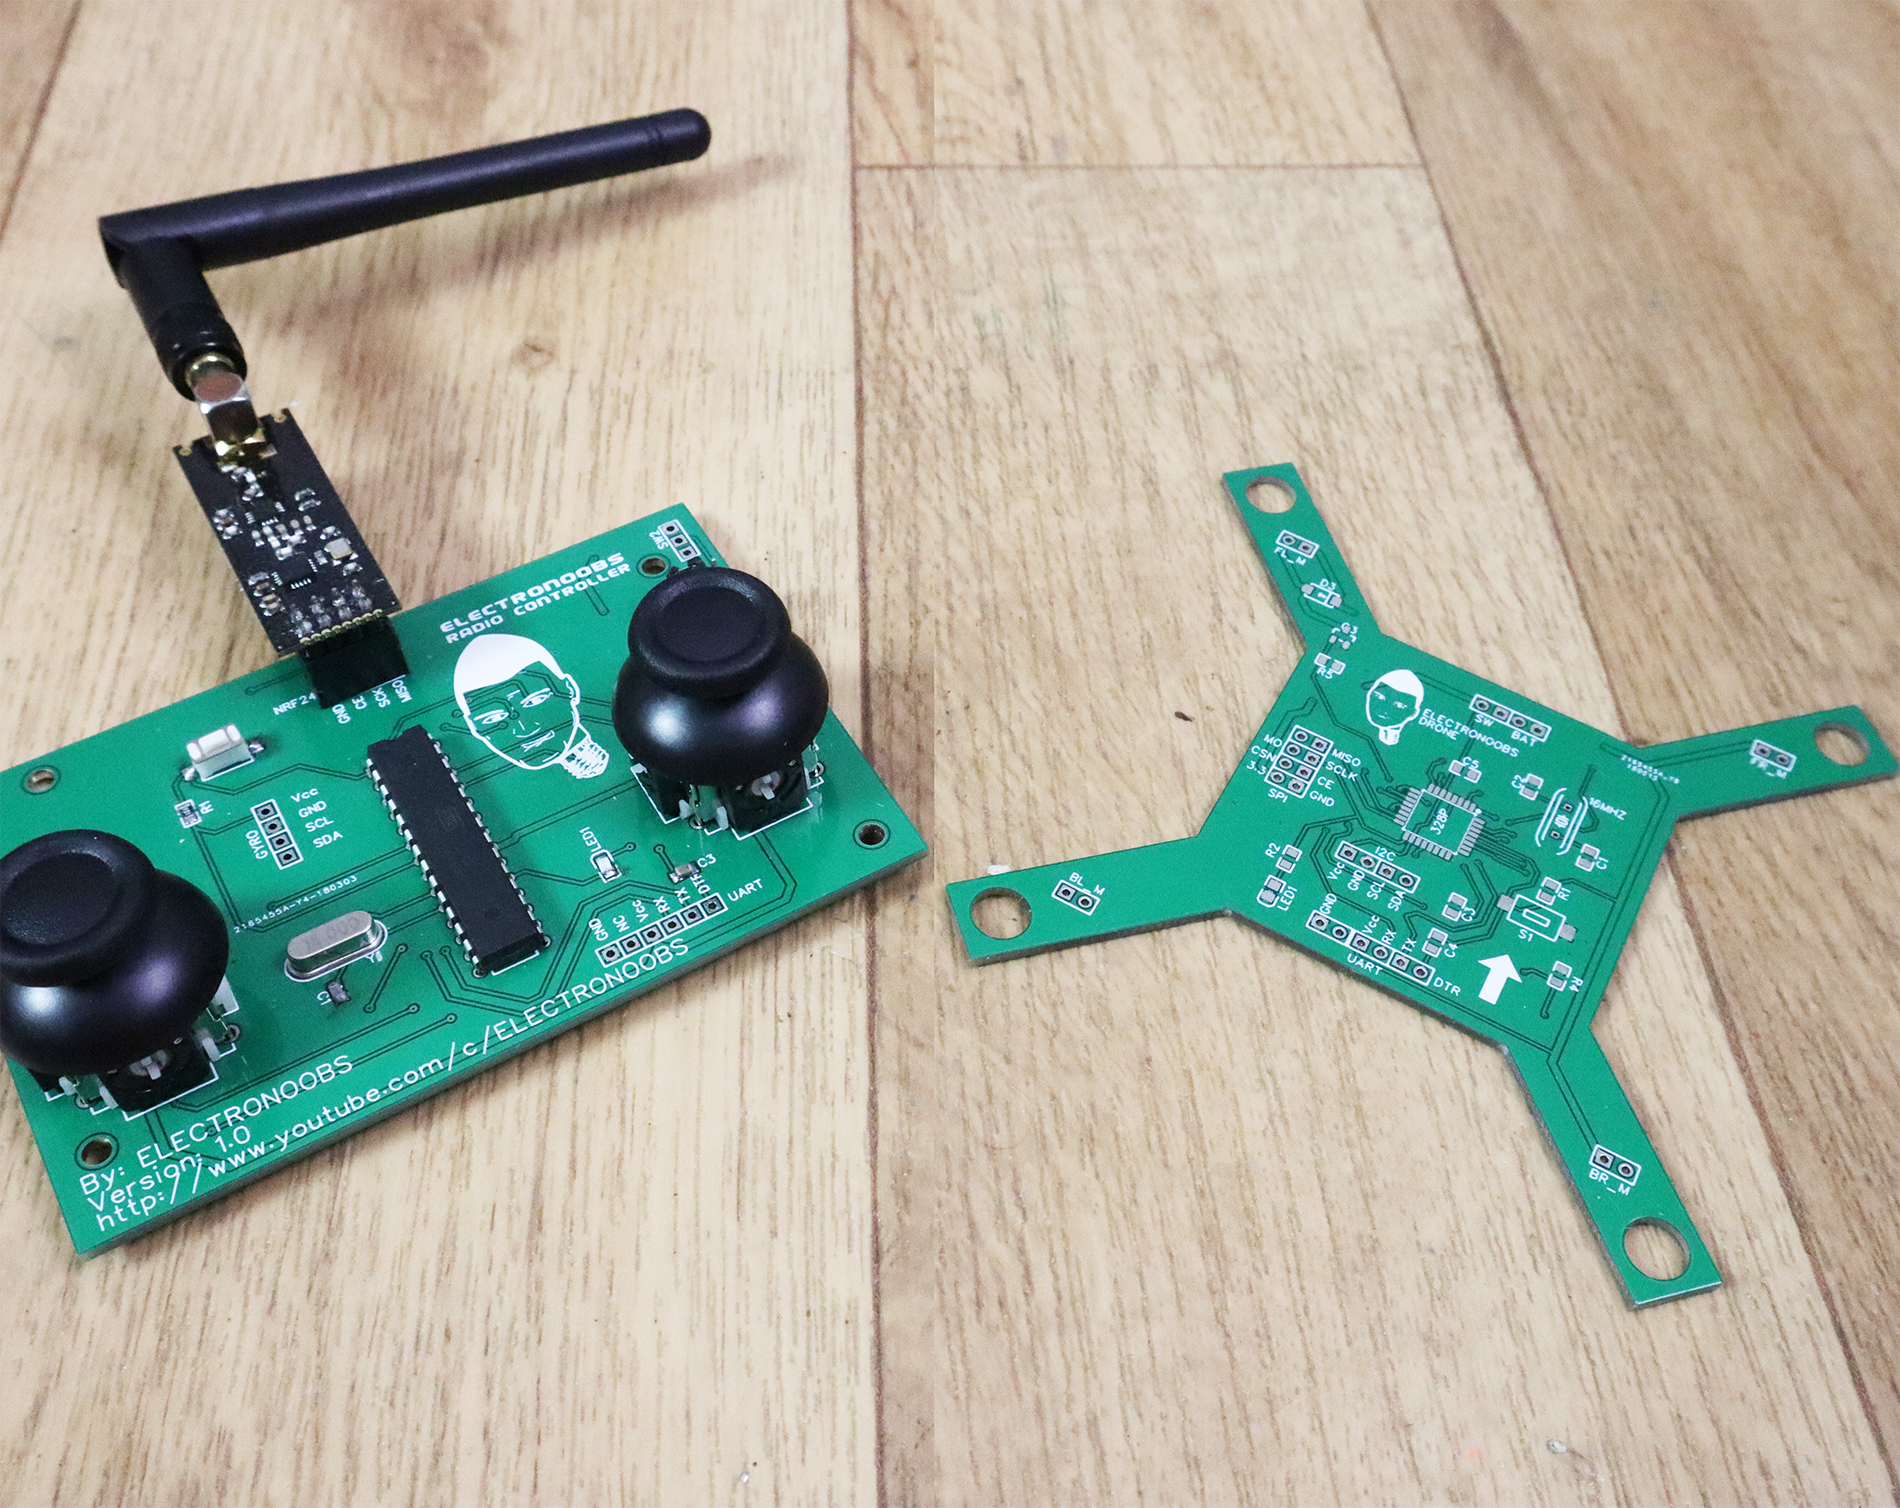
The final project includes a transmitter and a receiver. The transmitter board uses the ATMega328 chip as well but in a DIP format. It has place for a MPU6050 gyro so the control could be made just by moving the controller. It uses 2 cheap joysticks for 4 analog channels and 2 switches for another two digital channels. The radio module is a NRF24 with power amplified antenna and a range up to 700m in open field.
A 3D printed case will eb included in the kit so the controller would look a lot better. To pwoer both boards, a simple 3.7V battery could be used for the drone and a 9V one for the transmitter. The code for the drone is quite complicate and it's in its 6th version. The PID control for such a small drone is not easy. ELECTRONOOBS already presented a video on how to to that on his YouTube channel. We are waiting for more updates on this project. If you want nice PCB services and get your own boards for 5$, check PCBWay.com and quoye now. Thank you very much.

Posted by Andrei on 06/06/28


Go back ↞ See other blog→


Help me by sharing this post


Affiliate Disclosure

ADVERTISERS


PCBWAY PCB service


Curso Arduino Online nivel Intermedio