


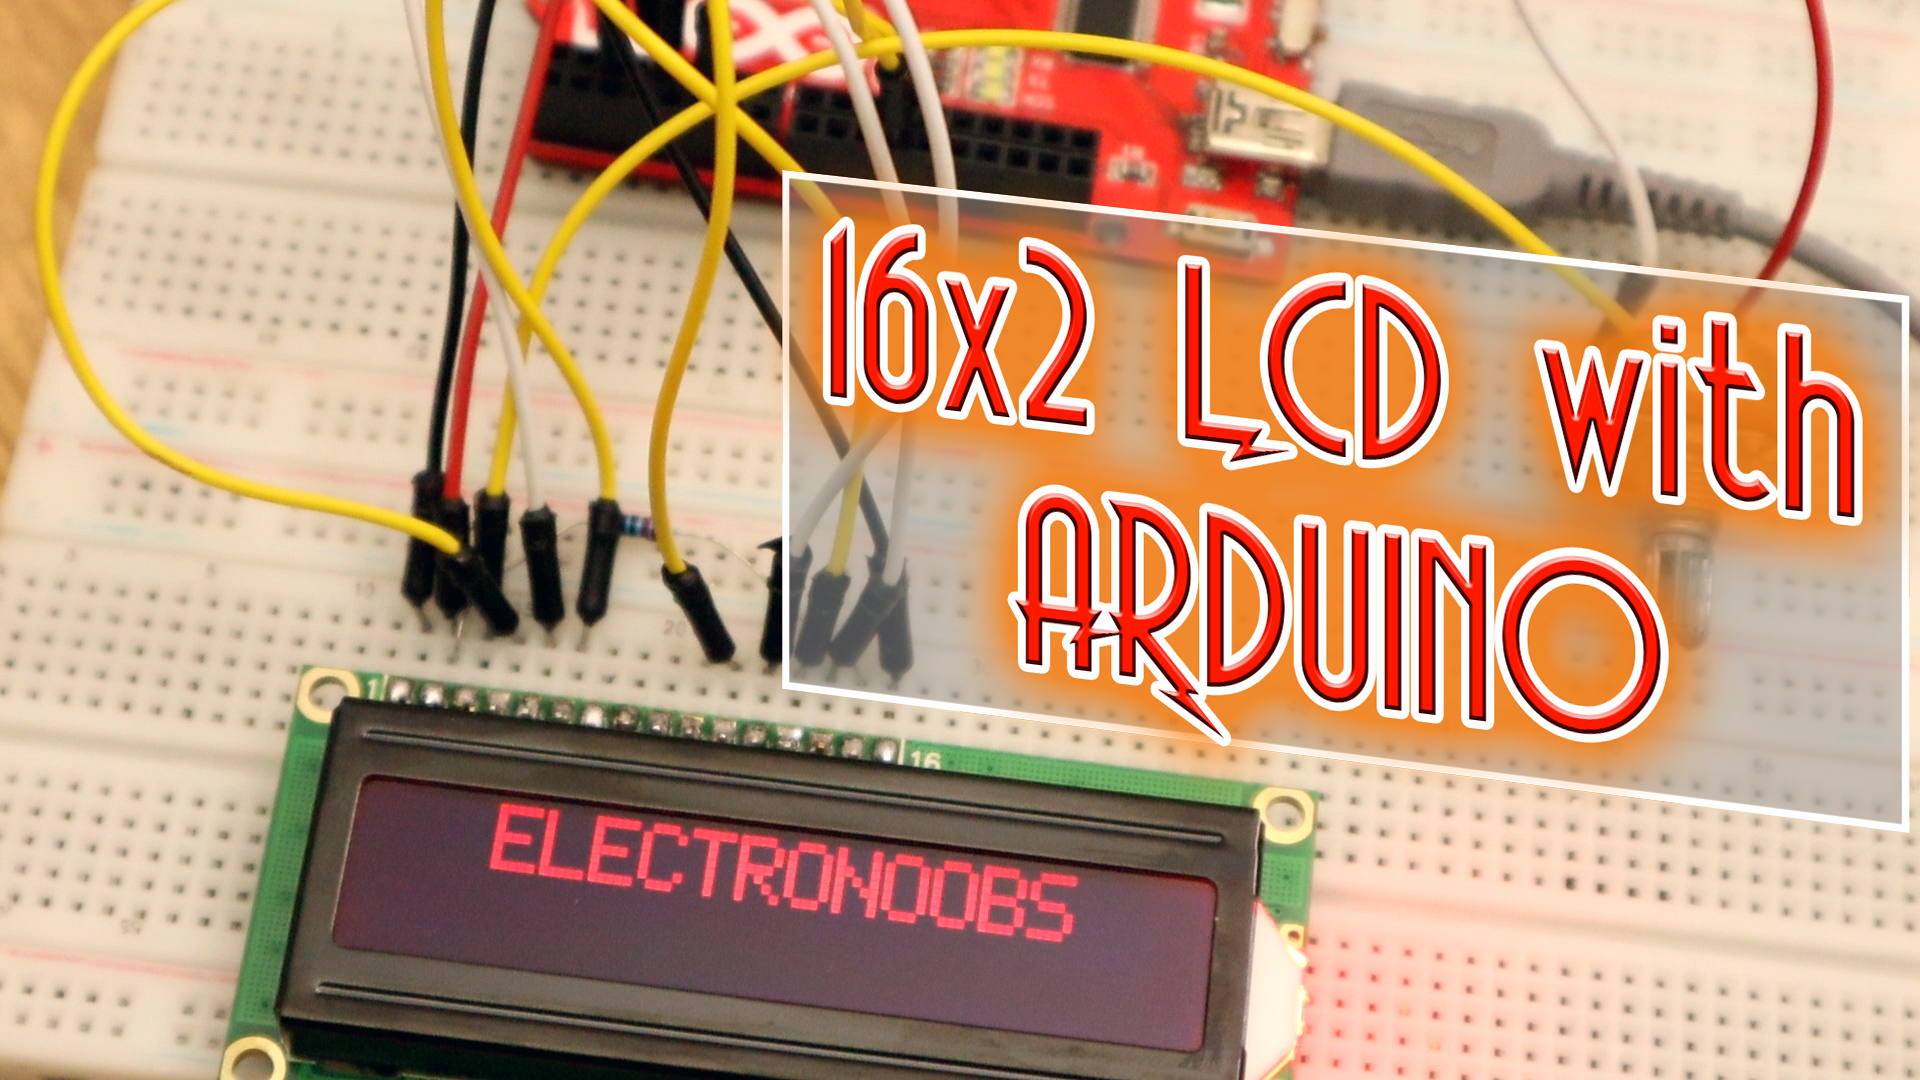
This is a very short example. How to wire up an 16x2 LCD to the arduino and display text, numbers and some special cahracters. This is used without any external driver. Below you have the schematic you need and an example code. Read the comments in the code for more or leave a question below.
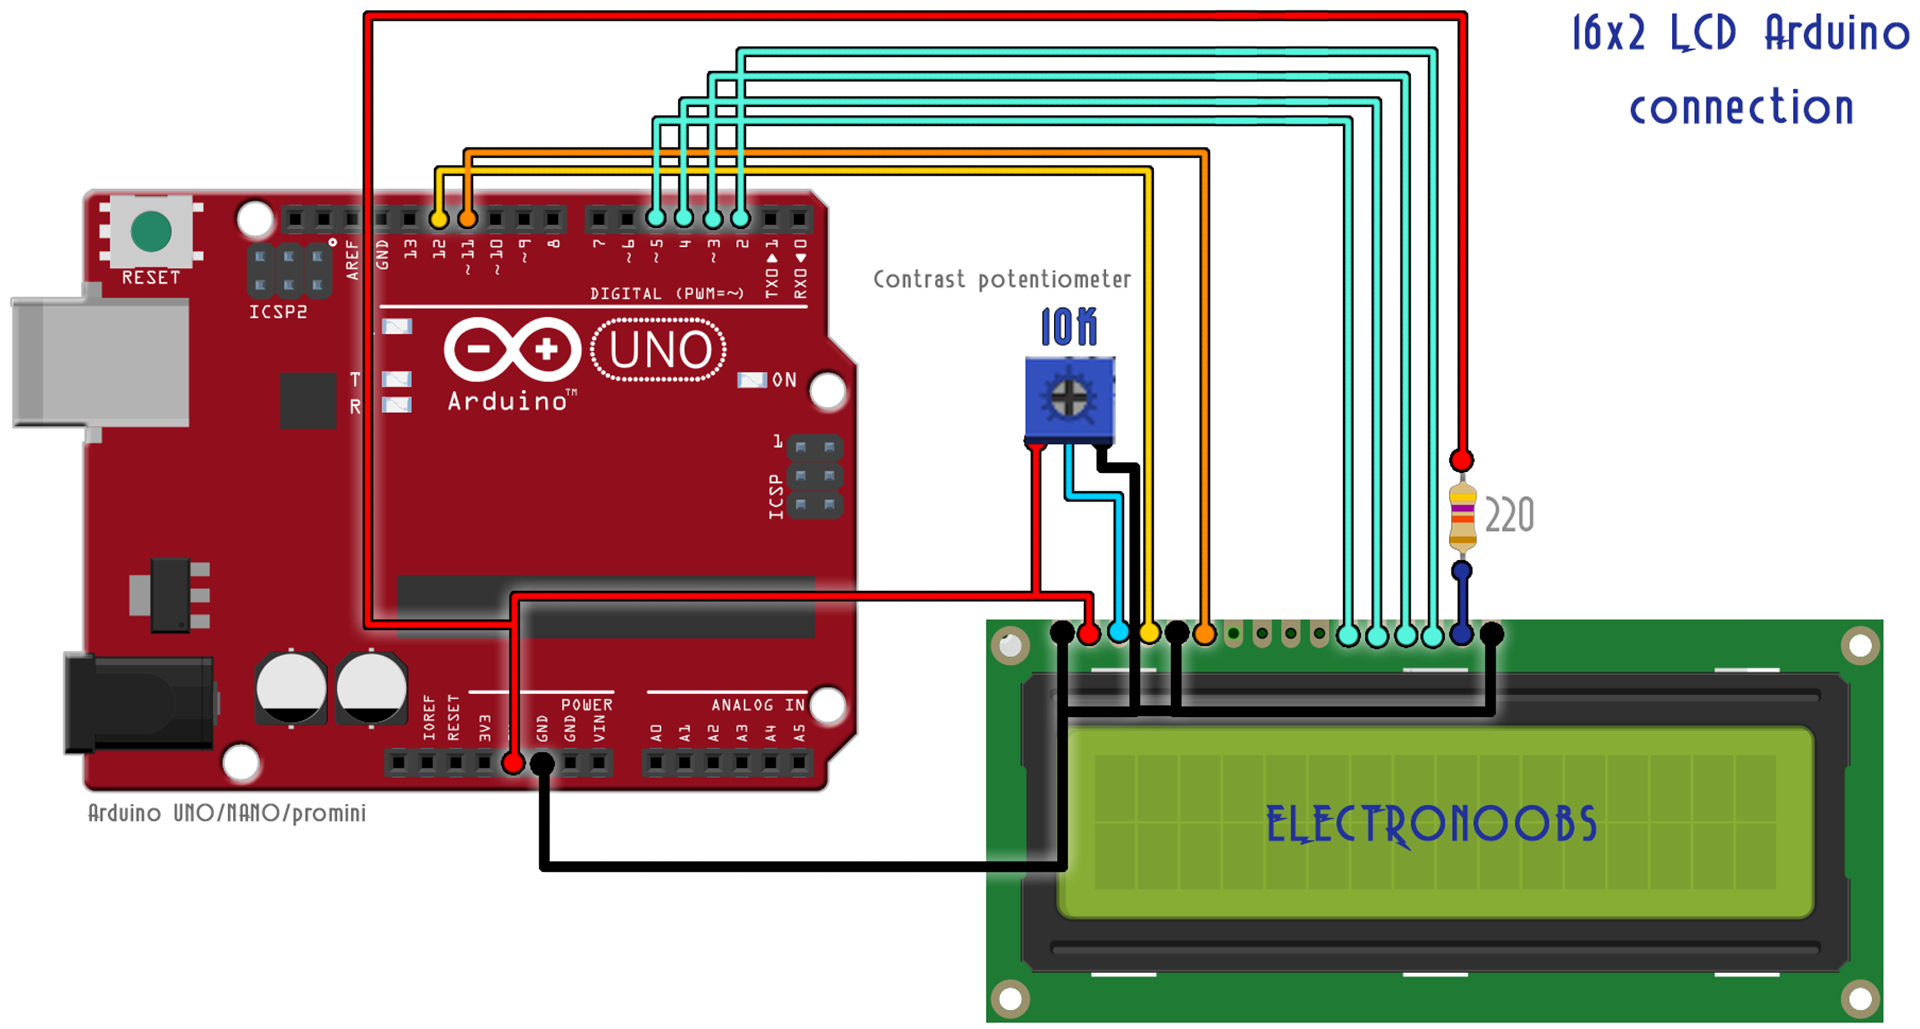
Ok, make the paralel connections from the Arduino to the LCD as below. Add a 10k potentiometer in order to be able to set the contrast of the LCD: Also a small 220 resistor to limit the current fot the backlight LED. The rest of the pins are the parallel data and the wr/re pins.
First of all, you need the liquid crystral library in order to work. For that, go below and downlaod that library. It will be a .zip file. Open Arduino IDE and go to sketch, include library, add .zip library and select the downlaoded file. Now the library is installed. You could downlaod the example code or just copy/paste it from below.
/*  LiquidCrystal Library - display() and noDisplay()
 Schematic: https://www.electronoobs.com/eng_arduino_tut50_sch1.php
 Code: https://www.electronoobs.com/eng_arduino_tut50_code1.php
 LiquidCrystal library: https://www.electronoobs.com/liquidcrystal.php
*/

// include the library code:
#include <LiquidCrystal.h>

// initialize the library by associating any needed LCD interface pin
// with the arduino pin number it is connected to
const int rs = 12, en = 11, d4 = 5, d5 = 4, d6 = 3, d7 = 2;
LiquidCrystal lcd(rs, en, d4, d5, d6, d7);
int i = 0;


void setup() {
  // set up the LCD's number of columns and rows, in this case 16 columns and 2 rows:
  lcd.begin(16, 2);
  // Print a message to the LCD.
  lcd.print("  ELECTRONOOBS  ");
}

void loop() {
  lcd.clear();                    //Clean the display
  lcd.print("  ELECTRONOOBS  ");  //Print ELECTRONOOBS

  lcd.noDisplay();                //Turn off the display
  delay(500);                     //delay of 0.5s
  lcd.display();                  // Turn on the display
  delay(500);
  lcd.noDisplay();
  delay(500);
  lcd.display();
  delay(500);

  //Loop to print an "X" on each character position of first row of the LCD
  lcd.clear();
  while(i < 16)
  {
    lcd.setCursor(i,0);
    lcd.print("X");
    i = i + 1;
    delay(100);
  }
  i = 0;

  //Loop to print an "X" on each character position of second row of the LCD
  while(i < 16)
  {
    lcd.setCursor(i,1);
    lcd.print("X");
    i = i + 1;
    delay(100);
  }
  i = 0;

  lcd.setCursor(3,0);               //Start on position column 3 and row 0
  lcd.print("1234567890   ");       //Print the numbers
  lcd.setCursor(3,1);               //Start on position column 3 and row 1
  lcd.print("0987654321   ");
  delay(2000);

  lcd.setCursor(0,0);               //Start on position column 0 and row 0
  lcd.print("   !$%&/()=?!   ");
  lcd.setCursor(0,1);               //Start on position column 0 and row 0
  lcd.print("   |@#~!$%&/%   ");
  delay(2000);


}


