Do you also want to make an old Nintendo console for less than 20 dollars? You could play thousands of old NES games and get the same nostalgia I had when I’ve played them once again. All we need are a few components, make some simple connections for some buttons and other modules, download and then upload NES games to an SD card, upload the Arduino code and play the games, and obviously, have some fun. I’ve been testing this project for a long time because I wasn’t able to make the code work, but I finally did it by trial and error. By the way, this project was made by a user called Nathalis on GitHub. A huge thank you to Nathalis for his great work, and please consider checking his YouTube channel. Anyway, that being said, let’s see what we need, how to adjust the code, how to get NES games for free and make a crude homemade Nintendo console. So guys, let’s get started.
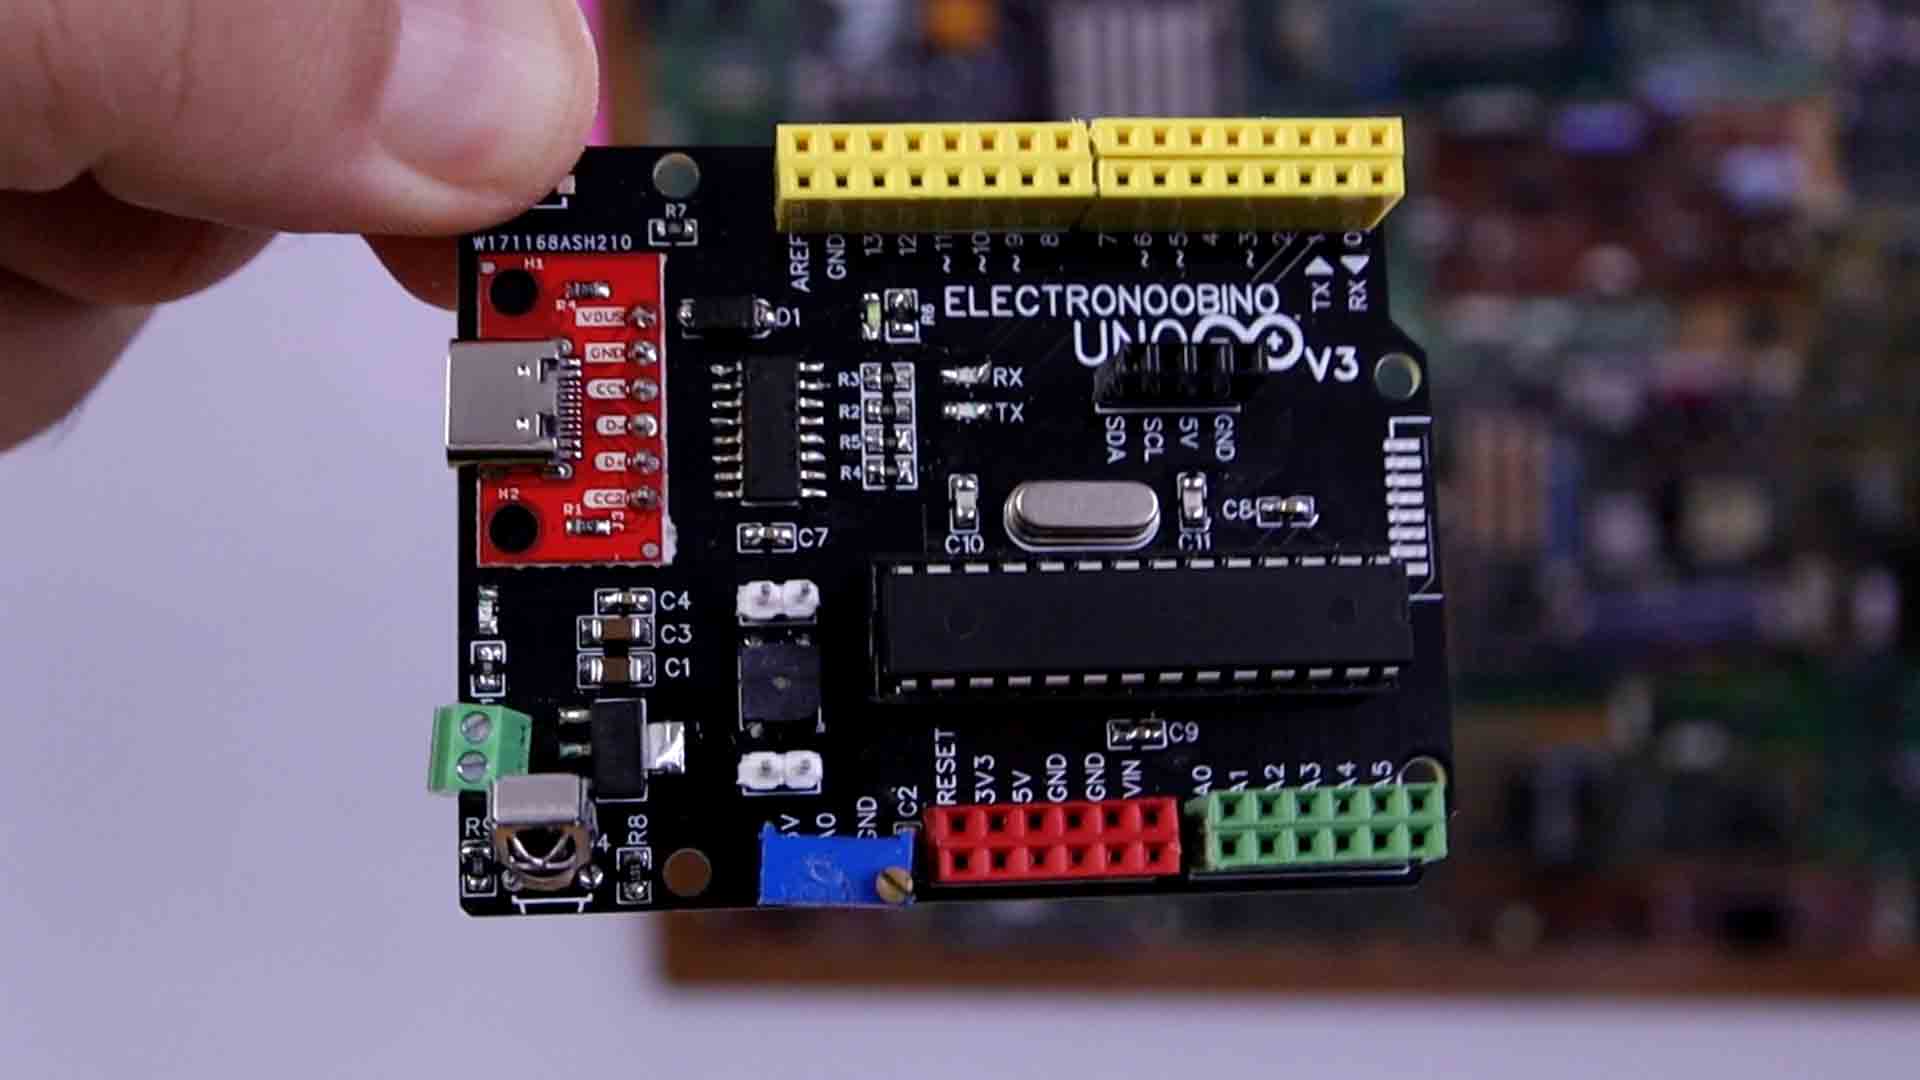
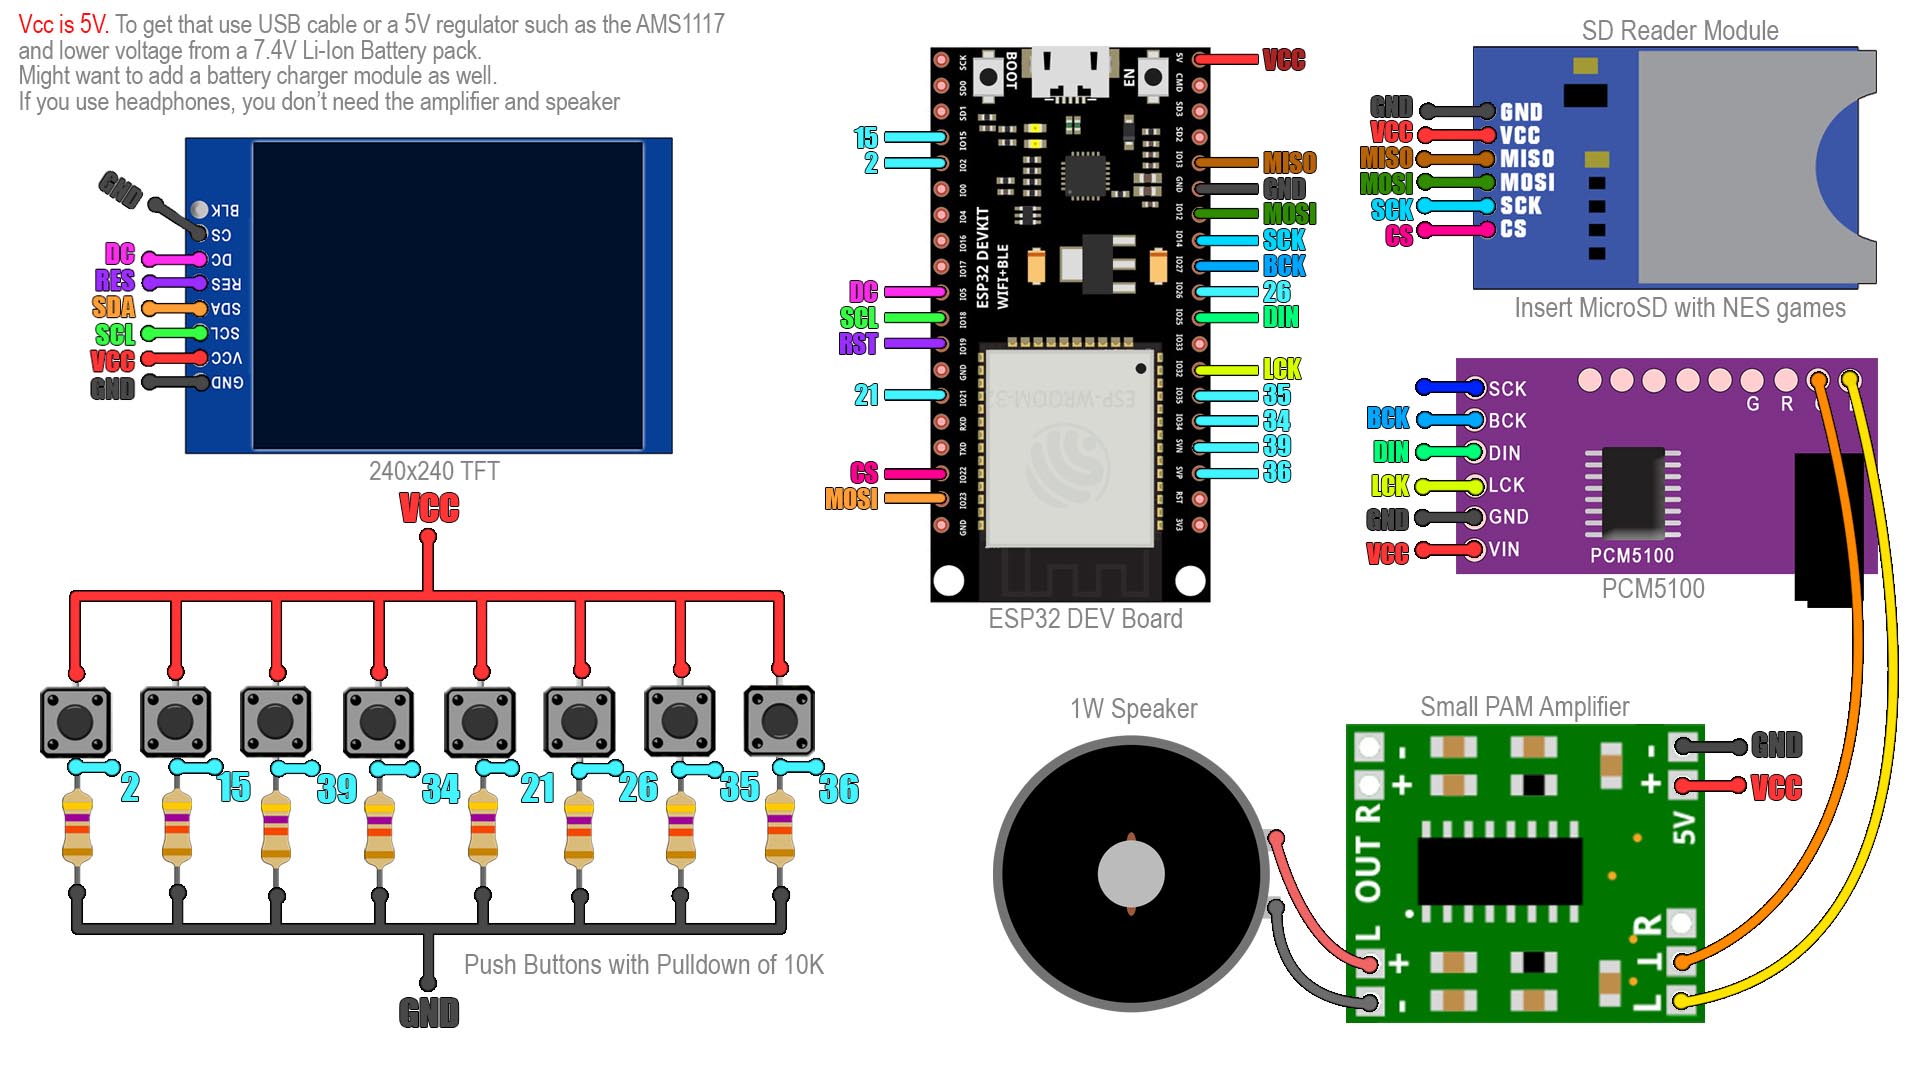
The main part running the code is an ESP32 microcontroller but to make it easier to program and so on, we will use a development board with a USB connector. This costs only 3 to 4 dollars on AliExpress. Next we need a TFT display and this costs around 3 dollars. I will use one based on the ST7789 IC. Next we need an SD card reader and this costs around 2 dollars. It could be both the micro SD card or the normal SD card. The pins are the same. Together with this we also need an empty SD card to put the games on it. Then, for sounds we need this decoder based on the PCM5102 IC and I bought this with 5 dollars. To this we can add some headphones. Or even better we can solder a small amplifier with a speaker so you should also order one like this as well. Finally, we need 8 push buttons, 8 10K resistors, a 100nF capacitor, wires and a breadboard to make the connections on. And if you want you could also solder everything on a prototyping PCB and make it more permanent. Remember that you could get the design for such prototyping PCB from my website and order it at PCBWAY. Ok so now we have everything we need so let’s assemble it.

The original schematic was something that didn't work for me and it was very difficult to follow where each connection goes. Finally, the connections that I’ve used are these ones below. For some reason, If I use any other pin for the push buttons for example, the code wont work. I don’t know why, but after weeks of trial and error and getting frustrated, it finally worked. Also, if I remove the 100nF capacitor between ground and the CS pin, the screen would get crazy and even stop working. Another error I’ve noticed is that sometimes, the start button does the same as the left button, I don’t know why neither. Anyway, connect everything on the breadboard or on the PCB like in this schematic. The MISO and MOSI pins for the display must be the ones I’ve used, otherwise it won’t communicate with the SPI port. Next, let’s take a look at the code.
Downlaod the code from below. Extract the ZIP file, then open the NeeCat folder and run the NesCat.ino If you scroll down in the code, you will see that first you need to install 2 libraries for the display. You can download those from the provided links in order to make sure that you will use the same I’ve used. Then, in Arduino IDE go to sketch, include library, add .ZIP library and select one by one the downloaded libraries in a ZIP format. Now the libraries are installed.
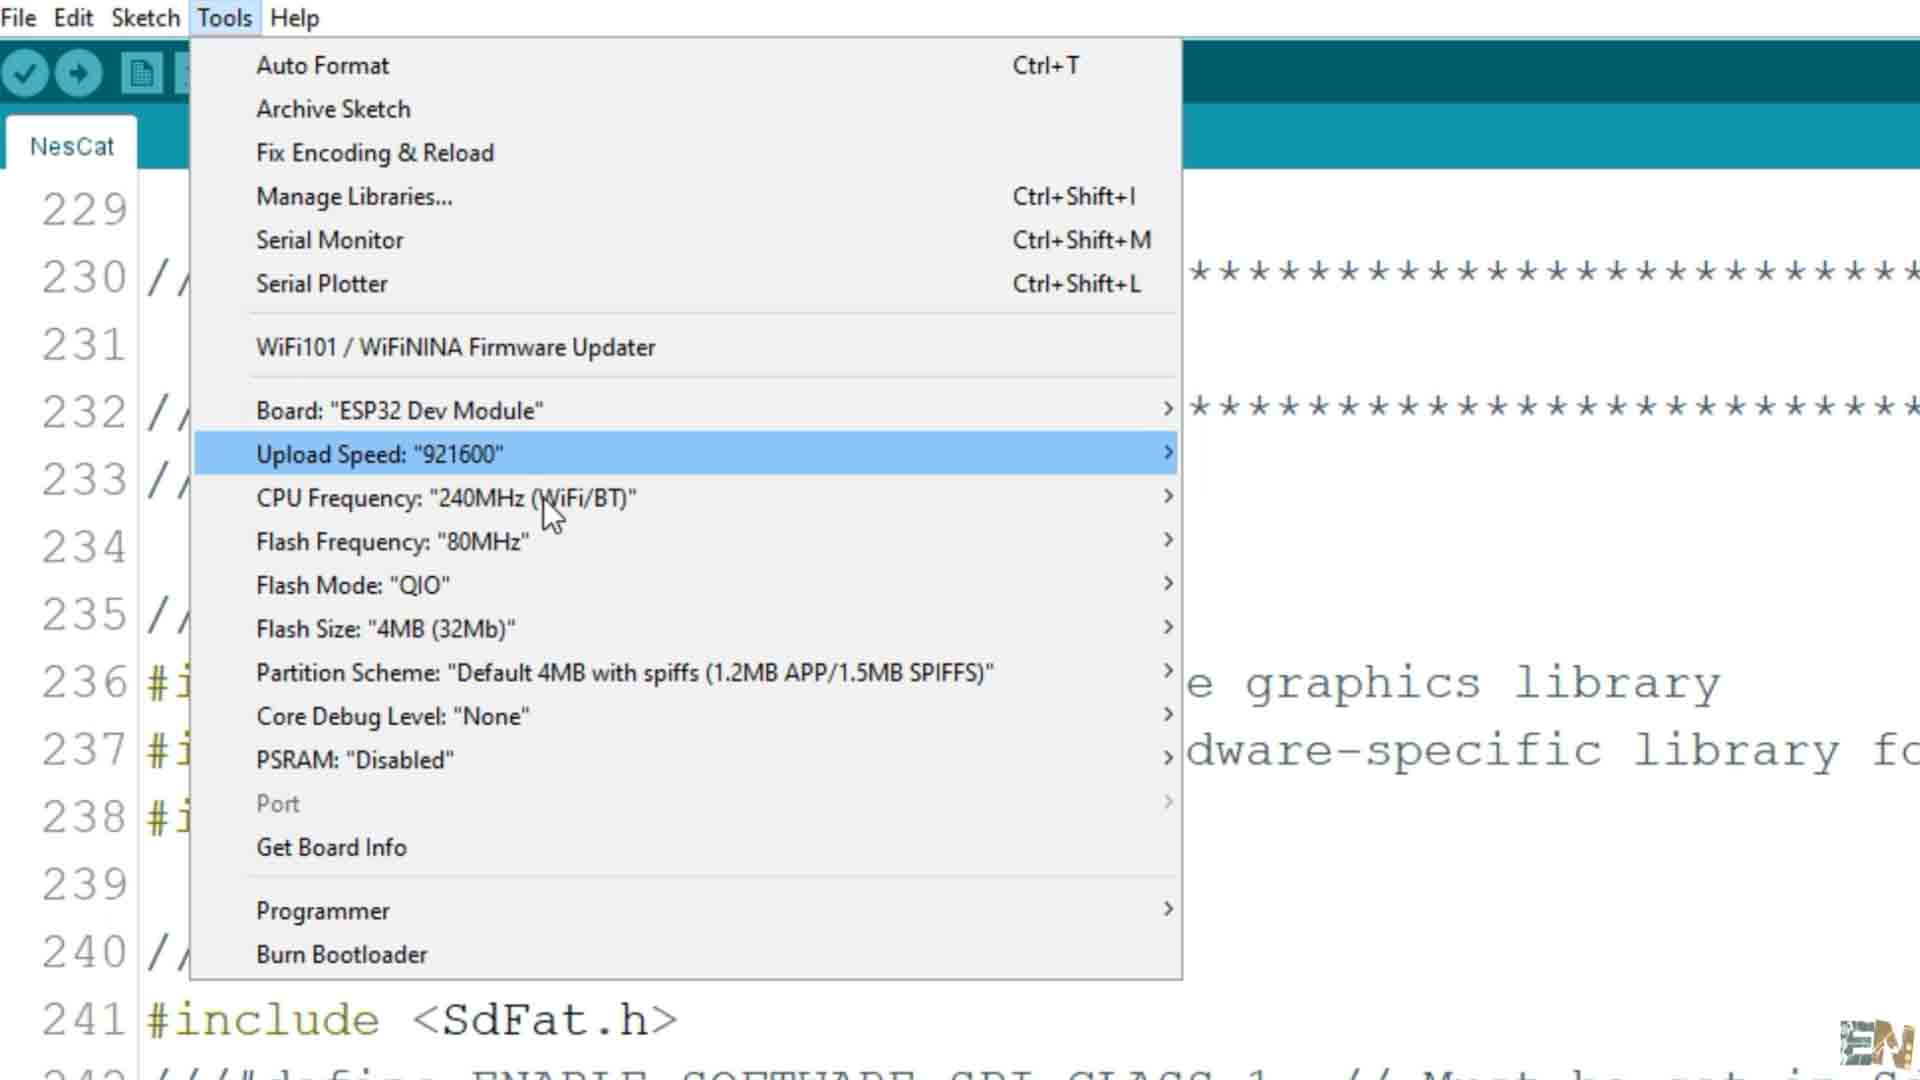
Then, if you don’t have them, you need to install the ESP32 boards. In the Arduino IDE go to preferences. In the additional URLs you have to copy and paste the link from below. Now go to tools, boards and select boards manager. Here search for ESP32. Select these boards and click install, and as you can see in the tutorial video, I already have them installed. And now if you go again to tools, boards, you will see that you now have a bunch of ESP32 based boards. Select the ESP32 Dev Module board and make sure you have my same configuration as you can see below. Click compile. If it compiles, we upload it to the ESP32 board. Click upload and press the boot button, and keep it pressed till you see the connecting message on the Arduino IDE. Then release the button and the code will be uploaded.
If you power on the console at this point you will get the SD card fail message. That’s because we have no games inserted.
ESP32 Boards URL:
//micro_SD_Card:
#define SOFTSD_MOSI_PIN 12
#define SOFTSD_MISO_PIN 13
#define SOFTSD_SCK_PIN 14
#define SD_CS_PIN 22

#define PIN_UP     2    //IO2
#define PIN_DOWN   15   //IO2
#define PIN_LEFT   39   //VN
#define PIN_RIGHT  34   //IO34
#define PIN_A      21   //IO21
#define PIN_B      26   //IO26
#define PIN_START  35   //IO36
#define PIN_SELECT 36   //VN

//LCD_ST7789:
#define TFT_CS   -1  // define chip select pin
#define TFT_DC    5  // define data/command pin
#define TFT_RST  19
#define TFT_MOSI 23  // Data out (SDA) //better not change
#define TFT_SCLK 18  // Clock out (SCL) //better not change

//AUDIO_i2S:
#define I2S_BCK_IO 27 //BCK
#define I2S_WS_IO  32 //LCK
#define I2S_DO_IO  25 //DIN
#define I2S_DI_IO -1So go to this website (https://www.nesfiles.com) and search for any game that you want. Once you find the one you want. click download the NES file. Then insert the SD card into your PC and make sure it is empty. Create a new folder and call it NES like this (with upercase). Copy all the NES files that you want inside that folder. Now get the SD card and insert it into the card reader and restart the ESP32. Now it works. Use the button to select a game and press start. And now, play and enjoy. In my case I first select one of my favorites from my childhood called Battle City. Then I also try the old school MARIO game and tetris. Contra is also one of the best.
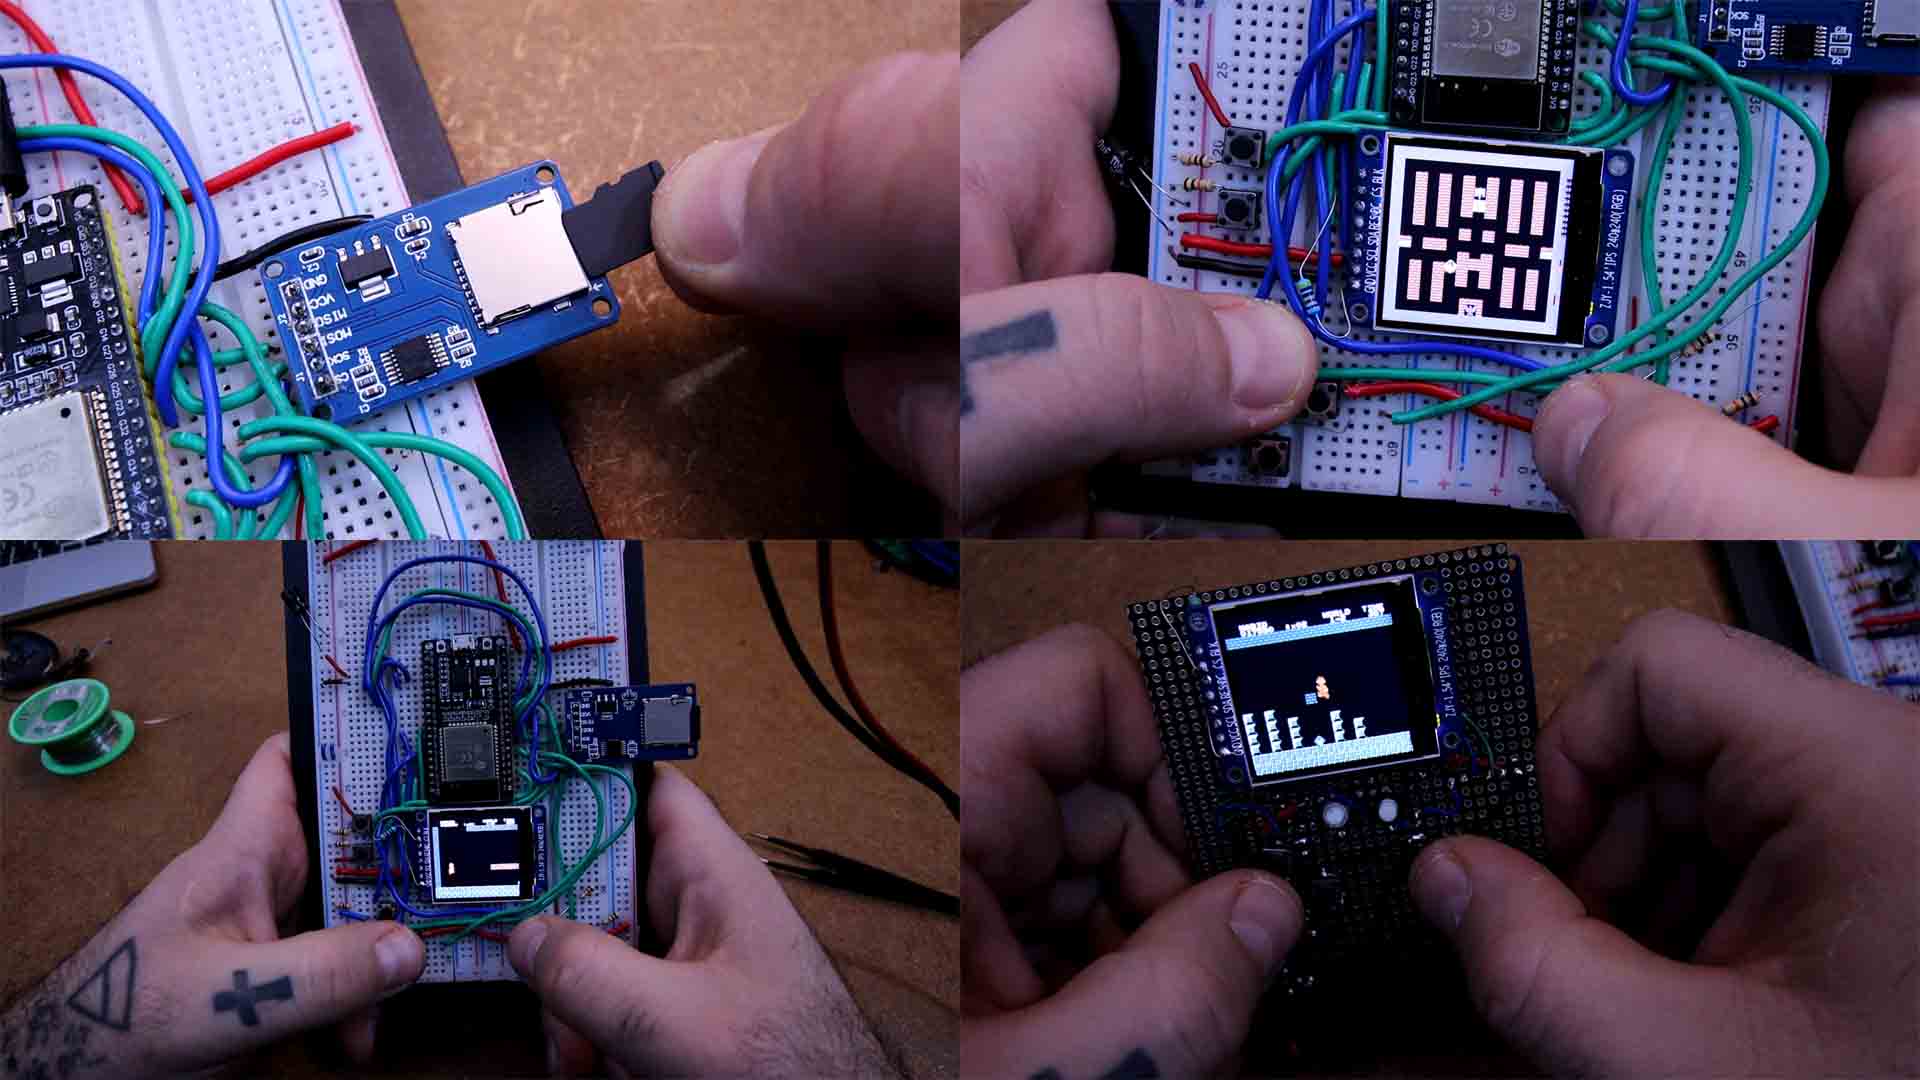
So guys, that's how you could make your own NES console and play any game that you want. Obviously this would go better with a custom made PCB, some better push buttons and also a 3D printed case, but that will probably be for a future update. By the way, this project also has an AV video output so you could connect it to an old TV as we had back in the day with the yellow connector. And again, a huge thank you to Nathalis for sharing such a project with the community. His work is amazing and brings me a lot of happy memories.
If my videos help you, consider supporting my work on my PATREON or a donation on my PayPal. Thanks again and see you later guys.